Sourdough Bread, Ken Forkish Method
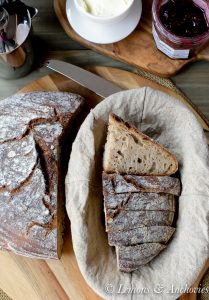
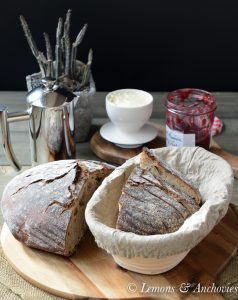
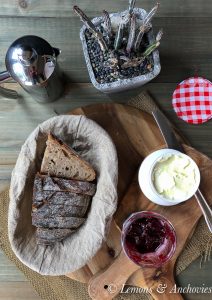
This sourdough bread recipe is as easy as it gets. There’s no kneading required to get full flavor that would beat any store-bought loaf.
(Update 5/31/2020, Please Read: Due to the unexpected popularity of this post since first publishing it in January 2018 I’ve updated this page to include a second printable recipe as an alternative to the book’s instructions for overnight bulk fermentation. When I first shared this post to document my experience with the Ken Forkish recipe for his Overnight Country Brown Bread, I was only baking bread during the winter months at much cooler temperatures. I’ve since learned that the overnight bulk fermentation method is not as friendly when the temperature in my kitchen is in the low 70ºF and above, increasing the risk of over fermenting the dough.
Over time I’ve adapted a daytime schedule and reduced the starter amount to make this recipe more suitable for using year-round. The modified recipe is the second one at the bottom of this post. This is the method I recommend you follow if overnight temperatures in your home are on the warmer side. The first one is just a direct scale down of the original recipe in the book for one loaf instead of two. If you do decide to follow this original method, you can consider cutting the starter amount, maybe by half, to avoid over fermentation if your kitchen temperature is warmer. Hope this helps.)
[Update 5/1/2019: Because this recipe is for half a batch (one loaf instead of two) compared to the amounts in Mr. Forkish’s book, I’ve found that a shorter bulk fermentation time is sometimes better. A workaround I’ve found to maintain the same bulk fermentation schedule is to reduce the amount of levain (starter) I use for this recipe. I’ve noted this slightly modified method in this post if you’re interested in experimenting with it. I’ve also been using unfed starter for some of my bakes with great results. Click here for a recipe.]
Update 4/8/20: Please click here for my Sourdough Baking Guide to answer any sourdough questions you may have.
Update 4/21/20: Please click here for my Sourdough Starter Recipe that calls for much less flour than other recipes and should have you baking in a week.
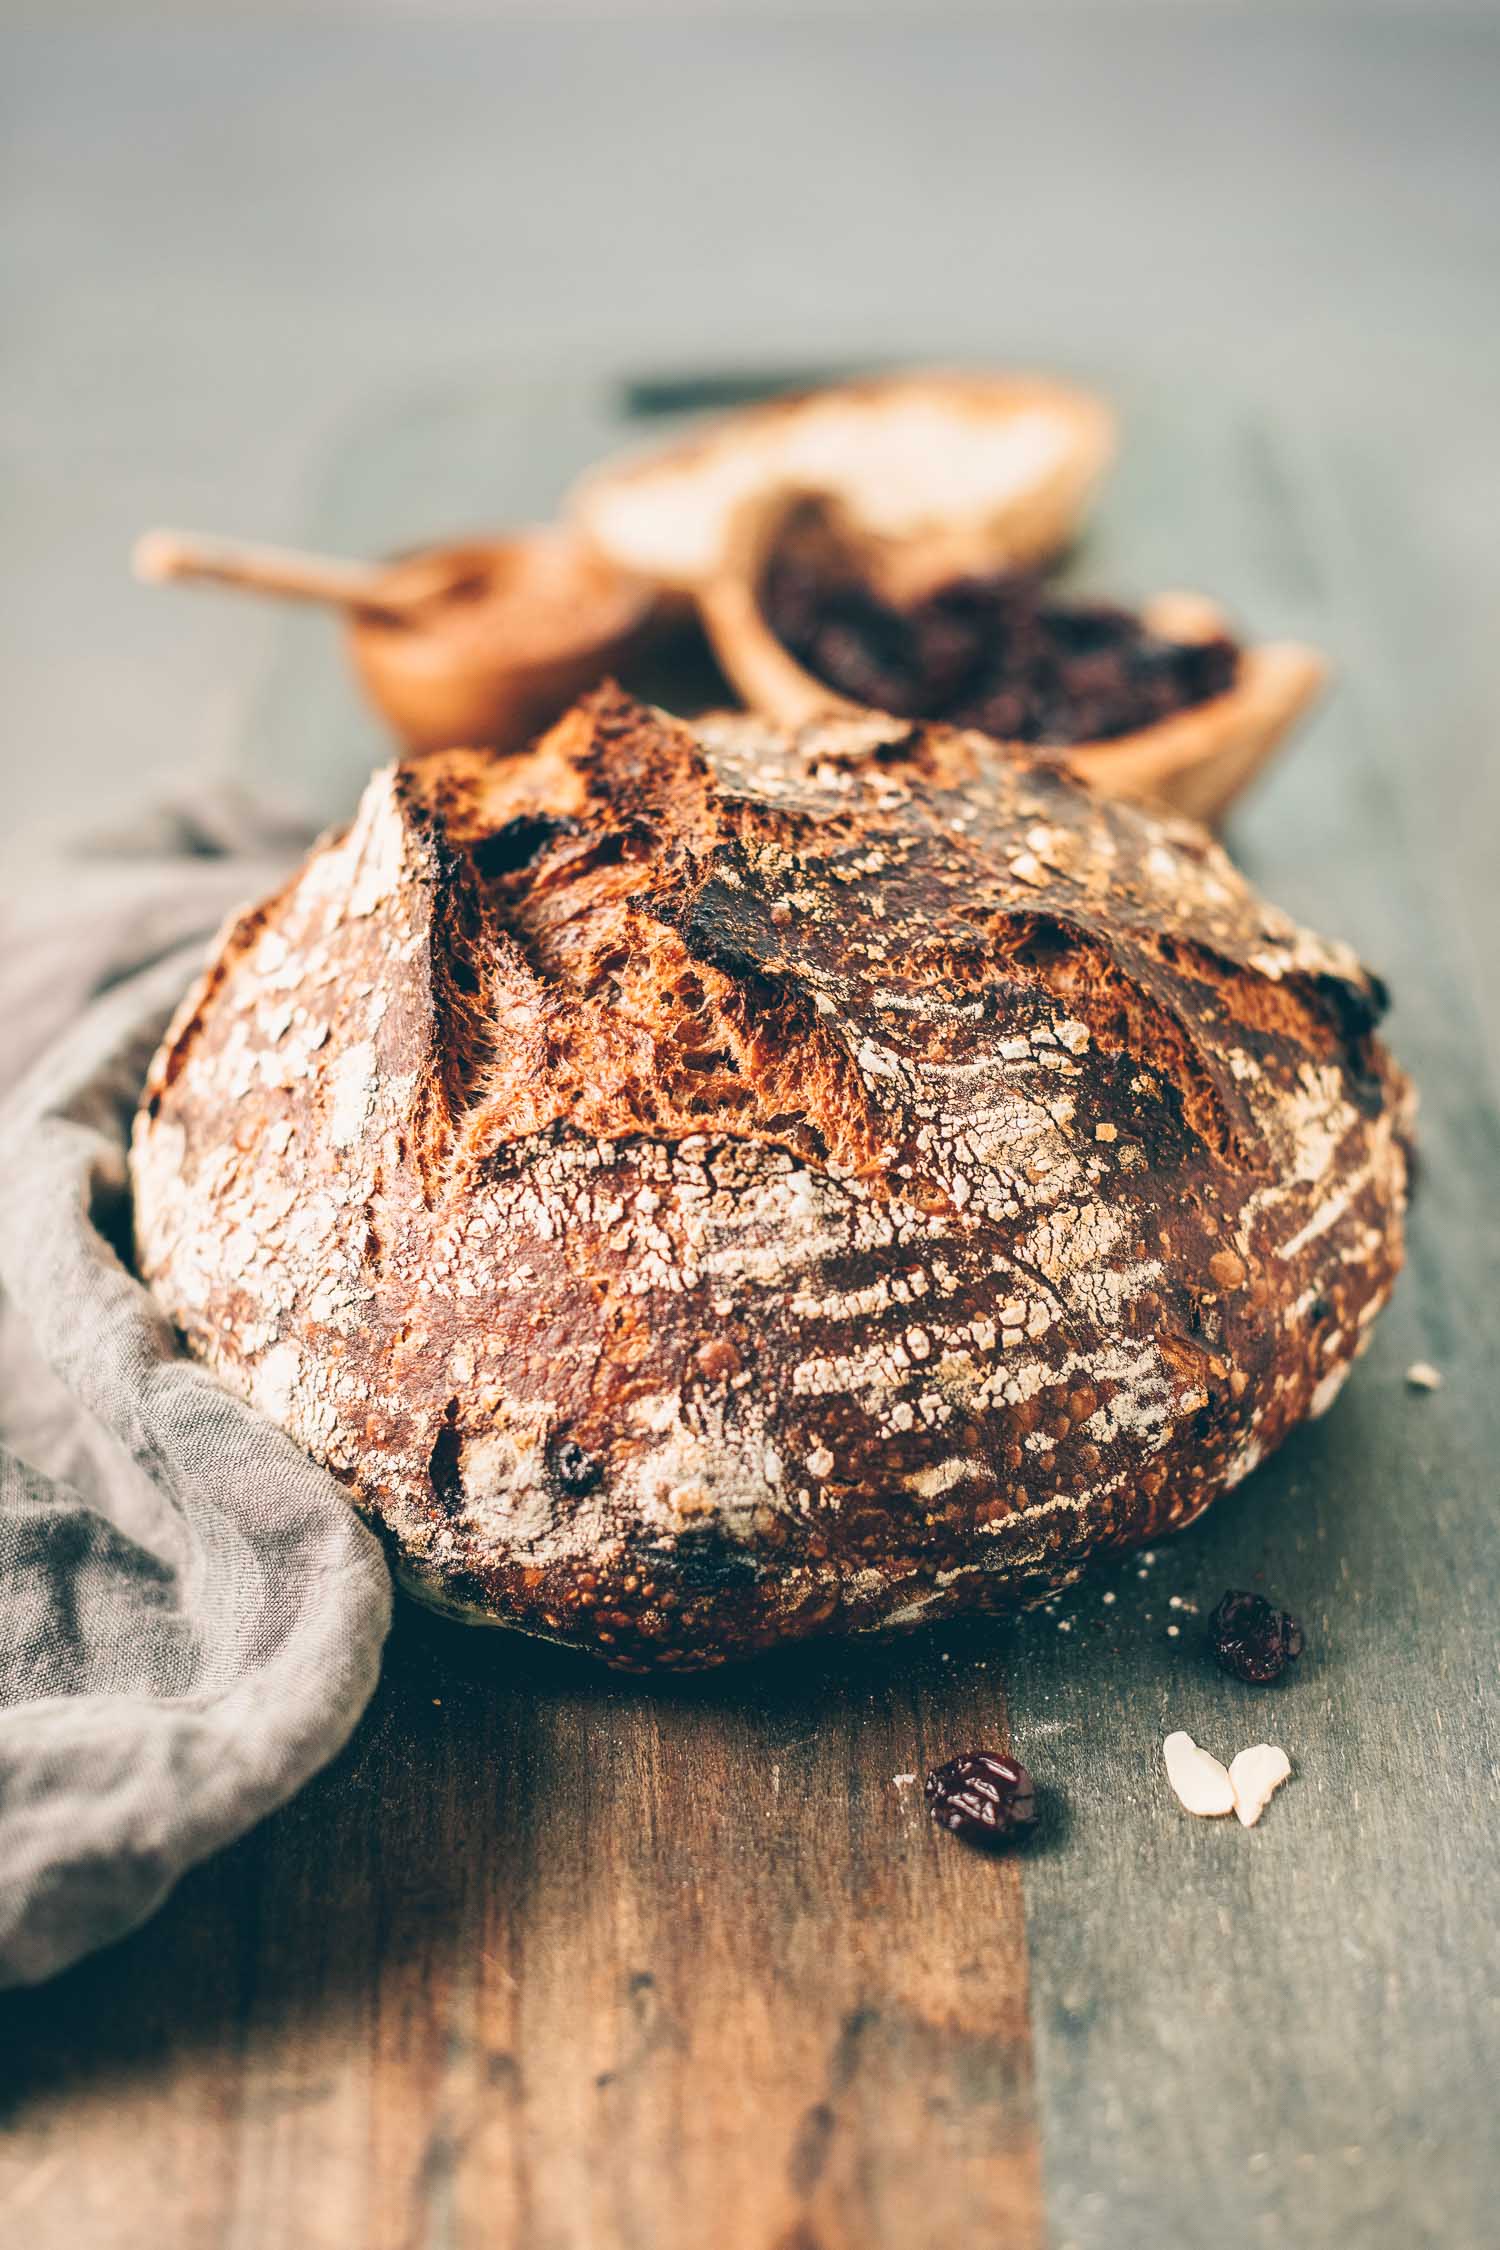
I know, I know.
You probably don’t need another bread recipe. Not even one for sourdough.
Not even if I tell you that this bread tastes better than my favorite artisan loaf from the market.
And certainly you wouldn’t want it from someone who has not yet mastered the art of bread baking.
We all want a good, tried-and-true, well-loved recipe. I get it.
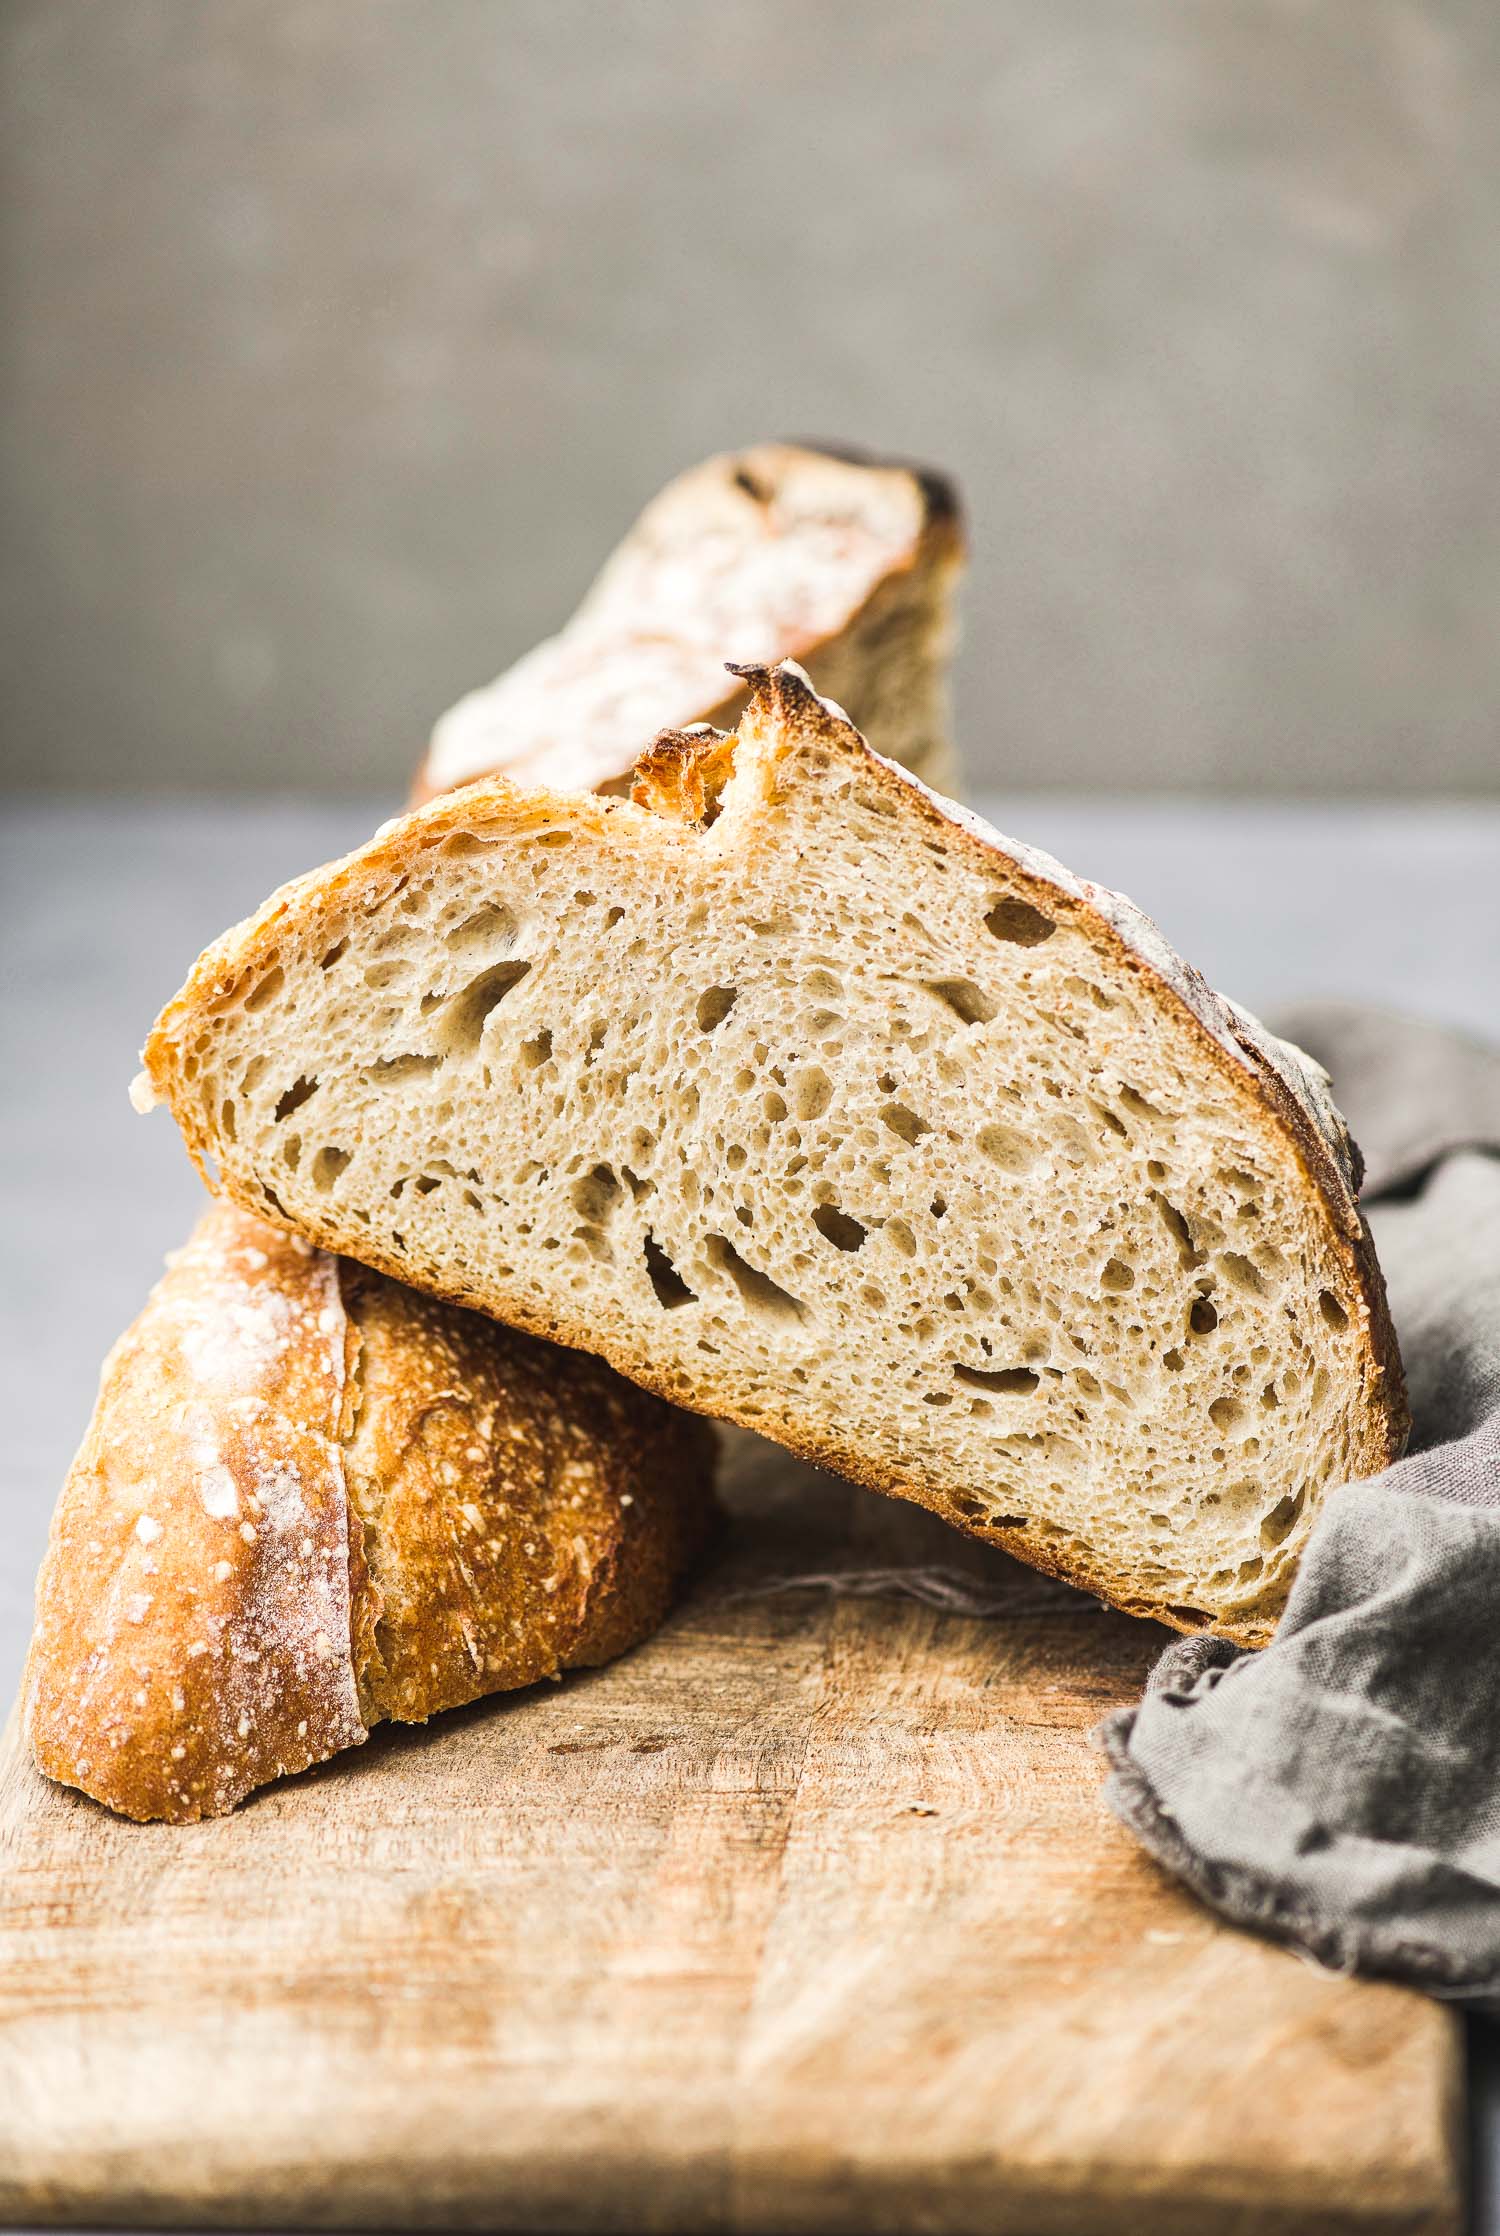
This sourdough bread recipe from Ken Forkish’s Flour Water Salt Yeast is my tried-and-true. It’s not because it turns out with the perfect rise or perfect crumb each time (in my hands, at least). And that’s no fault of Mr. Forkish. I love to experiment with different flours and each tweak I make changes the behavior of the dough which I haven’t yet learned to manage.
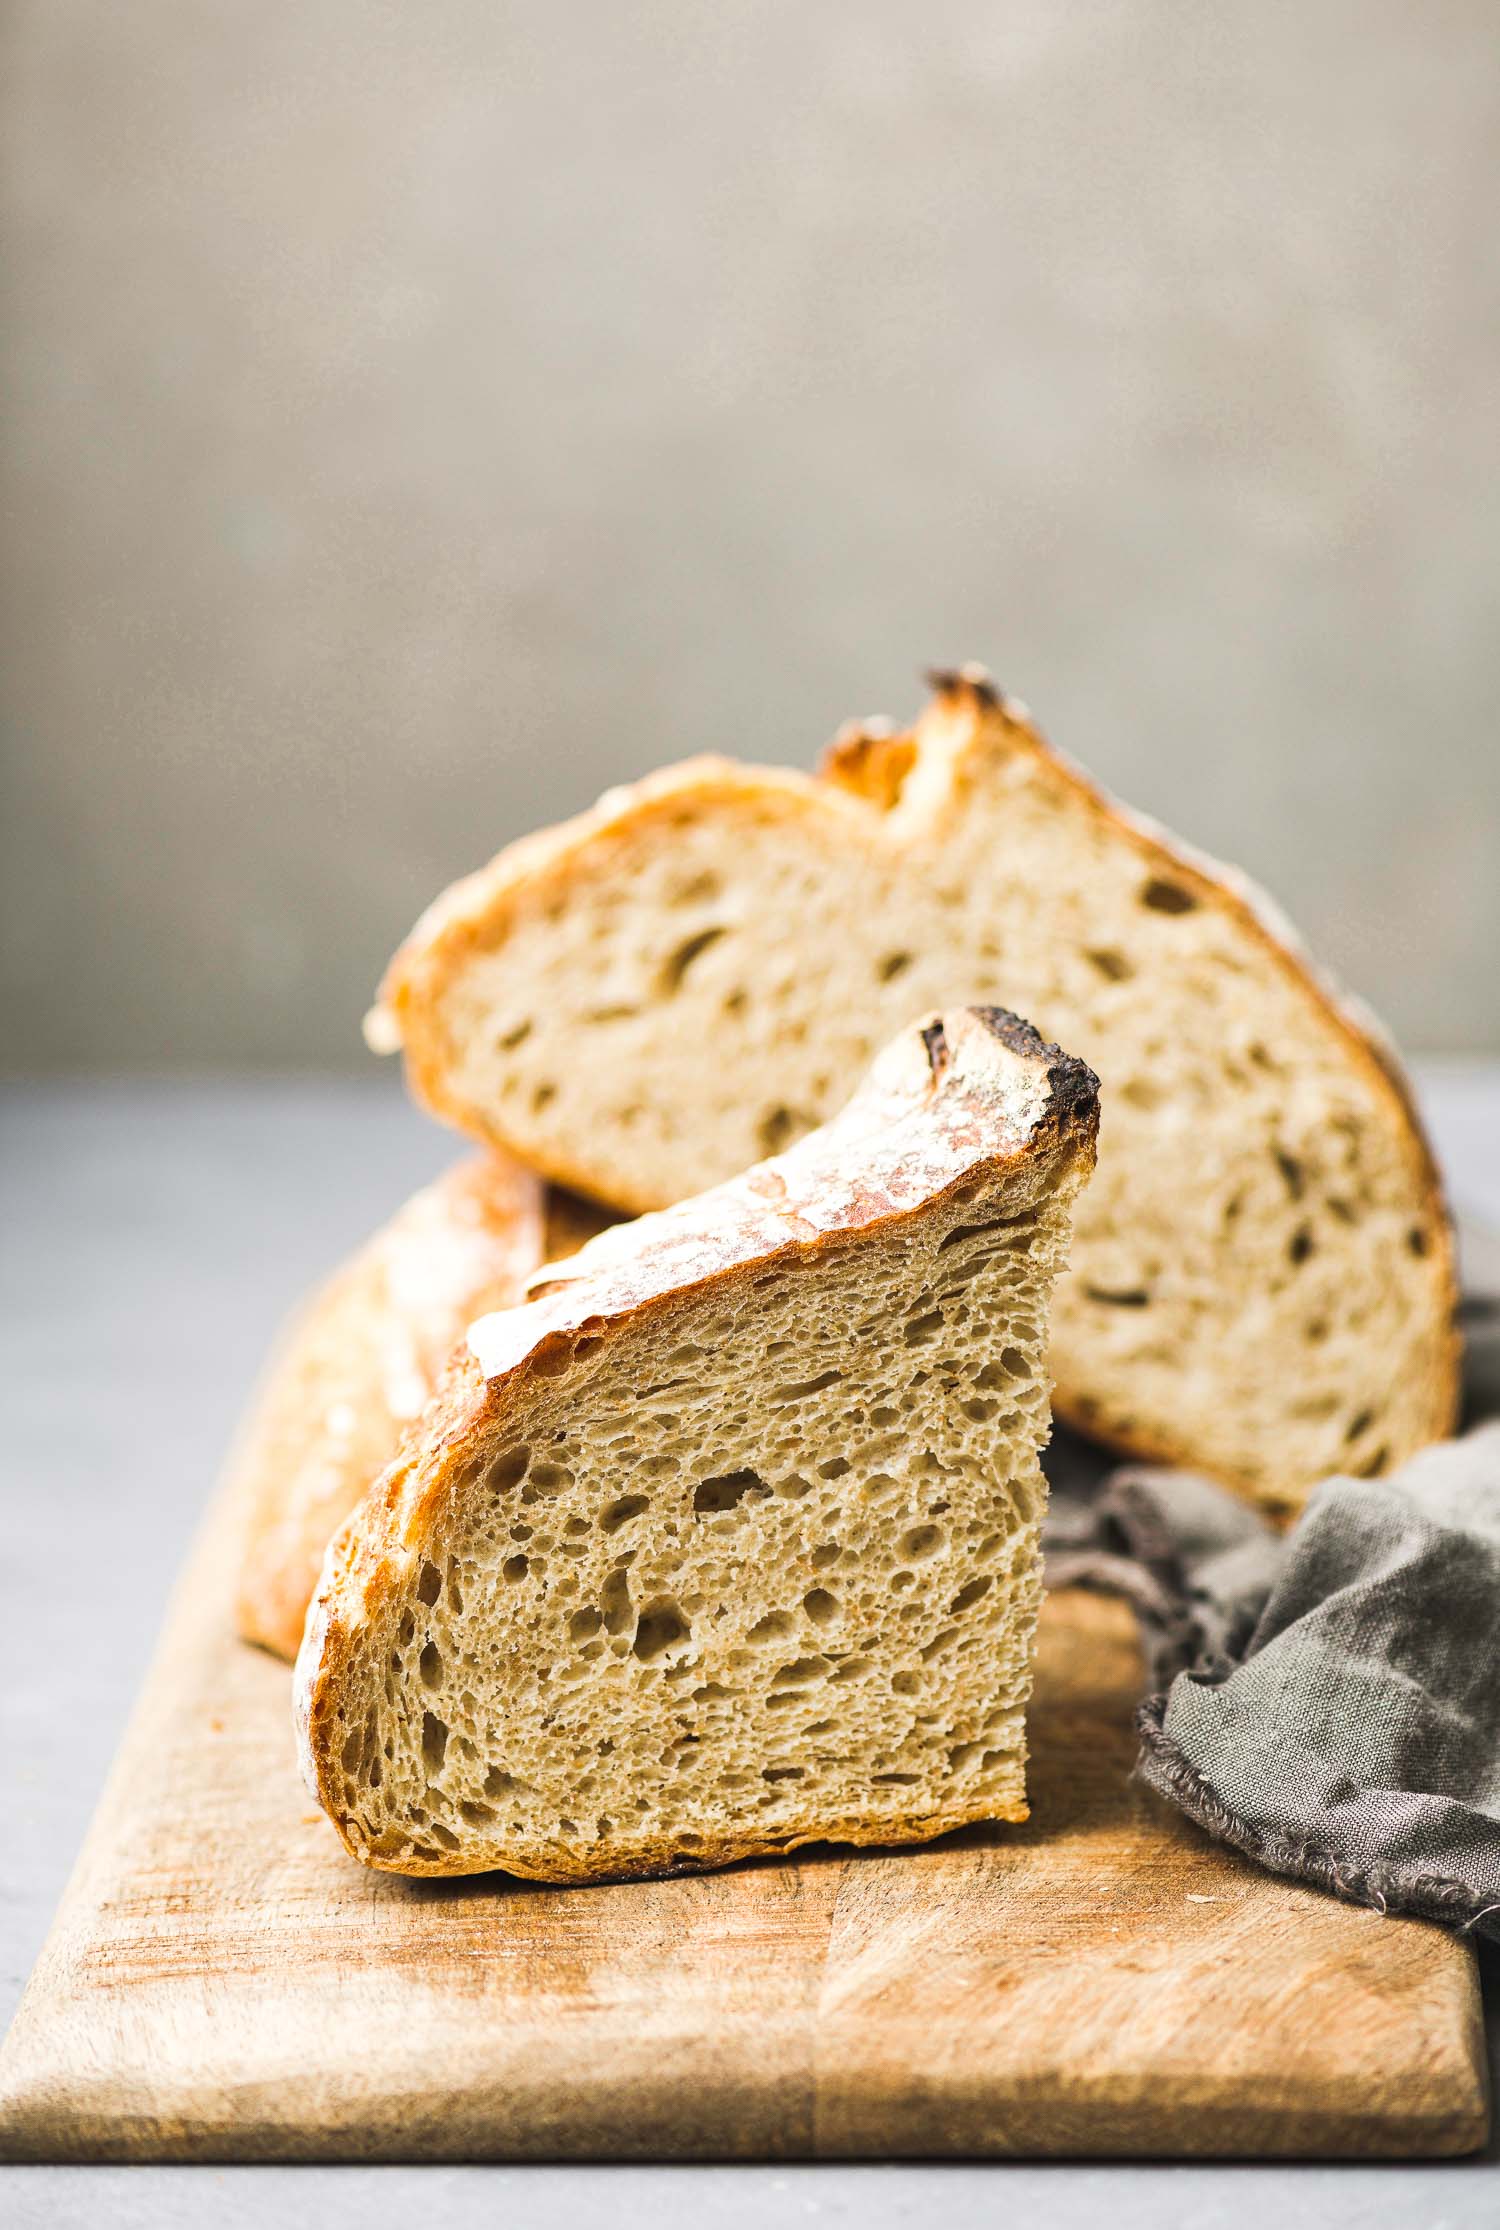
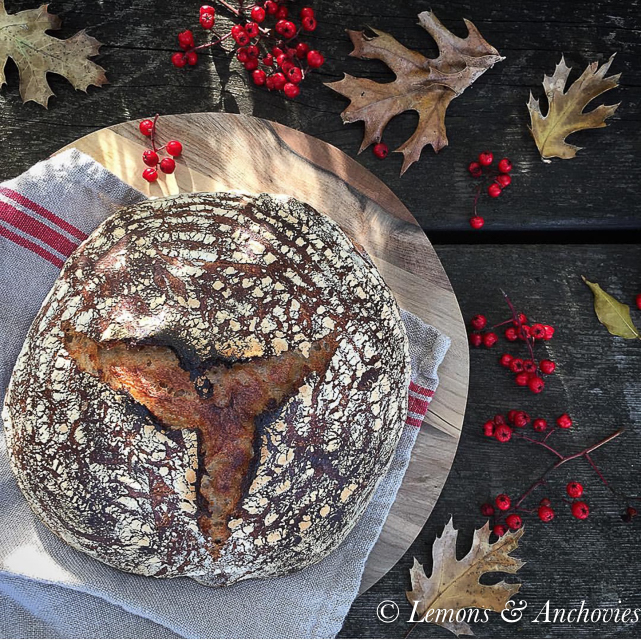
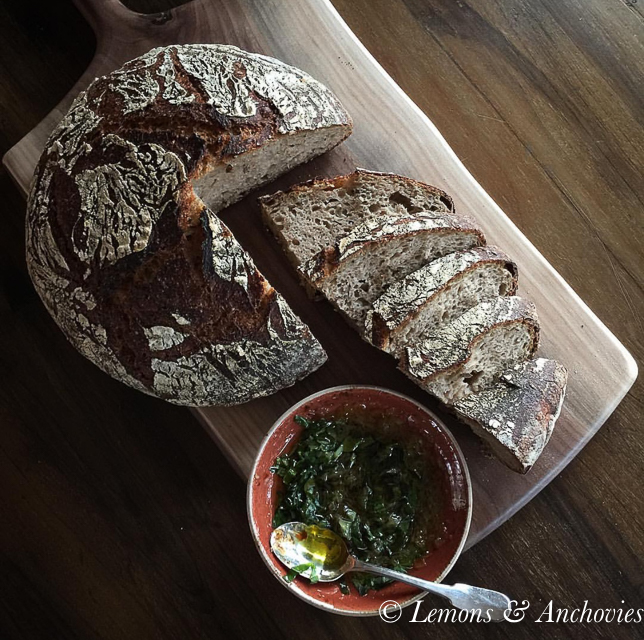
Really, I have no business adjusting bread recipes at my skill level but where’s the fun in that? Sometimes I under-proof and other times I over-proof the dough. But when I pull the loaf out of the oven and I see the caramelized crust I can’t help but smile. I made this. And when the cool air touches the crust the soft crackle and pop are music to my ears. And yes, it does taste better than store-bought. I’m still pleasantly surprised each time I slice into a fresh loaf and take that first bite.
This recipe deserves to be shared because it always rewards me, despite my imperfect efforts. My three-year old sourdough starter is the heart of each loaf I bake and I can’t help but feel proud about that, too. When my husband sees me nurturing the dough, stretching and folding before I let it sleep overnight, then shaping the dough the following morning he wonders why I go through the trouble when I can buy one. Then he takes a slice of my [Overnight Country Brown] bread and he sings its praises, too.
After pulling this loaf out of the oven yesterday I stepped out of the kitchen only to discover that a tasting had already taken place when I returned a short while later. My husband was on the phone with a friend remarking how tasty the bread was. This compliment was especially appreciated after I noticed that the loaf had an uneven crumb inside. I was in the middle of shaping the dough when I realized that a webinar I was scheduled to tune into was about to start. I threw the partially-shaped dough back in the bowl and stored it in the refrigerator for two hours until I could return to it.
Note: There is no kneading involved in this recipe but it does require an overnight rest before baking. The recipe I’ve posted describes the timeline I use. I feed the starter in the morning on Day 1 and bake in the afternoon on Day 2. There is minimal hands-on work in between. If you don’t have Mr. Forkish’s book I also recommend using his Youtube videos as a guide for the easy-to-follow techniques he employs. You won’t need to watch all eleven videos for this recipe, maybe three or four, but they will give you a leg up if you decide to give it a go. I’ve also adjusted the original recipe to make only one loaf instead of two.
Ken Forkish How-To Videos on Youtube (11 videos showing his techniques): Click here.
Update 4/21/2019: I’ve been experimenting with using less starter for this recipe to try to optimize oven spring and it has been working for me. Click here to see my Orange-Raisin Sourdough bread using the same techniques here but with less sourdough starter.
Sourdough Bread, Ken Forkish Method (Original Recipe, see next printable recipe for modified version)
Ingredients
- 108-120 grams active starter at its peak rise
- 302 grams all-purpose flour
- 138 grams whole wheat flour
- 342 grams filtered water 90-95ºF
- 6 grams kosher salt I sometimes use less
- 1-2 tablespoons caraway seeds optional
Instructions
-
Day 1 (around midday), feed the levain. Before refreshing your mother starter, set aside 40 grams to feed for the levain required in this recipe. Feed 40 grams each flour of your choice and water. Set aside until at peak rise (about 4 hours; longer on cold days. In winter I store the levain inside the oven, turned off with the light on.
-
Day 1, autolyse. Combine the all-purpose and wheat flours with the water in a bowl (DON’T add the starter and salt). I’ve performed this step two ways. The original Ken Forkish recipe requires a 30-minute autolyse. In this case, after a few hours of feeding the starter, when it is near peak, combine the water and flours and let rest. The other option that has worked for me is to start the autolyse at the same time as I feed the levain, resulting in an autolyse of several hours. If you’re trying this recipe for the first time I recommend opting for the shorter option as it is what the original recipe uses.
-
Day 1 (evening), mix the final dough. When the levain is ready add the salt and levain to the flour and water mixture. Combine the dough using a wet hand and folding the dough over from the bottom to top. Then Ken Forkish employs what he calls the “pincer” method to make sure all the ingredients are fully incorporated. Imagining your hand as a lobster claw (my description), cut through the dough pinching a few times, mixing, then pinching again. If you’re using the caraway seeds at them at this step.
-
Day 1 (evening), fold the dough. Pick up one portion of the dough (without taking it out of the bowl) and fold it over. Repeat this folding step a few times, inverting the dough with the folds at the bottom of the bowl when done. This folding step should be done three to four times before the dough rests overnight over a period of one to two hours. I fold every thirty minutes in the space of two hours before the overnight rest. After folding, cover the bowl with a towel or plastic wrap and let it rest overnight.
-
Day 2 (morning), shape the loaf and final proof. Transfer the dough to a lightly floured surface. The dough will relax and flatten when you take it out of the bowl. Taking one section of dough at at time, fold the sections over the rest of the dough until you have a somewhat tight ball shape. Then tighten the dough by pulling it towards you by cupping the dough with both your hands using your pinky fingers as the anchors. This tightens the dough shape as you pull it towards you. Rotate then repeat three to four times until the dough holds its ball shape. Transfer the dough on a floured banneton with the seam side down. Cover the entire proofing basket with a plastic bag and let rest for about four hours. To test for readiness, poke the dough with a floured finger, making about a 1/2 inch indentation. If the dent springs back immediately, the dough needs a longer proofing. If the dent springs back slowly and doesn’t completely disappear, the dough is ready to bake.
-
Day 2 (afternoon), bake. This recipe uses a dutch oven for baking. Preheat your oven to 475ºF with a rack in the center of the oven. Put the dutch oven with their lid on on the rack while the oven preheats. Once the oven has reached temperature, invert the dough on a lightly floured countertop. Even better is to invert the dough on a piece of parchment paper. Make sure you have oven mitts then take the (very hot) dutch oven out of the oven and place on the counter or stove. Remove the lid and rest one of your mitts on top of the lid so you don’t touch it by accident. Take the ends of the parchment paper and carefully lift and transfer the dough to the dutch oven. Cover the dutch oven and place it back in the oven. Bake covered for 30 minutes then uncover and bake for another 20-25 minutes, checking your bread at the 15-18 minute mark just in case your oven runs hot. When done, tilt the bread out of the dutch oven and let it cool on a rack for at least 20 minutes before slicing.
Recipe Notes
1. This recipe requires an overnight rest so my instructions are timed for an afternoon bake on Day 2.
2. Click on the video links in this post to see Ken Forkish demonstrate his technique for his breads.
3. For other combinations:
a. 264 grams spelt flour, 176 grams all-purpose flour, 340 grams water. Or,
b. 264 grams all-purpose flour, 110 grams whole wheat flour, 66 grams rye flour, 342 grams water
Sourdough Bread, Ken Forkish Method (Modified for Daytime Bulk Fermentation)
This method still mostly follows Ken Forkish's for his Overnight Country Brown but I've adapted it for daytime bulk fermentation and with overnight cold retard to make it more friendly to warmer temperatures.
Ingredients
- 302 grams bread flour (or all-purpose flour)
- 138 grams whole wheat flour (or bread or all-purpose flour)
- 342 grams filtered water
- 90 grams sourdough starter (ripe)
- 6-8 grams kosher salt
Instructions
-
Day 1, Morning, Feed the levain: Take 30 grams of your mother starter and feed it 30 grams each flour and water. You can add feeding amounts of flour and water by five grams each just to make sure you have exactly 90 grams to use for the recipe without worrying about having to scrape every little bit from your jar. Alternatively, you can also feed your starter the night before and it will be ready to use in the morning.
-
Day 1, Midday, Mix the Flours and Water: In a bowl, mix the flours and water (NOT the starter and salt) and stir with a spatula or dough whisk until no dry bits of flour remain in the bowl. Cover with plastic wrap and autolyse for 30 minutes (if your starter is not ready to use after 30 minutes you can extend the autolyse stage up to a few hours).
-
Day 1, Add the Salt and Levain and first Stretch and Fold: After autolyse and your starter is ripe, add it and the salt to the flour/water mixture. Use wet hands to knead the starter and salt in until they've been evenly incorporated in the dough (this could take about three minutes) and use this stage to also perform the first stretch and fold session. Cover with plastic wrap and wait 30 minutes. Bulk fermentation starts at this stage.
-
Day 1, Stretch and Fold, continued: Perform three more stretch and fold sessions every thirty minutes.
-
Day 1, Bulk Fermentation, continued: After the four stretch and fold sessions keep the dough covered and allow for bulk fermentation to proceed until has doubled or nearly doubled in size. From experience, bulk fermentation is roughly five to six hours in low to mid 70ºF temperatures. It's a good idea to use a digital thermometer to check the temperature of your dough and it's also a good idea to err on the consvative side and under -ferment rather than fermenting too long. The dough will be bubbly on top and light and jiggly when done. Remember that bulk fermentation starts as soon as you add the levain to your dough. (Fermentation time is driven by temperature and other variables so just use this range as a guide. If you use the whole wheat flour in the recipe look towards the lower range of fermentation time.)
-
Day 1, Evening, Shape and Cold Retard: (You have two options after bulk fermentation. You can shape, transfer the dough to a banneton and refrigerate overnight and bake the next day. The other option is to refrigerate the dough still in the bowl, shape in the morning and bake. I recommend shaping before refrigeration as it's easier to score and more convenient to bake the loaf when it's cold.) To shape: Transfer the dough to a lightly floured surface. The dough will relax and flatten when you take it out of the bowl. Taking one section of dough at at time, fold the sections over the rest of the dough until you have a somewhat tight ball shape. Then tighten the dough by pulling it towards you by cupping the dough with both your hands using your pinky fingers as the anchors. This tightens the dough shape as you pull it towards you. Rotate then repeat three to four times until the dough holds its ball shape. Transfer the dough on a floured banneton with the seam side down. (Note: Ken Forkish instructions in the book recommend seam side down so that when you turn the dough out to bake the seam becomes the top of the loaf and you don't have to score before baking. These days I prefer putting the dough in the banneton seam side up so that when I turn the dough out to bake the seam is down and I score the top of the loaf. Do what makes you more comfortable.) After shaping, put the banneton in a plastic produce bag and refrigerate overnight. The overnight refrigeration retards the fermentation process and avoides overproofing the dough. From this point you can bake in the morning or extend cold retard longer to suit your schedule. You can store your dough in the fridge up to a few days. If you choose to shape on the day you bake, just refrigate the dough in the bowl after bulk fermentaion and follow the shaping steps above when ready to bake the following day.
-
Day 2, Bake: This recipe uses a dutch oven for baking. Place your dutch oven with the lid on in the oven and preheat to 475ºF. Once the oven has reached temperature, invert the dough on a piece of parchment paper. I like to use a small cutting board, line it with parchment, lay it on top of the banneton and flip to invert the dough. If you transferred the dough to the banneton seam side up, you will need to score the dough to allow for expansion before baking it. If you transferred the dough seam side down into the banneton you don't need to score. Make sure you have oven mitts then take the (very hot) dutch oven out of the oven and place on the stove. Remove the lid and rest one of your mitts on top of the lid so you don’t touch it by accident. Take the ends of the parchment paper and carefully lift and transfer the dough to the dutch oven. Cover the dutch oven and place it back in the oven. Bake covered for 30 minutes then uncover and bake for another 20 minutes, checking your bread at the 15-18 minute mark just in case your oven runs hot. When done, tilt the bread out of the dutch oven and let it cool on a rack for at least two hours before slicing.




I need to start a starter. I’ve tried before but always end up tossing them out when the tidy bug bites me. GREG
Greg, I have some dried starter set aside. Happy to send you some!
Just wanted to tell you how much I adore these recipes. I like that you’ve adapted them for single loaf and I like that you’ve also adapted them to start in the morning or in the evening. Plus, I’ve tried several sourdough recipes of late and have even more bookmarked on my phone and yours is the one I always keep returning to. The results have been consistently great.
Thank you!
Annie, your positive experience with my recipe and your feedback means so much. Thank you, thank you!!
Ken’s book is awesome. One gentle tip I just discovered playing around. . . I grew my starter with much lower quantities than most bread books suggest. Day ONE: 50g of flour (definitely use rye or whole wheat to start as this helps introduce some natural yeast into the process) and 50g bottled (or non-chlorinated) water (room temperature is okay to simplify the process). Day TWO: 25g of your mixed starter, 50g of rye or whole wheat flour, 50g water (room temperature). Repeat day two’s process for a few days . . . then switch up your flour to a 50/50 mix of non-bleached all purpose and rye (or whole wheat) for around a week. After you see some bubbling and more active behaviour, switch up the flour to 100% all purpose if you like (I find it easier – less mess). Then . . . keep feeding until you’re happy with your starters consistent rise and fall (usually I feed it once a day). If you aren’t baking for a while and are tired of the mess, put your active starter in the fridge until you’re ready to mess around some more and bake!
You are a far more exoerienced baker than most, and your boulé looks perfect! I agree, no matter what little imperfections, homemade bread always tastes better! One day I’ll start a starter myself.
Priscilla, I have some dried starter I can send you! 🙂
There’s nothing better than homemade sourdough! This loaf is a beauty – hope you’re having a great weekend! 🙂
Thank you so much, Laura. It’s been a great weekend. 🙂
Just set my bread for the final proof. I can’t wait to see how it turns out even though it doesn’t smell very “sourdough” at the moment. I’ve mastered Ken Forkish’s Saturday Breads so fingers crossed the method is on my side!
Gratfantastic information. I’m baking bread a couple times a week, but I don’t know how to start a starter for sourdough.
how much flour (and what kind) and water do you feed to the 40 grams of starter when you are building the levain?
i wasn’t able to tell from your instructions — can you clarify? thank you so much!
Hi, Christine. My apologies for the late reply. I feed the starter 40 grams each water and flour so I have 120 grams total to use for the recipe. Does this answer your question? Happy to answer more. 🙂
Hi does the 40g of flour to feed the starter/ make levain come from the total flour amount given in the recipe or is it in additon to whats listed in ingredients? thanks
Hi, Ally. The 40 grams of flour to feed the starter is separate from the total flour amount for the final dough. Hope this helps.
so happy to have discovered your blog and this recipe! do you take the 40 g flour out of the total flour amount listed in the recipe or is in addition to it?
Hi, Elizabeth. No, the 40 grams of flour to feed your starter is not part of the final flour measurement. So you would take a portion of your mother starter (in this case 40 grams), take 40 grams of flour to feed it (in addition to water). The total amount of fed starter you have will be added to the final mix. Hope this helps and I’m so glad you like what you see here. Happy to answer your questions. 🙂
lastly, how do maintain your mother. When you remove the 40grams to feed, how much do you ensure that you have remaining…I was wondering if you would maybe feed more than 40g to have “more” fed starter to work with the next time. Thanks! sheila
Hi, my apologies for the late reply. I tend to keep anywhere from 150-190 grams starter. The standard formula is one part starter, one part water, one part flour but this is flexible. With this amount of starter I usually have enough to start a levain for a loaf of bread and enough discard to feed to maintain my mother starter. Hope this helps! Feel free to ask if you have more questions!
Hi, I’ve been studying the recipe and watching the videos, but it’s unclear to me as to whether the overnight bulk fermentation is done in the fridge or on the countertop at room temperature? Thanks.
Hi, Laurie. The bulk fermentation is done on the countertop for this recipe. 🙂
Jean, this is so tasty! You do such a great job on your website–great directions and presentations. Thank you for sharing your excellent recipes!
Dough turned out eay to wet
Hi, Anders. Yes, this is a high-hydration formula at 78%. The percentages here are direct from Mr. Forkish’s book, just scaled down to make one loaf instead of two. You can convert it to a lower hydration dough by reducing the amount of water to 70% hydration. This might make it more manageable for you. Happy to help if you have questions.
What do you do if your dough is too wet and you still want to bake it
Hi, Dayna. I hope you were able to work with your wet dough. Not knowing at what stage you are in your process I’m not sure how to make a suggestion. If you have just mixed the dough and it’s too wet you can add more flour. If you’re using this recipe you shouldn’t need to add anymore flour than listed in the ingredients. Happy to answer more questions if you have them.
I’ve been wanting to start a starter (pun intended) but have been intimidated. Anyone have a good recipe for a beginner?
I have been meaning to share a post about starting your own starter but I haven’t yet. It’s a very easy process and you should do it. There are numerous sources on the web but I will bump it up on my to-post list. 🙂
Thank you for the great explanation. Can I have some starter please. I have tried making it but not good at it .
Thank you
Raakhee
Excellent commentary and post. I am baking my way through his book now, but I noticed there is no sourdough recipe in it. I would like to know the ratios you’d recommend for the traditional two-loaf Forkish process. Thanks!
Hi, Barbara. This book has a section dedicated to 100% sourdough recipes, Chapter 10. This recipe is based on Forkish’s Overnight Country Brown in that chapter. This is just scaled down for one loaf but you should see his recipe for two loaves in the book. Hope this helps and thank you. 🙂
Is there a time minimum or maximum for the overnight resting? What if my levain is active in the early afternoon of Day 1. What’s the longest time you can have it rest overnight?
Thanks!
Hi, Robert. All other variables aside, temperature is the biggest factor that would determine total bulk proof time. If your kitchen is on the cooler side (high 60s, low 70s) an overnight proof would be fine if you start in the evening. If your kitchen is warmer and you start earlier the proof time required would be reduced. An alternative is to cold proof your dough. What I’ve done lately is start my bakes earlier and allow to proof for a few hours after stretch and fold. When it’s doubled in size I store the dough in the fridge overnight and shape, final proof and bake the following day. Another option is to use less starter. This would extend the required bulk proof time as there is less starter that would consume the sugars in the dough. Hope this helps. 🙂
I made this twice, the 1st time with all AP flour and the 2nd time with the mix described in the recipe. It did not rise either time. The flavor and texture are great, but I am not sure why it didn’t rise.
is the 40 grams of starter the entire amount you use, adding the 40 grams each of water and flour? I am trying to figure out where i went wrong. Thank you!
Hi, Jennifer. I’d like to help you troubleshoot what went wrong. I’ve found over the years that if your kitchen temperature is at least 70ºF or warmer, the instructions in the book make the fermentation time too long. If your overnight kitchen temperatures are warmer I’m thinking your dough might have over fermented but without knowing more about your process it could be something else. If it helps, I’ve just updated this post with a note at the top of the page and a second printable recipe documenting how I’ve modified Ken Forkish’s method to make it more suitable for year-round baking. I’ve noted room temp and a range for bulk fermentation time based on these conditions. I’ve also reduced the amount of starter to just 90 grams. This modification has been the base for most of my bakes so it works but the overnight bulk fermentation prescribed in the book needed to be adjusted. Please let me know if you have anymore questions. 🙂
Thank you.,I believe it over fermented.. My temp was over 70, closer to 75. I appreciate the tip!
Happy to help!
Hi. I have Ken Forkish’s book and have e been trying the overnight sourdough and during my overnight rising step –
I wake up to a gooey sticky gassy dough – not a consistency that can be worked with to shape. Do you have any ideas why this may be happening? Appreciate any thoughts Thank you.
Hi, A. It sounds like your dough is over fermenting. Since sharing this recipe on the blog a few years ago I have learned that the overnight fermentation prescribed in the recipe can be too long when ambient temperatures are warmer. Do you know what the temperature is in your kitchen? I was only baking bread during winter so this wasn’t a factor and I didn’t realize until later that this could happen. Over the years I’ve adjusted this recipe for daytime bulk fermentation. By chance, did you happen to read the updates I noted a few days ago? There’s a note at the top of the post and I’ve posted a second recipe at the bottom of the post for my updated fermentation schedule. Hope this helps–happy to help further. 🙂
Hi, thank you. I am not sure what the temp of the kitchen is in the evening but guessing somewhere in the mid-70s this time of the year.
I was thinking it was over fermentation but wasn’t sure – new to baking bread 🙂 I’m going to try out your daytime bulk fermentation and see if that helps. Thank
You!
Yes, I would say it probably over fermented. I have found that temps near or over 70ºF is too warm for an overnight bulk. Hope my adjustments work for you–just watch your temperature–it’s very important for bulk fermentation. 🙂
Hi, thank you, the the day fermentation worked and thank you for this note “ The dough will be bubbly on top and light and jiggly when done. “ I had about an hour left when I checked on it and it was at this state, think if I had left it longer it would have over fermented again. Can this same process be used to make the full recipe, two loaves?
Hi, A. So glad that the daytime schedule worked for you. This process should work using the double batch. You can just double the amounts and if you choose to do bulk fermentation in the same container you will split the dough when you shape. Timing shouldn’t be affected since the percentage of starter stays the same. Just monitor the temperature of your dough to evaluate bulk fermentation time. Hope this helps and I appreciate your feedback. 🙂
Hi! If using just 100% bread flour, should water amount be reduced? Thank you!
Hi, Trish. You wouldn’t have to change the hydration if you use 100% bread flour. 🙂
I love everything about this recipe! It’s fairly forgiving (I admit to reducing the water by about 10g so I don’t have to worry about over-hydration event I’m doing the ‘flomps,’ as I call them, with wet hands.
But the fact that you have two versions means I can start this almost any time of day and have fresh bread the next!
Thank you!
I love everything about this recipe! It’s fairly forgiving (I admit to reducing the water by about 10g so I don’t have to worry about over-hydration when I’m doing the ‘flomps,’ as I call them, with wet hands.
But the fact that you have two versions means I can start this almost any time of day and have fresh bread the next!
Thank you!
I baked this bread, and it does not have a sourdough flavor. I have had this sourdough starter since 2020, during the pandemic. I have baked with it many times. The only difference is I fed it in the morning, then I fed it again when I build the levain, about 4-5 hours later. Would that have diluted the sourdough flavor?
Hi, Jennifer. That’s possible. The more often a sourdough starter is fed the less acidic it will be but I don’t think you’re doing anything wrong. If you are after sourdough bread with more tang you can incorporate more whole grain in your bread (rye or whole wheat flour) and/or leave it to cold ferment for longer than overnight. Also, when a starter is fed less frequently, acid will build up so that is another option. Happy to answer more questions if you have them–hope this helps. 🙂
Hi there, I’ve been cooking Fourkish’s country brown sourdough for a while now and could never make it work in summer: thank you so much for posting this warm weather variation, I gave it a shot and it worked beautifully on the first go-round. Question for you: handling the dough was *so* much easier after the overnight cold retard. In cooler weather, have you ever tried the original method but then instead of a 4-hour countertop final proof, proofing the bannetons in the fridge for 12-24 hours, as done in the warm weather method? Would be nice to have the benefit of working with the cold dough year-round…Thanks!
I have been making Forkish’s Field Blend #2 for about three years now, and have made about 150 loaves (I bake one loaf every week). I live in SW Pennsylvania, which is not a super warm climate, but, nevertheless, my bread definitely suffers in the warm months. I just don’t get the oven spring that I do when the house temperature is below 70F. Much better oven rise in the cool months. The bread is still fantastic in the summer, but a little flatter. I have tried everything — cooler water, letting it bulk ferment in the cellar, where it’s cooler, etc., etc. One thing that helps a little — I was adding a little whole wheat flour when I feed my starter. I stopped that in order to make it a little less potent in the warmer months, which seemed to help a little. (I feed my starter once a week, and keep it in a jar in the fridge in between). Good baking, everyone!
Thank you so much for the tips, Frank!