A Sourdough Baking Guide and Chocolate Cherry Sourdough Bread
Here is my sourdough baking guide (and tips) so you can achieve more reliable results in your own bakes. Plus an ultra-easy recipe for Chocolate-Cherry Sourdough bread
If you can stand more talk about sourdough, I’d like to summarize what I’ve learned through my experiments over the last few months and share some tips that might help to make your sourdough journey easier and, hopefully, more enjoyable. It took me stepping out of my comfort zone by taking apart my go-to recipe to answer my own questions and finally begin to understand the factors that affect each bake…and I’ve been rewarded with more consistent results. Click for Part One and Part Two of this process of discovery.
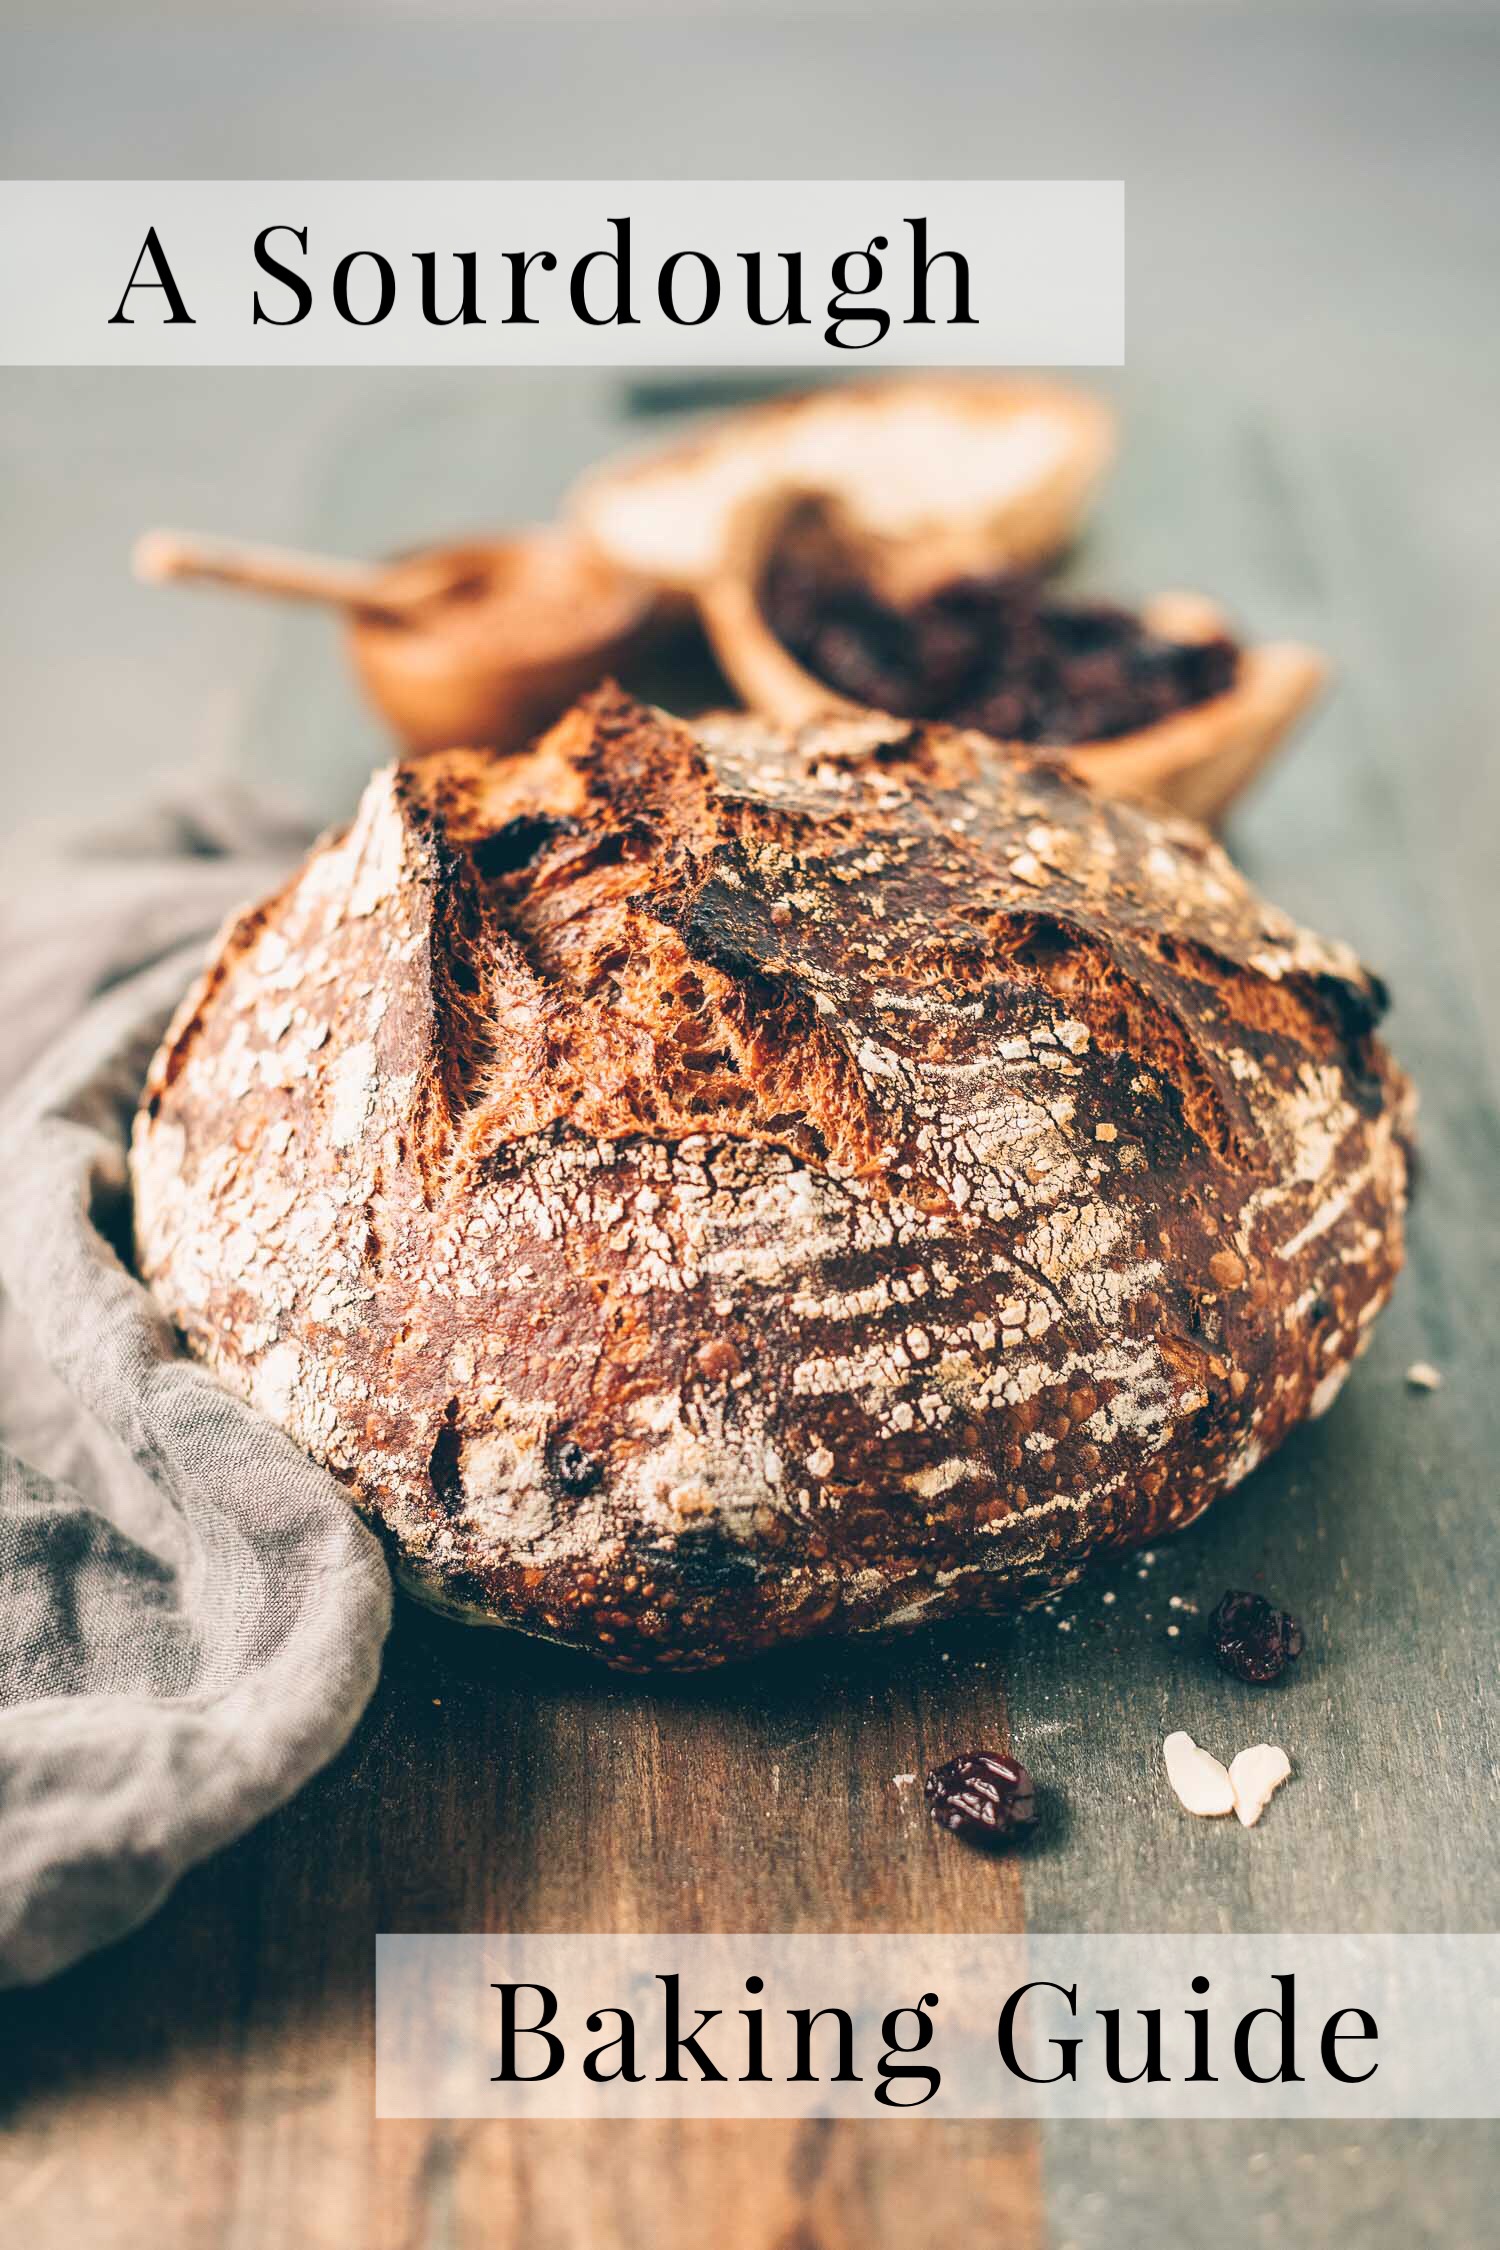
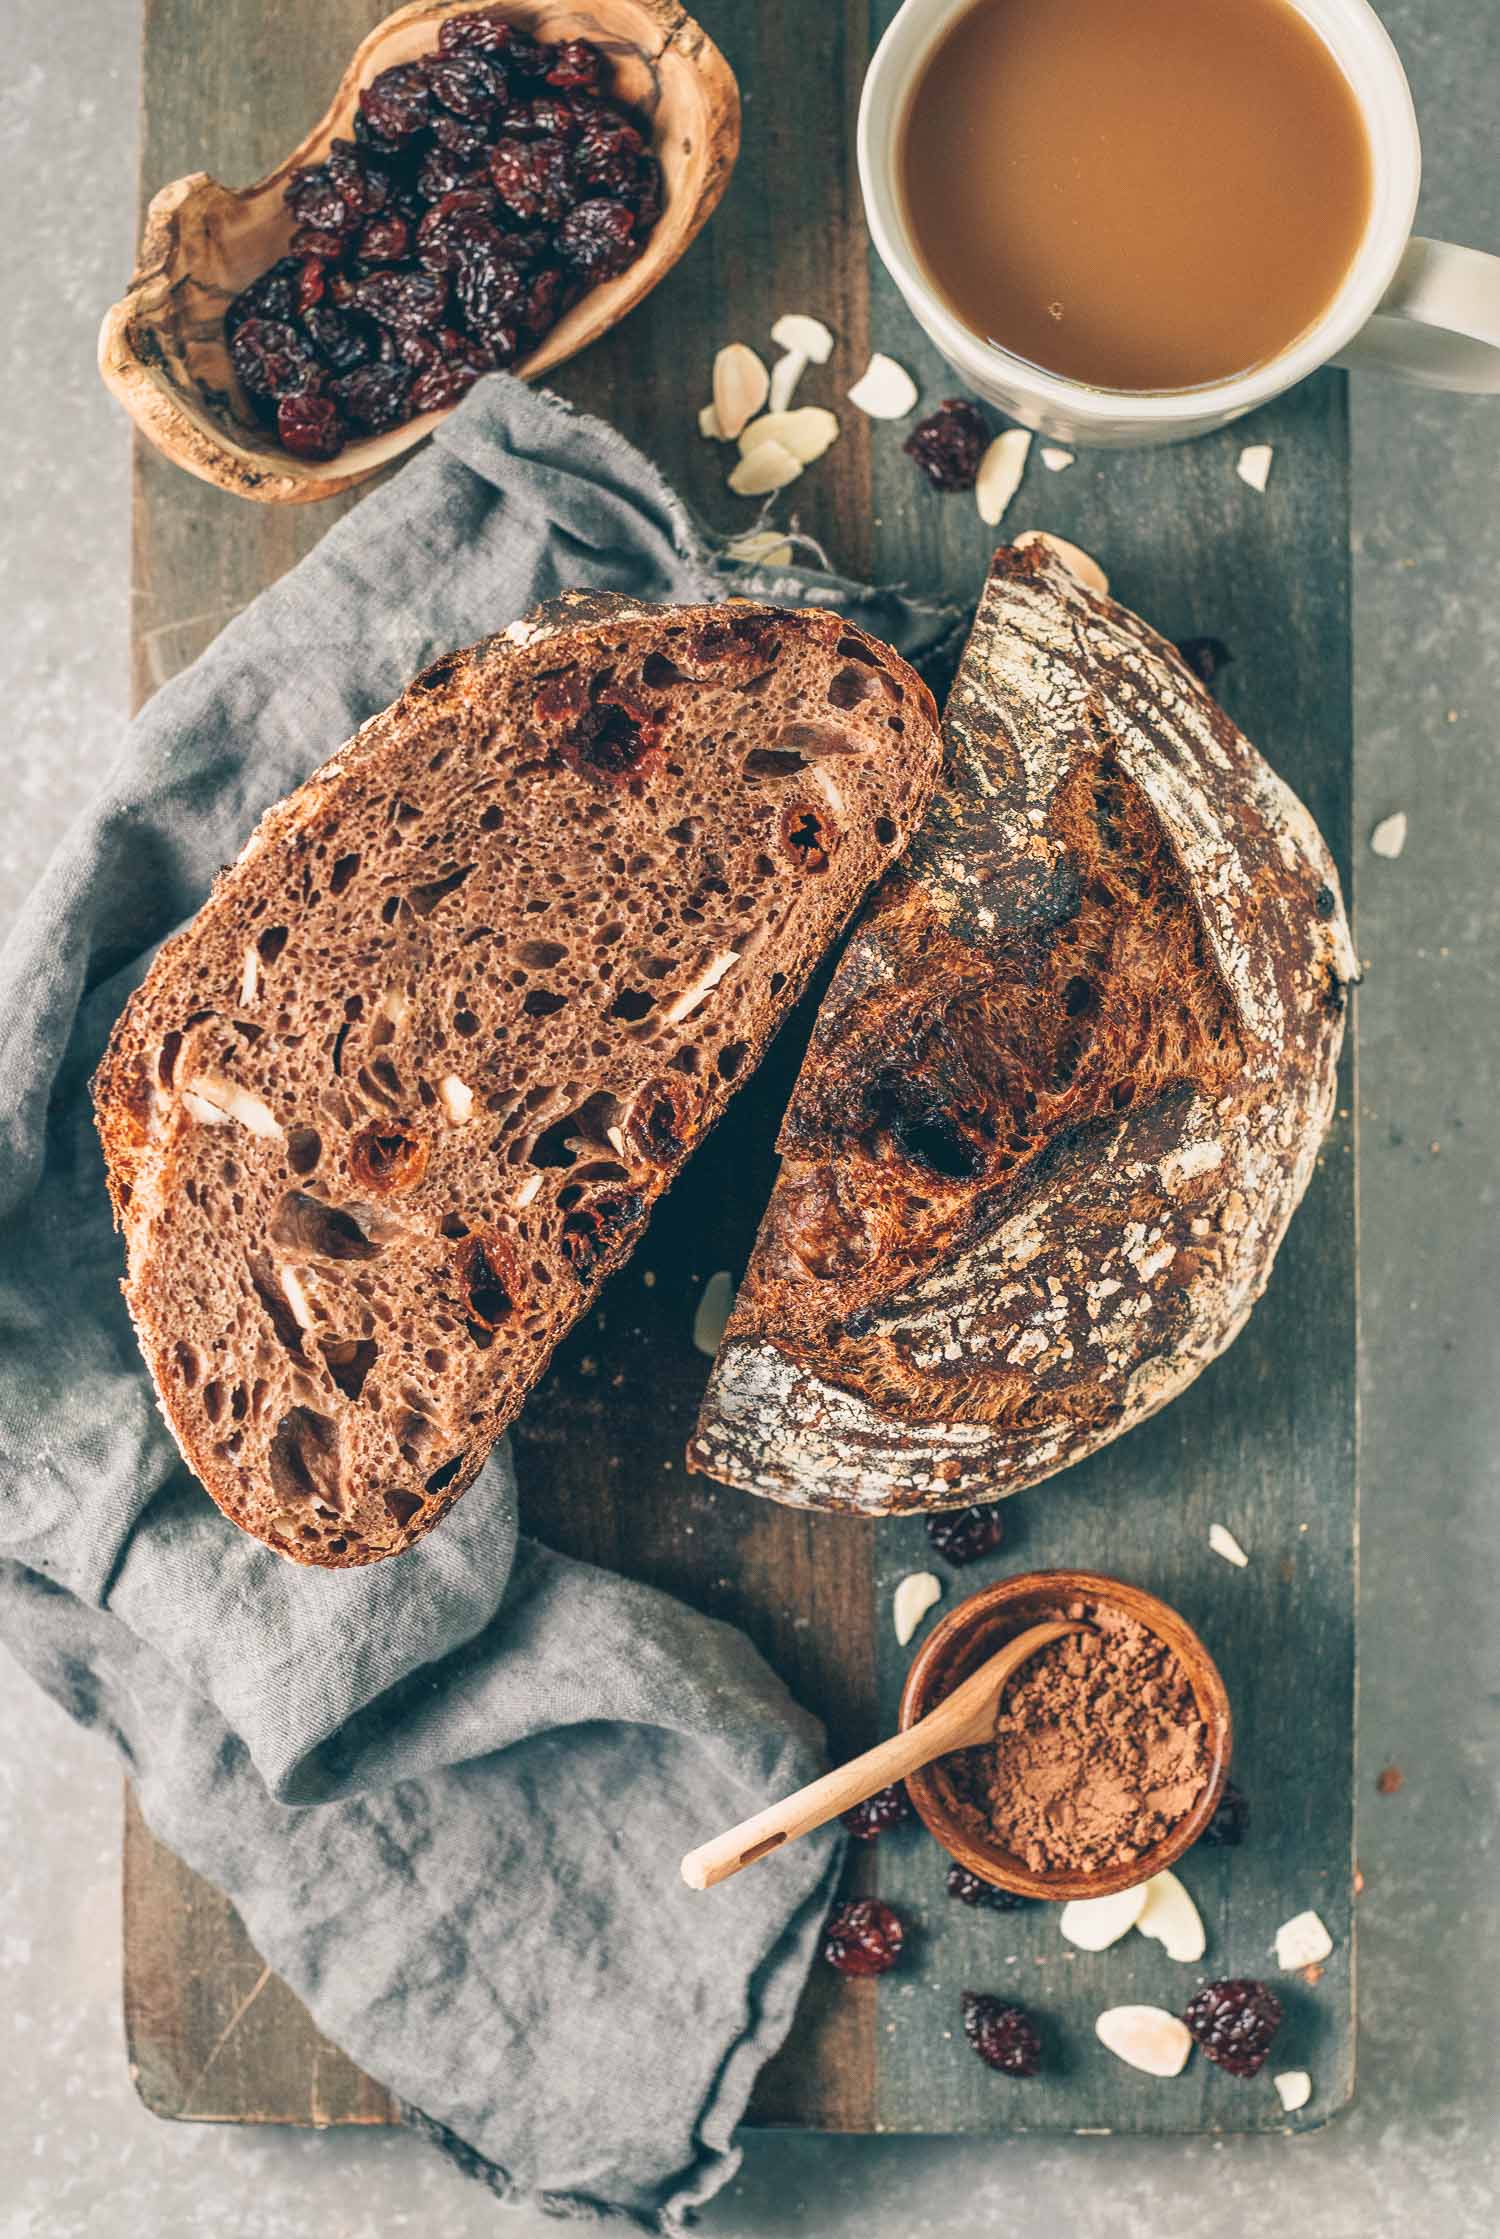
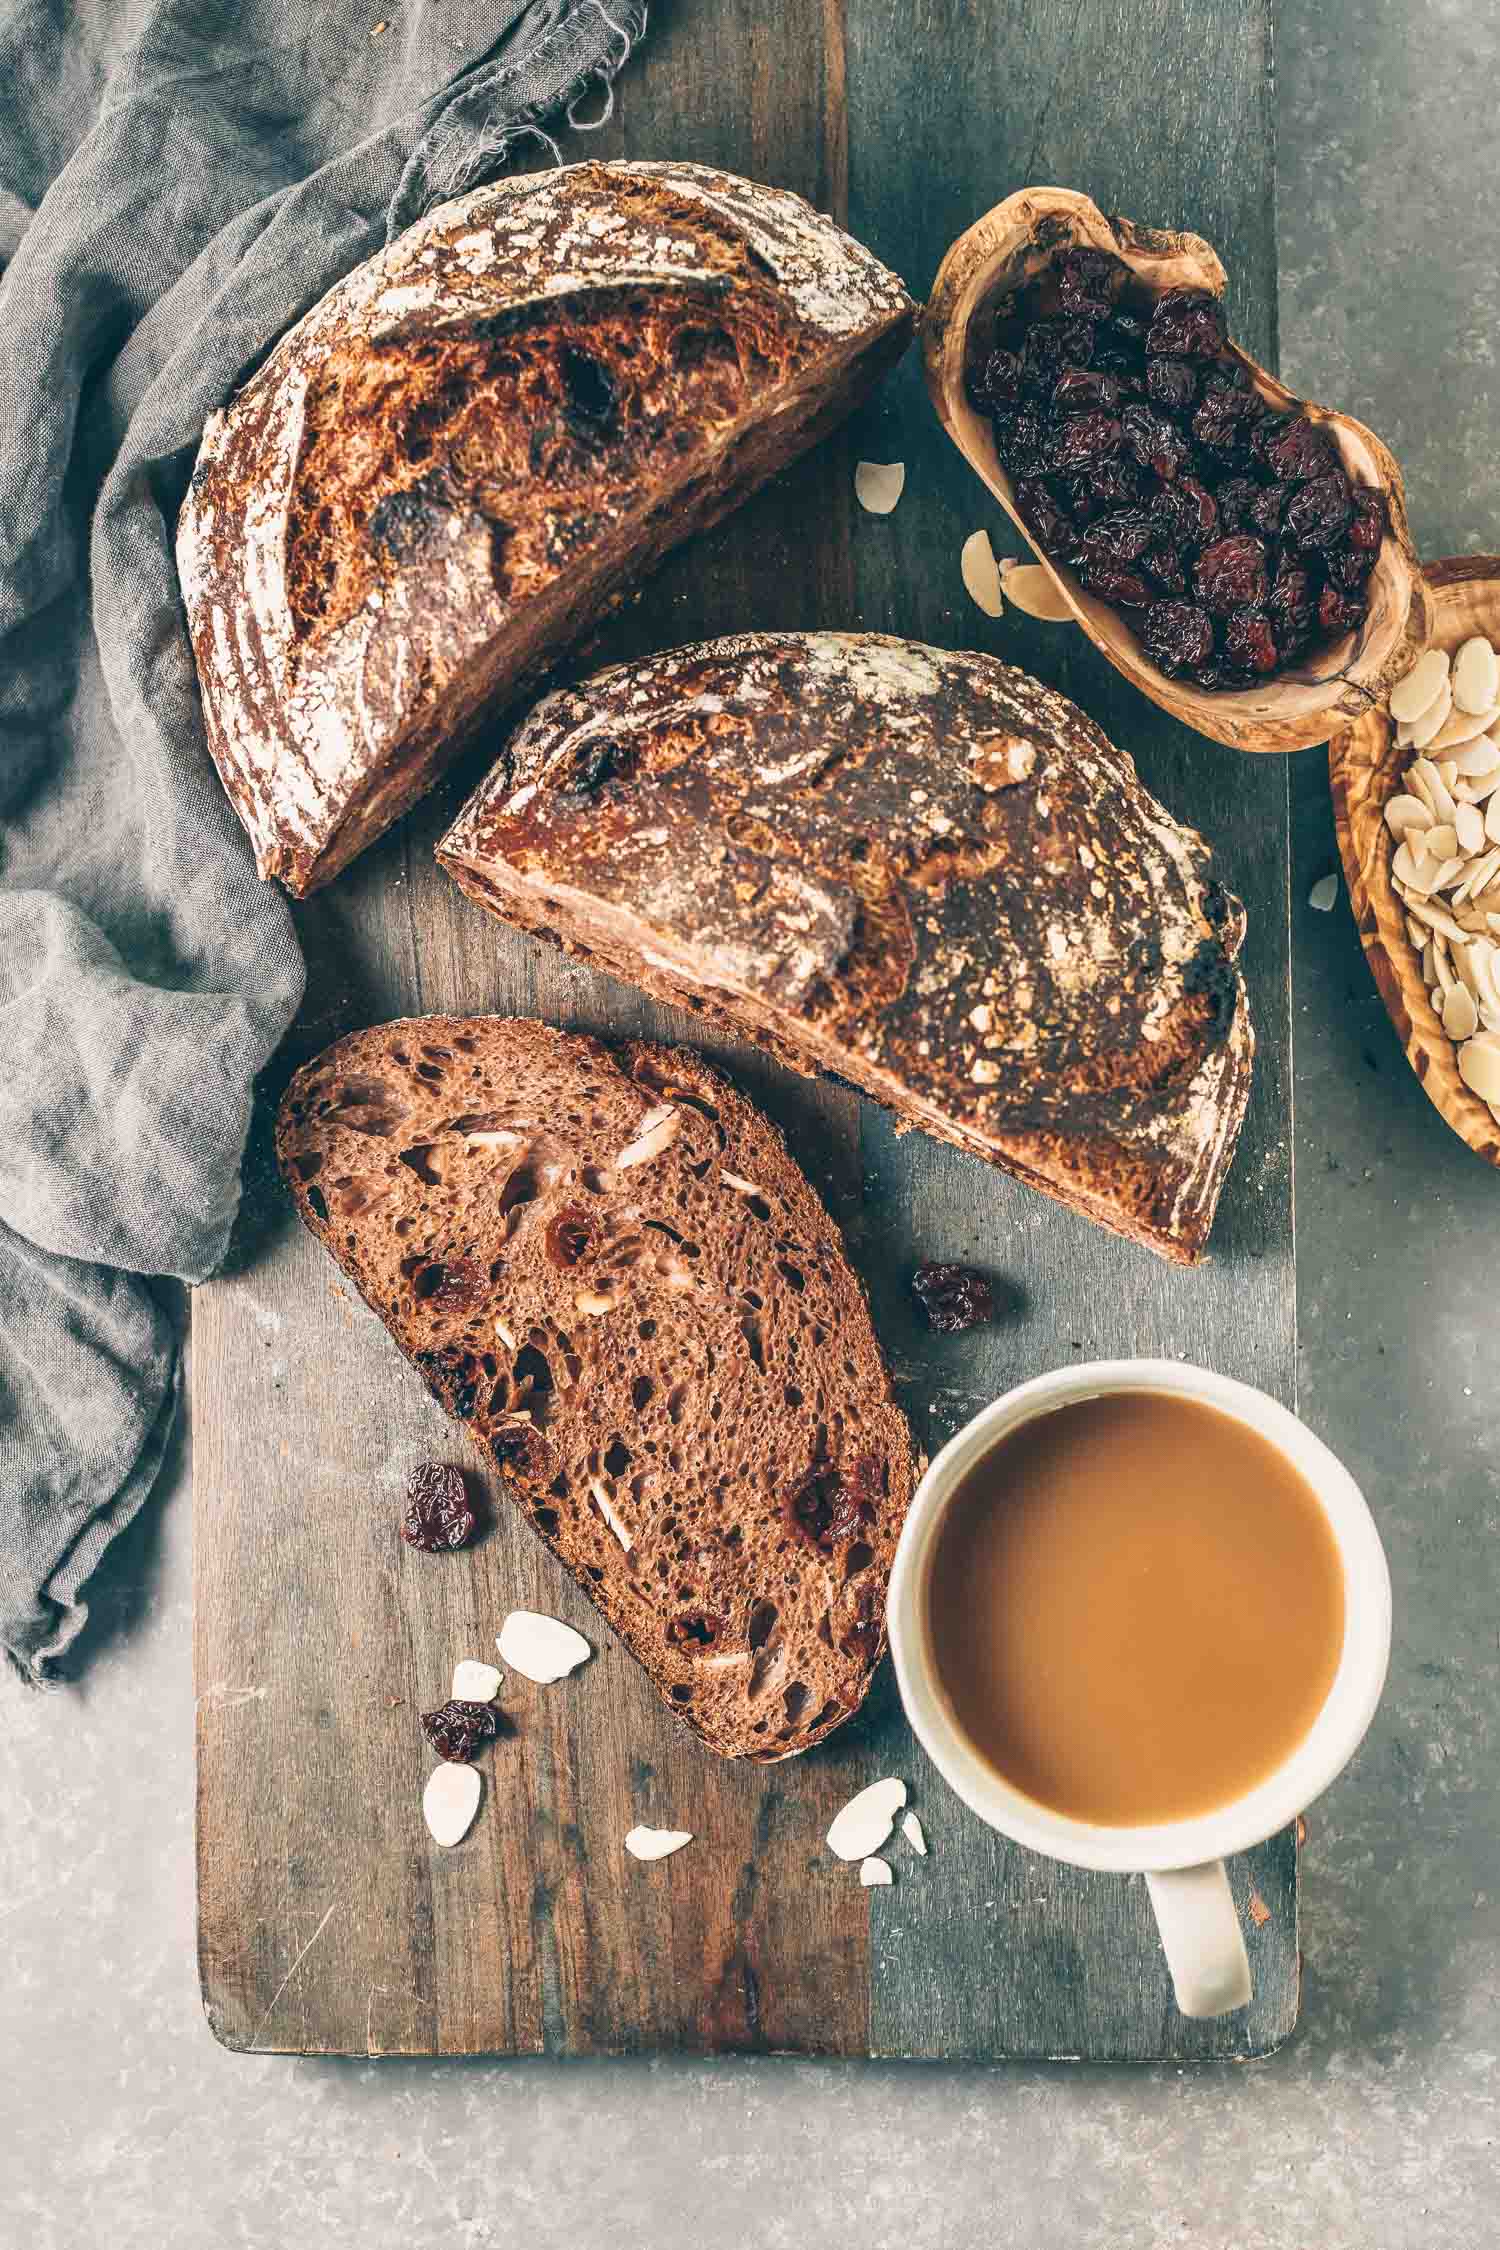
This Chocolate-Cherry (and Almond) Sourdough Loaf is a product of these experiments, adjusting the amount of starter, using bread flour, refrigerator proofing and, in this case, using unfed starter. These components affect each bake and it’s understanding how they work together that will hopefully help make things begin to click for you, too.
My biggest advice is to not be afraid to get in your kitchen and bake that bread. The worst case is you’ll get a flat, misshapen loaf but I guarantee it will still taste better than most store-bought breads. And don’t feel bad if you followed a recipe exactly and still didn’t get beautiful results–chances are it’s because the temperature in your kitchen, your flour or any of the other elements below did not exactly match those of the recipe you followed. Use this guide to troubleshoot and make adjustments for your next bake. Just keep trying until you figure out what formula works for you.
MY SOURDOUGH BAKING GUIDE (AND TIPS)
Time: Sourdough bread refuses to be rushed. Though warmer temperatures can shave an hour or a few from the total time, feeding the starter, bulk fermentation, proofing and autolyse (if you employ this technique) take hours collectively. In some cases it’s possible to bake a same-day sourdough but it’s better to be prepared for it to be a two-day process–most of it is inactive time anyway. My sourdough recipes in this blog are broken down by time of day to help you plan your baking schedule. (See Bulk Fermentation below for more on time.)
Temperature: A key driver of time in sourdough baking. Yeasts are more active at warmer temperatures and less when cooler. A warmer kitchen will accelerate the bulk fermentation process and can reduce fermentation time by hours and extend it in a much cooler kitchen. For example, my kitchen in winter and spring runs roughly between 68-70ºF, requiring bulk fermentation in the range of eight to twelve hours. My kitchen in summer sometimes runs warmer so this shortens bulk fermentation time. If you’re in the Tropics and your average room temperature is in the 70-80ºF range, your fermentation time can be as short as a few hours.
Quality of Starter: This is important. It can take time to build a dependable, robust starter. Generally, it can take one to two weeks from first mixing your flour and water to be able to bake with your new sourdough starter for the first time. How do you know when your sourdough starter is ready to use? A healthy, active starter should double in size within a few hours after feeding. In my kitchen my starter doubles in about four hours.
Starter Maintenance: Regular feedings promote good yeast activity but you don’t have to be a slave to your starter either. More active bread bakers keep their starters at room temperature and feed their starters once or twice a day. For occasional bakers like me (one to two loaves per week or sometimes even less frequently than this) I store my starter in the refrigerator. When I’m off baking my starter is fed once every two weeks.
Type of flour to use for starter: You will find that maintaining your sourdough starter with rye flour (or another whole grain flour) is easier than with white flour because there are more microorganisms in the former that promote good yeast activity. This is not to say that white flour is a bad idea–actually, this is what most bakers use–but for newbie bakers the responsiveness of whole grain flour might be a confidence booster.
Even if you bake mostly with white flour you can still maintain your starter with whole grain flour. For gluten-sensitive bakers you can also create and maintain a sourdough starter with gluten-free flour.
Using Unfed Starter: A freshly-fed sourdough starter with a vigorous yeast population is always the recommended route for sourdough baking but if you know you’ve got a healthy starter feel free to test its strength. My starter has proven reliable and strong so I’ve felt comfortable using unfed starter straight out of my fridge for my recent bakes (including the recipe I share below). Again, the worst that can happen is that you’ll get a flatter loaf but it will still be delicious. Don’t toss sourdough baking fundamentals out the window but don’t be afraid to experiment either.
Amount of Starter: When I began to experiment with different amounts of starter in my bakes the results were eye-opening. For years I used the same baking formula–same starter, flour, water amounts and also the same overnight bulk fermentation and proof times. Before understanding that time and temperature affected my bakes it was quite frustrating to see such varying results when I followed the same recipe exactly each time.
I explained this in Part One of this sourdough series but to summarize, reducing the amount of starter in your recipe is one way to manage bulk fermentation time. The yeasts in the starter consume the sugars in the flour and this causes them to emit gasses that allow for the dough to expand. This is the stage where flavor development takes place, too. In my case, before I started to play around with bulk fermentation time, my overnight fermentation hours were fixed. The time I had allotted for this stage was too long when temperatures crept up–the yeasts had been consuming all the sugars, inhibiting good rise. The bread tasted great but the rise was neither dependable nor predictable. My workaround was to reduce the yeasts working through my dough overnight so effectively, there was proportionately more “food” for the yeasts…and it worked. So you can look at adjusting starter amounts as one way to customize your personal sourdough formula.
Type of Flour: It’s fun to mix flours in sourdough baking and I play around by adding spelt, rye and/or whole wheat to my bakes, all depending on mood. Incorporating small amounts of these whole grain flours is great for boosting flavor and nutrition but it can compromise gluten development (gluten is a family of proteins). A sourdough loaf that contains more whole grain flour will usually have less volume than one made with mostly white flour. Even if you’re just starting out I recommend switching to bread flour right away. Protein content varies by brand but generally, bread flour will have higher protein content than regular all-purpose flour and will lend more structure to bread. As you get more comfortable, incorporate small amounts of whole grain flour (10-15% of total flour).
Salt: The general rule of thumb is for sourdough bread to have roughly 2% salt content. I tend to cheat on this and reduce my salt grams but it’s more than just for flavor, which it lends a lot of. You need salt in your sourdough bread. Salt aids in gluten development and also slows down fermentation so it’s a key element in multiple stages of the sourdough process.
Autolyse: This step is the process of mixing just the flour and water–no salt and no starter– followed by a rest period (30 minutes to one hour) to hydrate the flour. Autolyse is supposed to make the dough more stretchy, making it easier to work with. Lately, I’ve been using a hybrid step where I do mix in the starter with the flour and water right away–sometimes called fermentolyse since fermentation technically starts as soon as starter is mixed with flour and water–and it’s been working well, too.
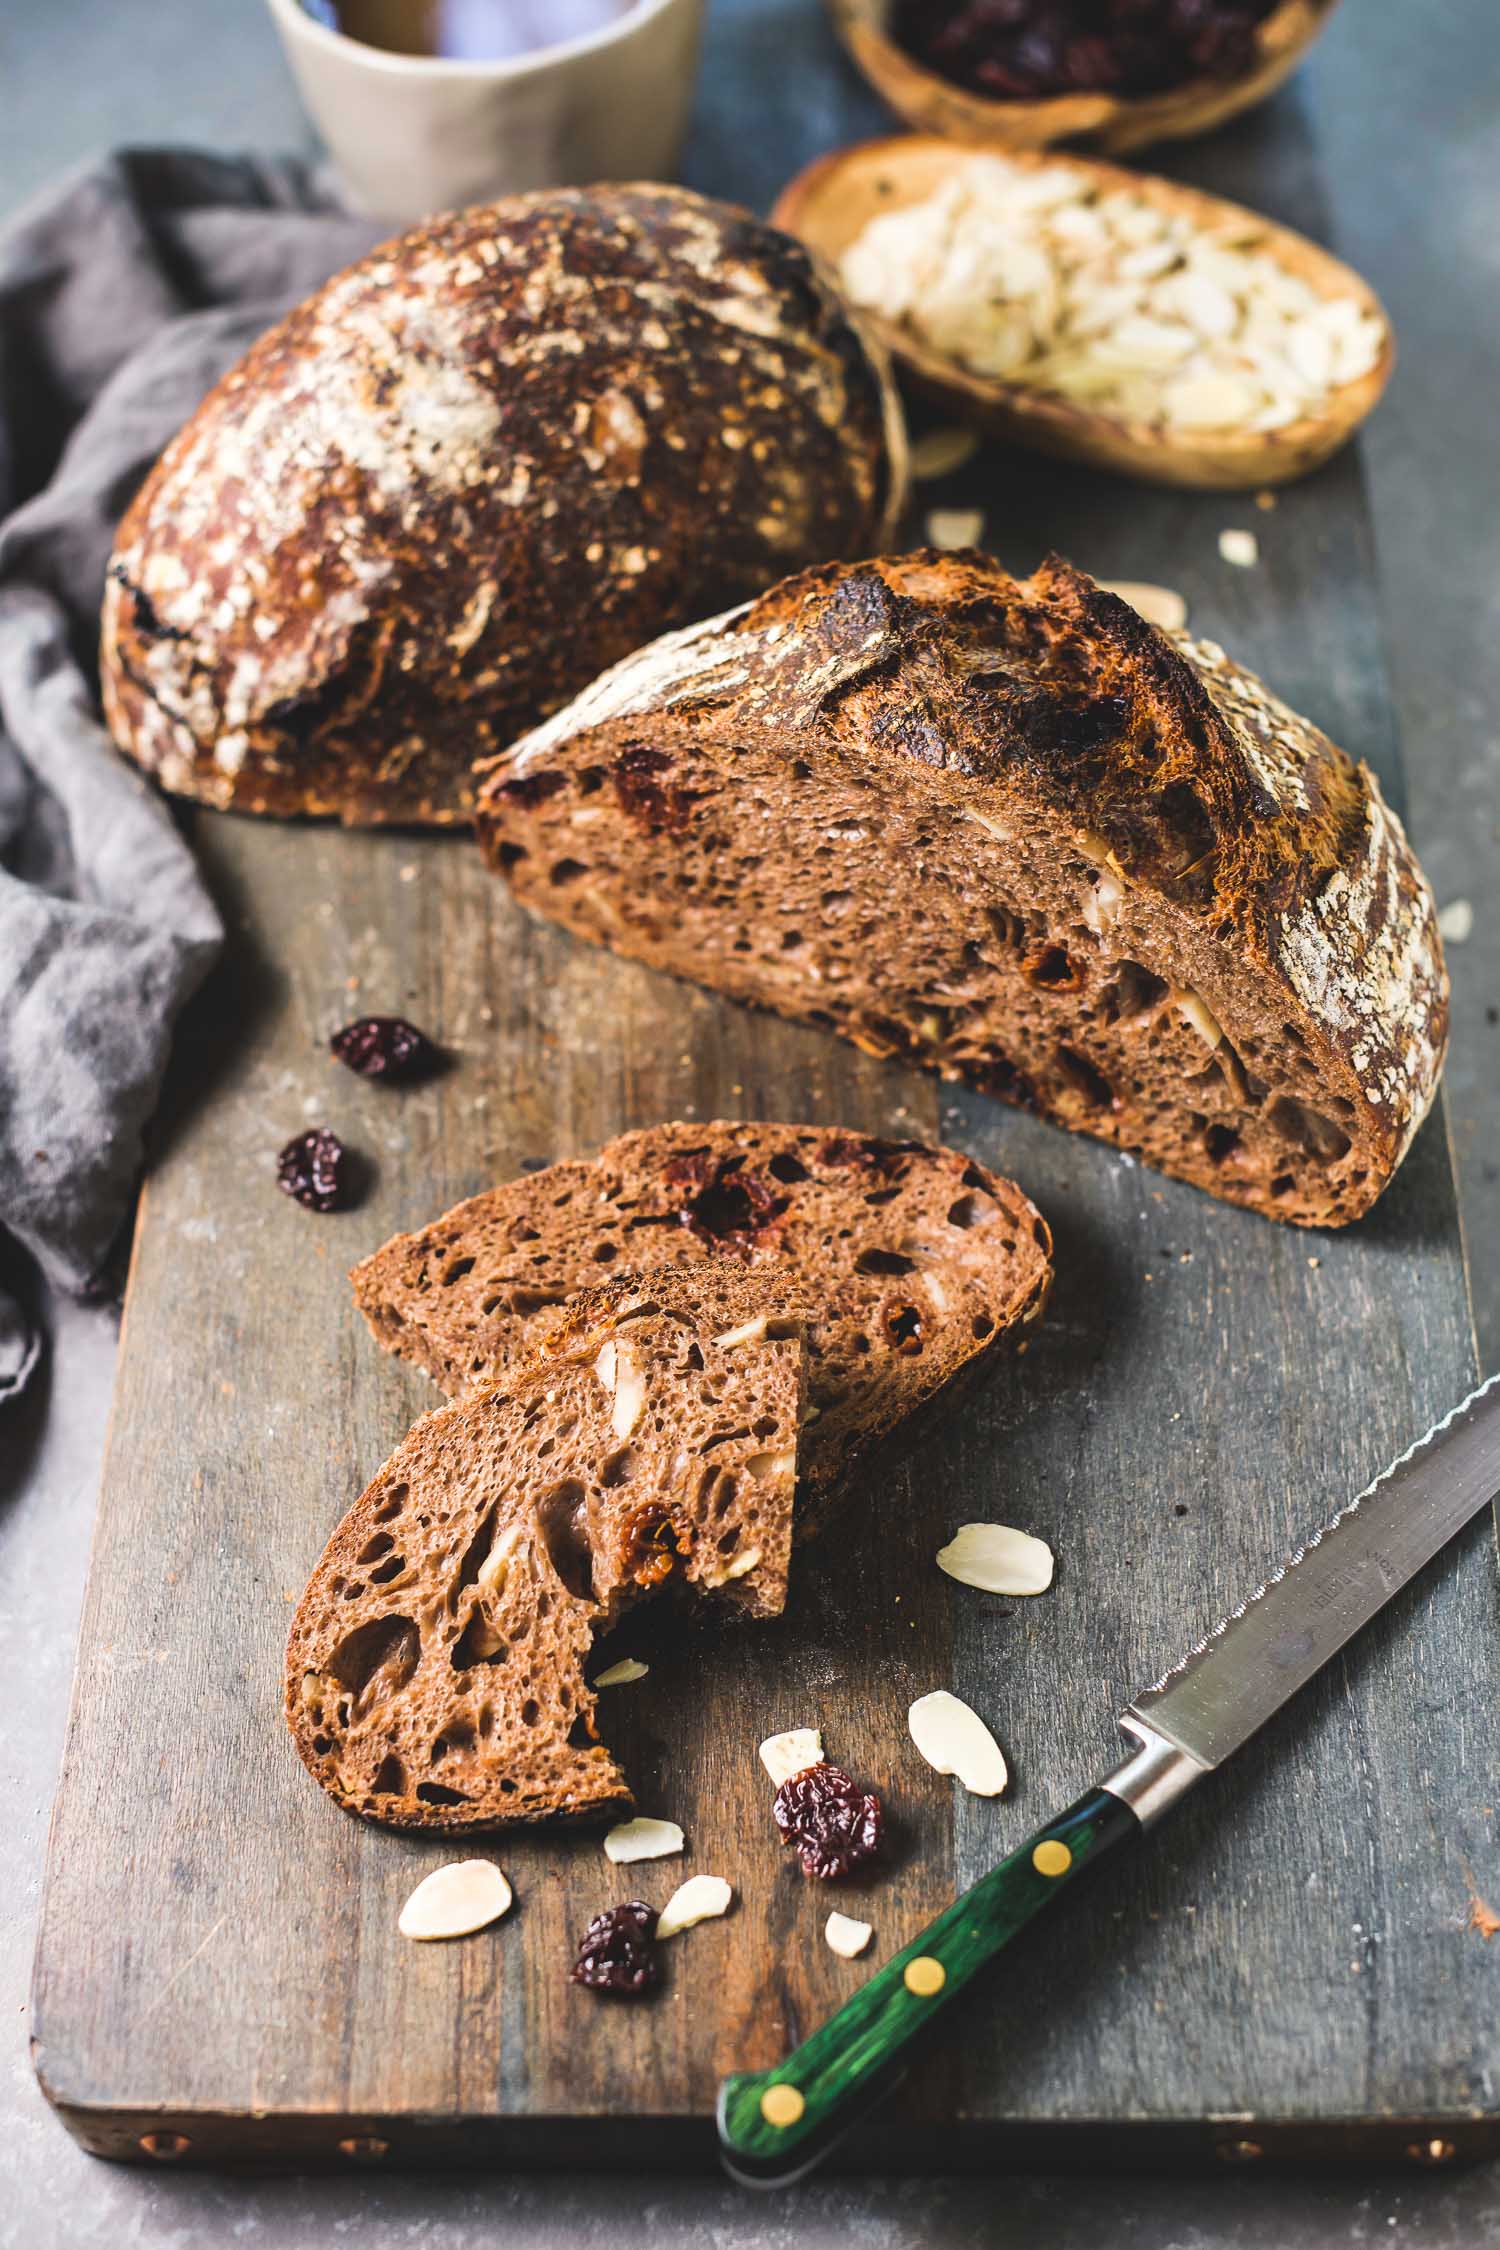
Hydration: This is the ratio of water to flour in a recipe and anything in the 75% range is considered higher hydration. Higher hydration dough will be wetter and stickier and can be a challenge to work with. The recipes I’ve shared here have been in the 78% hydration range–perfectly manageable but flexible if you want to reduce the amount of water to adjust the hydration. A lower hydration dough (60-65%) will be stiffer and easier to work with. Here is great Sourdough Hydration calculator (click here).
Water: See above for my notes on hydration. My tip is to use filtered water for your bakes and starter maintenance. Tap water contains chlorine and yeasts are sensitive to it. You don’t have to buy Evian to bake bread–filtered tap water would work just as well. I also like to use luke warm water (90-95ºF) for my starter and for my bakes–it’s one way to control the environment for the yeasts. A cold kitchen and room temperature water will be slow to get the yeasts working so using warm water and bringing up the temperature of the dough to at least 70ºF can help.
Stretch-and-Fold: Most sourdough recipes you will encounter these days will involve a few sets of stretching and folding the dough instead of kneading it. It’s a less intimidating approach to developing gluten in dough. Here is a video demonstrating the technique.
Bulk Fermentation: This is where much of the magic happens in dough. When the yeasts do their thing–consuming the sugars and in turn producing carbon dioxide and alcohol for lift and flavor, respectively. This is the part that vexed me most about sourdough baking until I started to experiment and observe how yeast behaves during this stage.
The main thing to note is that bulk fermentation time has a direct relationship with the temperature of the dough’s environment. Higher room temperature means shorter bulk fermentation and lower temperature means longer bulk fermentation. If your dough rises and falls during this stage it means that fermentation has run too long and the yeast has run out of its food supply–no food, no gas to emit (the carbon dioxide is what creates the air bubbles that makes dough rise) and you need enough sugars to last through the proofing stage and baking (for caramelization).
So if you have tried a sourdough recipe (even one here) and have not been happy with your oven spring, consider the bulk fermentation time. For my 68-70ºF kitchen, bulk fermentation can take around eight hours. In a warmer kitchen (75ºF+) fermentation can be as short as four hours. You can play around with time and also use the workaround I mentioned above and reduce the amount of starter you use in your bake to increase the food supply in the dough.
Shaping: This part takes practice and YouTube is your friend. You will find many different shaping techniques so follow one that you are most comfortable with. Ken Forkish’s shaping method is easy to follow and has worked well for me. The important thing is to create tension in the dough without compromising the gluten structure created during bulk fermentation.
Banneton: This is a basket that helps to support the dough during its final rise (final proof stage). You don’t need a banneton to bake bread–it’s purely preference on my part to use them. A bowl, colander or another basket lined with a tea towel would work just fine. The important thing to keep in mind is to dust your basket or linen with flour to keep the dough from sticking to your proofing vessel. Rice flour is superior to all-purpose flour for this. I have not had any sticking issues since moving to rice flour.
Proofing: The final proof is the last stage before baking. The dough relaxes and rises one more time after shaping it. Fermentation continues during this stage, too. Proofing times can also vary and, as with bulk fermentation, it’s more important to watch the dough than to watch the clock. One way to check if your dough has proofed (proved) enough is by sticking a floured finger in the dough about half an inch. If the dent springs back immediately, it’s not ready yet. If the dent springs back slowly and doesn’t completely disappear, your loaf is ready to bake.
One thing I’ve learned through experimentation is that I had been proofing my dough too long. In my kitchen one or two hours was sufficient compared to the four hours I used to wait. Again, it’s a matter of getting to know how your dough behaves.
Lately, I’ve been proofing my dough in the refrigerator and I’ve been getting excellent results. Refrigeration retards yeast activity so you’re not as much a slave to the clock when proofing at room temperature. In the recipe below I proofed the dough for 36 hours in the refrigerator and it worked just as well as the loaf I baked that proofed for 20 hours. I’ve read that you can proof your dough in the refrigerator for up to a few days and it works just fine.
Kitchen Scale: You can bake bread without using a scale–some home bakers do and get great bread. But they have developed a feel for the dough over time so they know what it needs. I’m certainly not there yet and if you’re reading this guide you might not be either. I highly recommend adding a kitchen scale to your arsenal. While different hydration percentages allow for wiggle room with the amounts of flour and water in a recipe, tracking and recording ingredient weights can make troubleshooting much easier and also reveal what formula works best for you. You can see that most measurements are expressed in grams and percentages–they make a difference.
FINAL THOUGHTS: Don’t be intimidated by the process and if you are, you are not alone. It took me years to muster the courage to play around with the process. The recipes I have shared here have been simplified so that you can bake with (hopefully) a good degree of confidence. If you have trouble, check this guide and adjust time, temperature, the amount of starter and go from there. The important things is to have fun!!
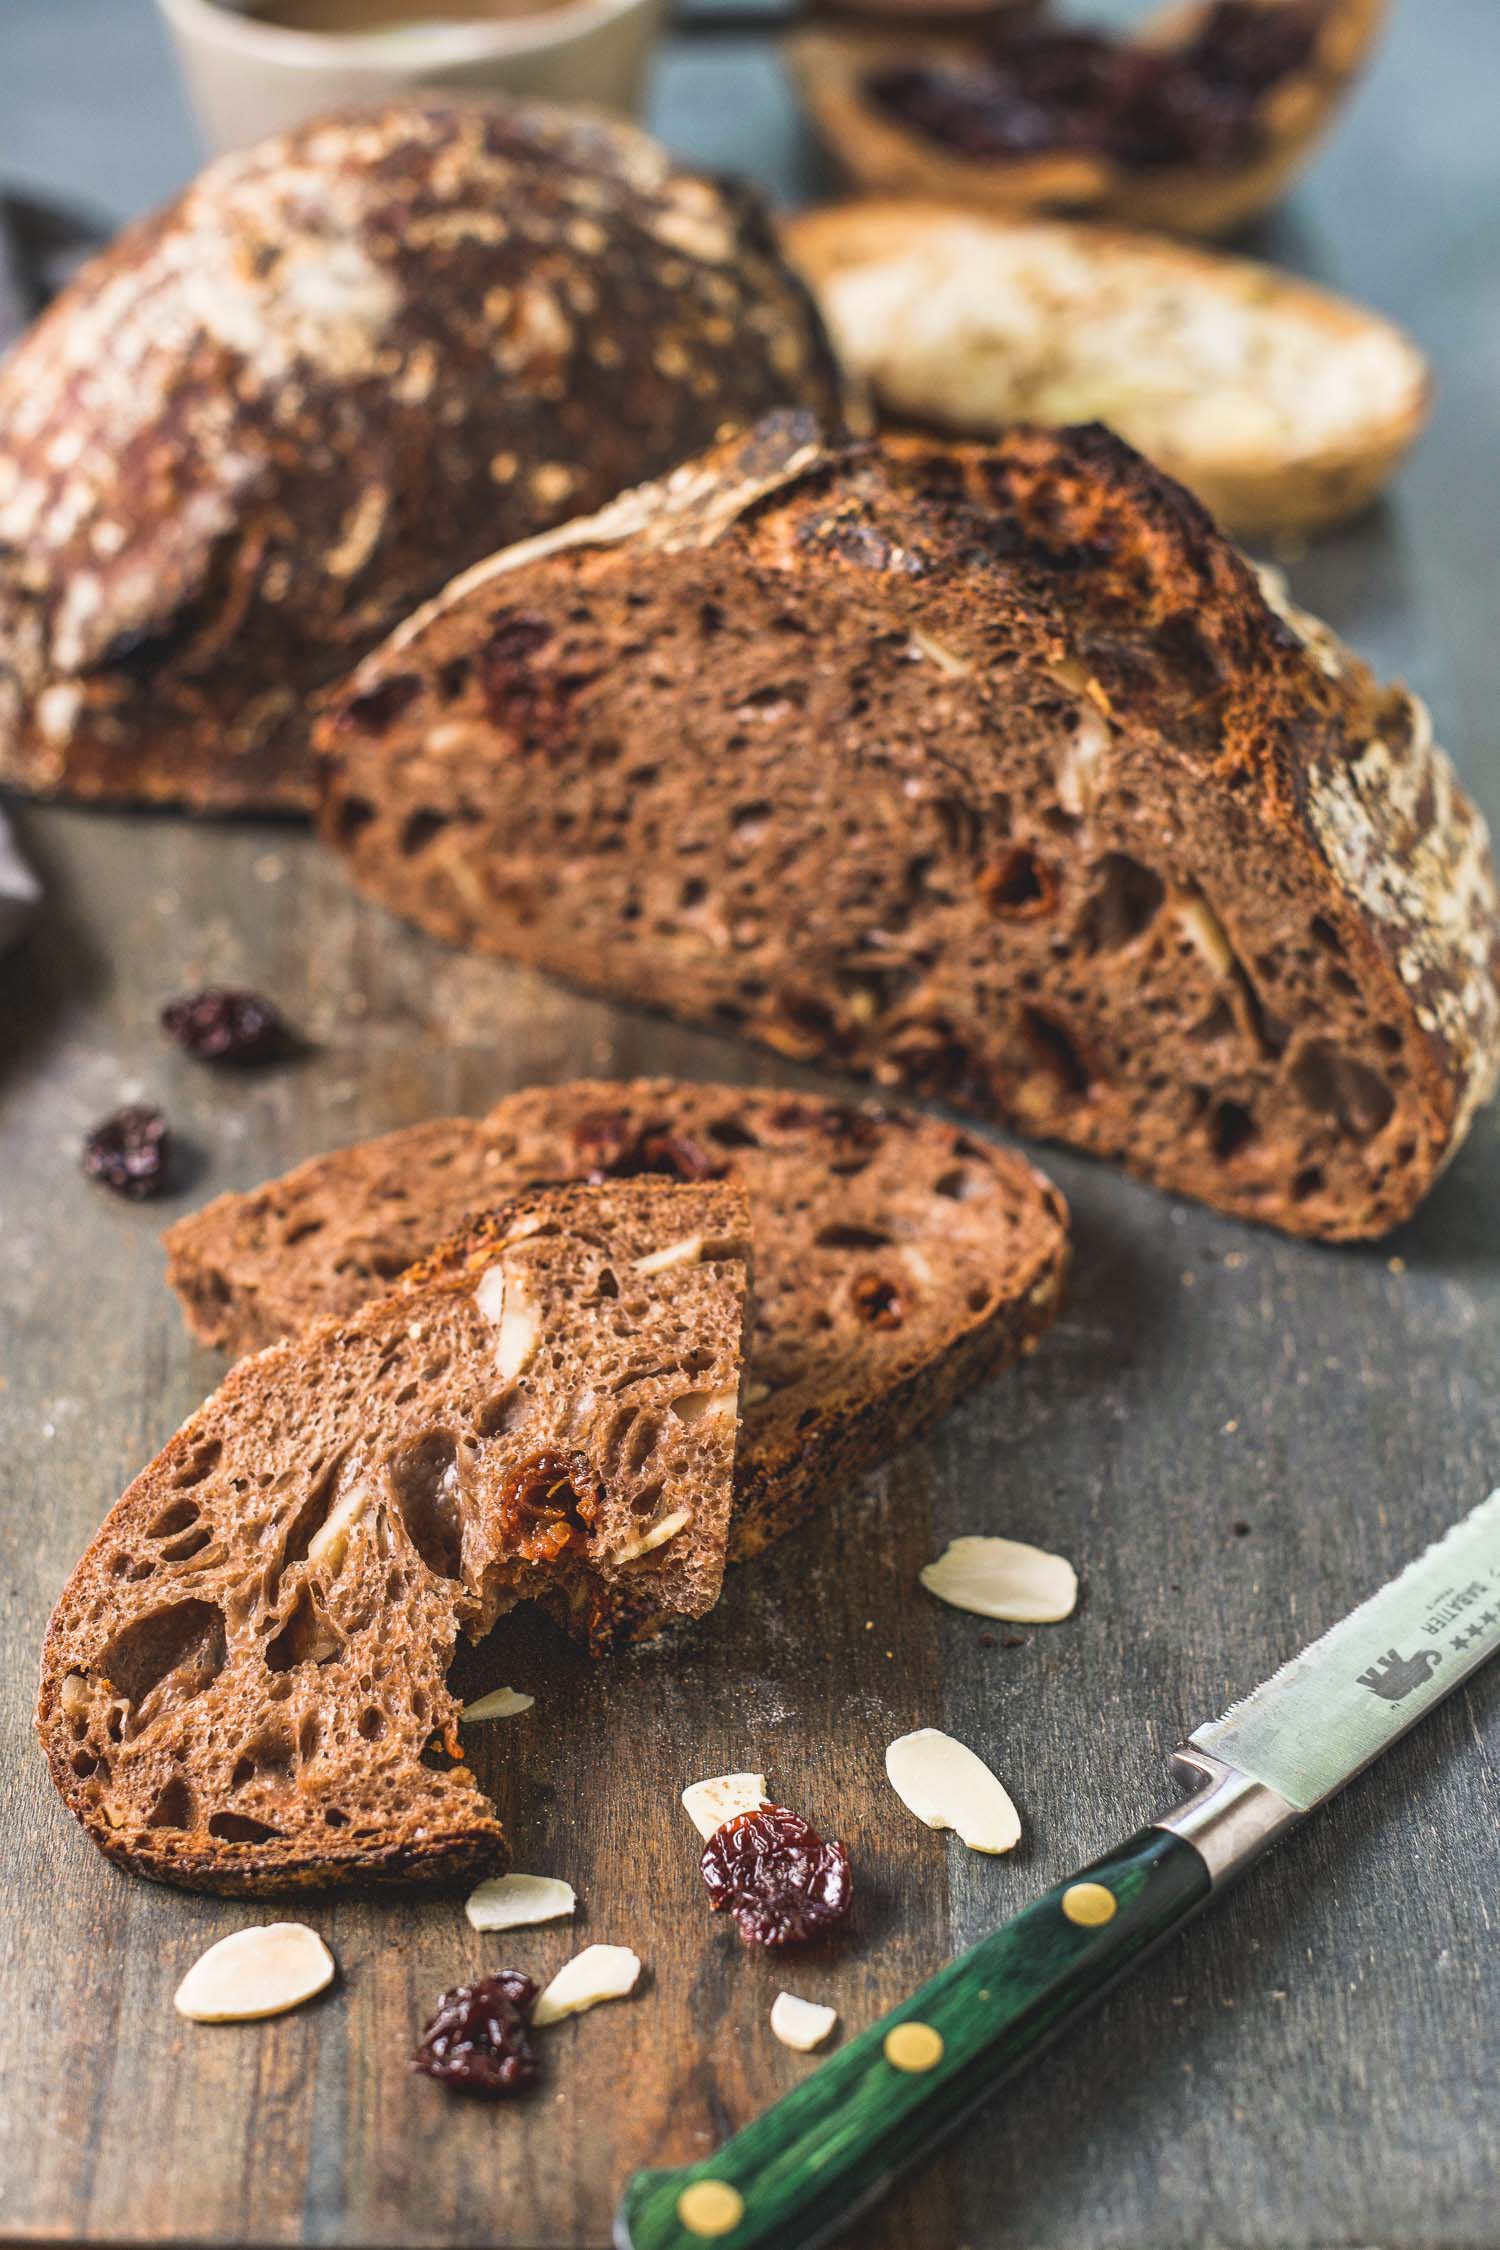

Chocolate-Cherry Sourdough Bread
Ingredients
- 85 grams sourdough starter (I used unfed from fridge)
- 367 grams water (90-95ºF)
- 460 grams bread flour
- 15 grams raw cacao powder (use more for more pronounced flavor)
- 6 grams kosher salt (use up to 12 grams if you like)
- 35 grams sliced almonds (ok to use more)
- 60 grams dried cherries, soaked in water for 30 minutes (okay to use more)
Instructions
-
Day 1 (morning): If you store your starter in the refrigerator, take 85 grams and allow it to come to room temperature, about one hour. Make sure you have enough starter leftover to feed and store for future use. (Edit: cold starter straight out of fridge works well, too)
-
Day 1 (morning; Mix the dough): Stir in the unfed starter and water in a bowl. Once the starter has been evenly distributed in the water add the bread flour and cacao powder. Cover the bowl with a kitchen towel or plastic wrap and let sit for one hour.
-
Day 1 (morning): Add the soaked and drained dried cherries, kosher salt and almonds to the mixture in the bowl. Combine the dough using a wet hand and folding the dough over from the bottom to top. Then Ken Forkish employs what he calls the “pincer” method to make sure all the ingredients are fully incorporated. Imagining your hand as a lobster claw (my description), cut through the dough pinching a few times, mixing, then pinching again.
-
Day 1 (morning; stretch-and-fold). Pick up one portion of the dough (without taking it out of the bowl) and fold it over. Repeat this folding step a few times, inverting the dough with the folds at the bottom of the bowl when done. This stretch-and-fold step should be done every thirty minutes, three or four times over the course of two hours. After the final stretch-and-fold, cover the bowl with a towel or plastic wrap to for bulk fermentation
-
Day 1 (evening; testing for completion of Bulk Fermentation): Depending on the temperature of your kitchen your dough should have doubled in size eight afters after stretch-and-fold. A warmer kitchen would take less time and a cooler one, more time. You should see bubbles throughout the dough if you’re using a clear container and if you pull the dough a little it should be webby underneath.
-
Day 1 (evening; shape and overnight proof): Transfer the dough to a lightly floured surface. The dough will relax and flatten when you take it out of the bowl. Taking one section of dough at at time, fold the sections over the rest of the dough until you have a somewhat tight ball shape. Then tighten the dough by pulling it towards you by cupping the dough with both your hands using your pinky fingers as the anchors. Tension is created on the surface of the dough as you pull it towards you. Rotate then repeat three to four times until the dough holds its ball shape. Transfer the dough on a floured banneton with the seam side down (See Note). Cover the entire proofing basket with a plastic bag and store in the refrigerator overnight. For this loaf, the dough proofed in the fridge for 36 hours. It should be fine to bake the next morning. To test for readiness, poke the dough with a floured finger, making about a 1/2-inch indentation. If the dent springs back immediately, the dough needs a longer proofing. If the dent springs back slowly and doesn’t completely disappear, the dough is ready to bake.
-
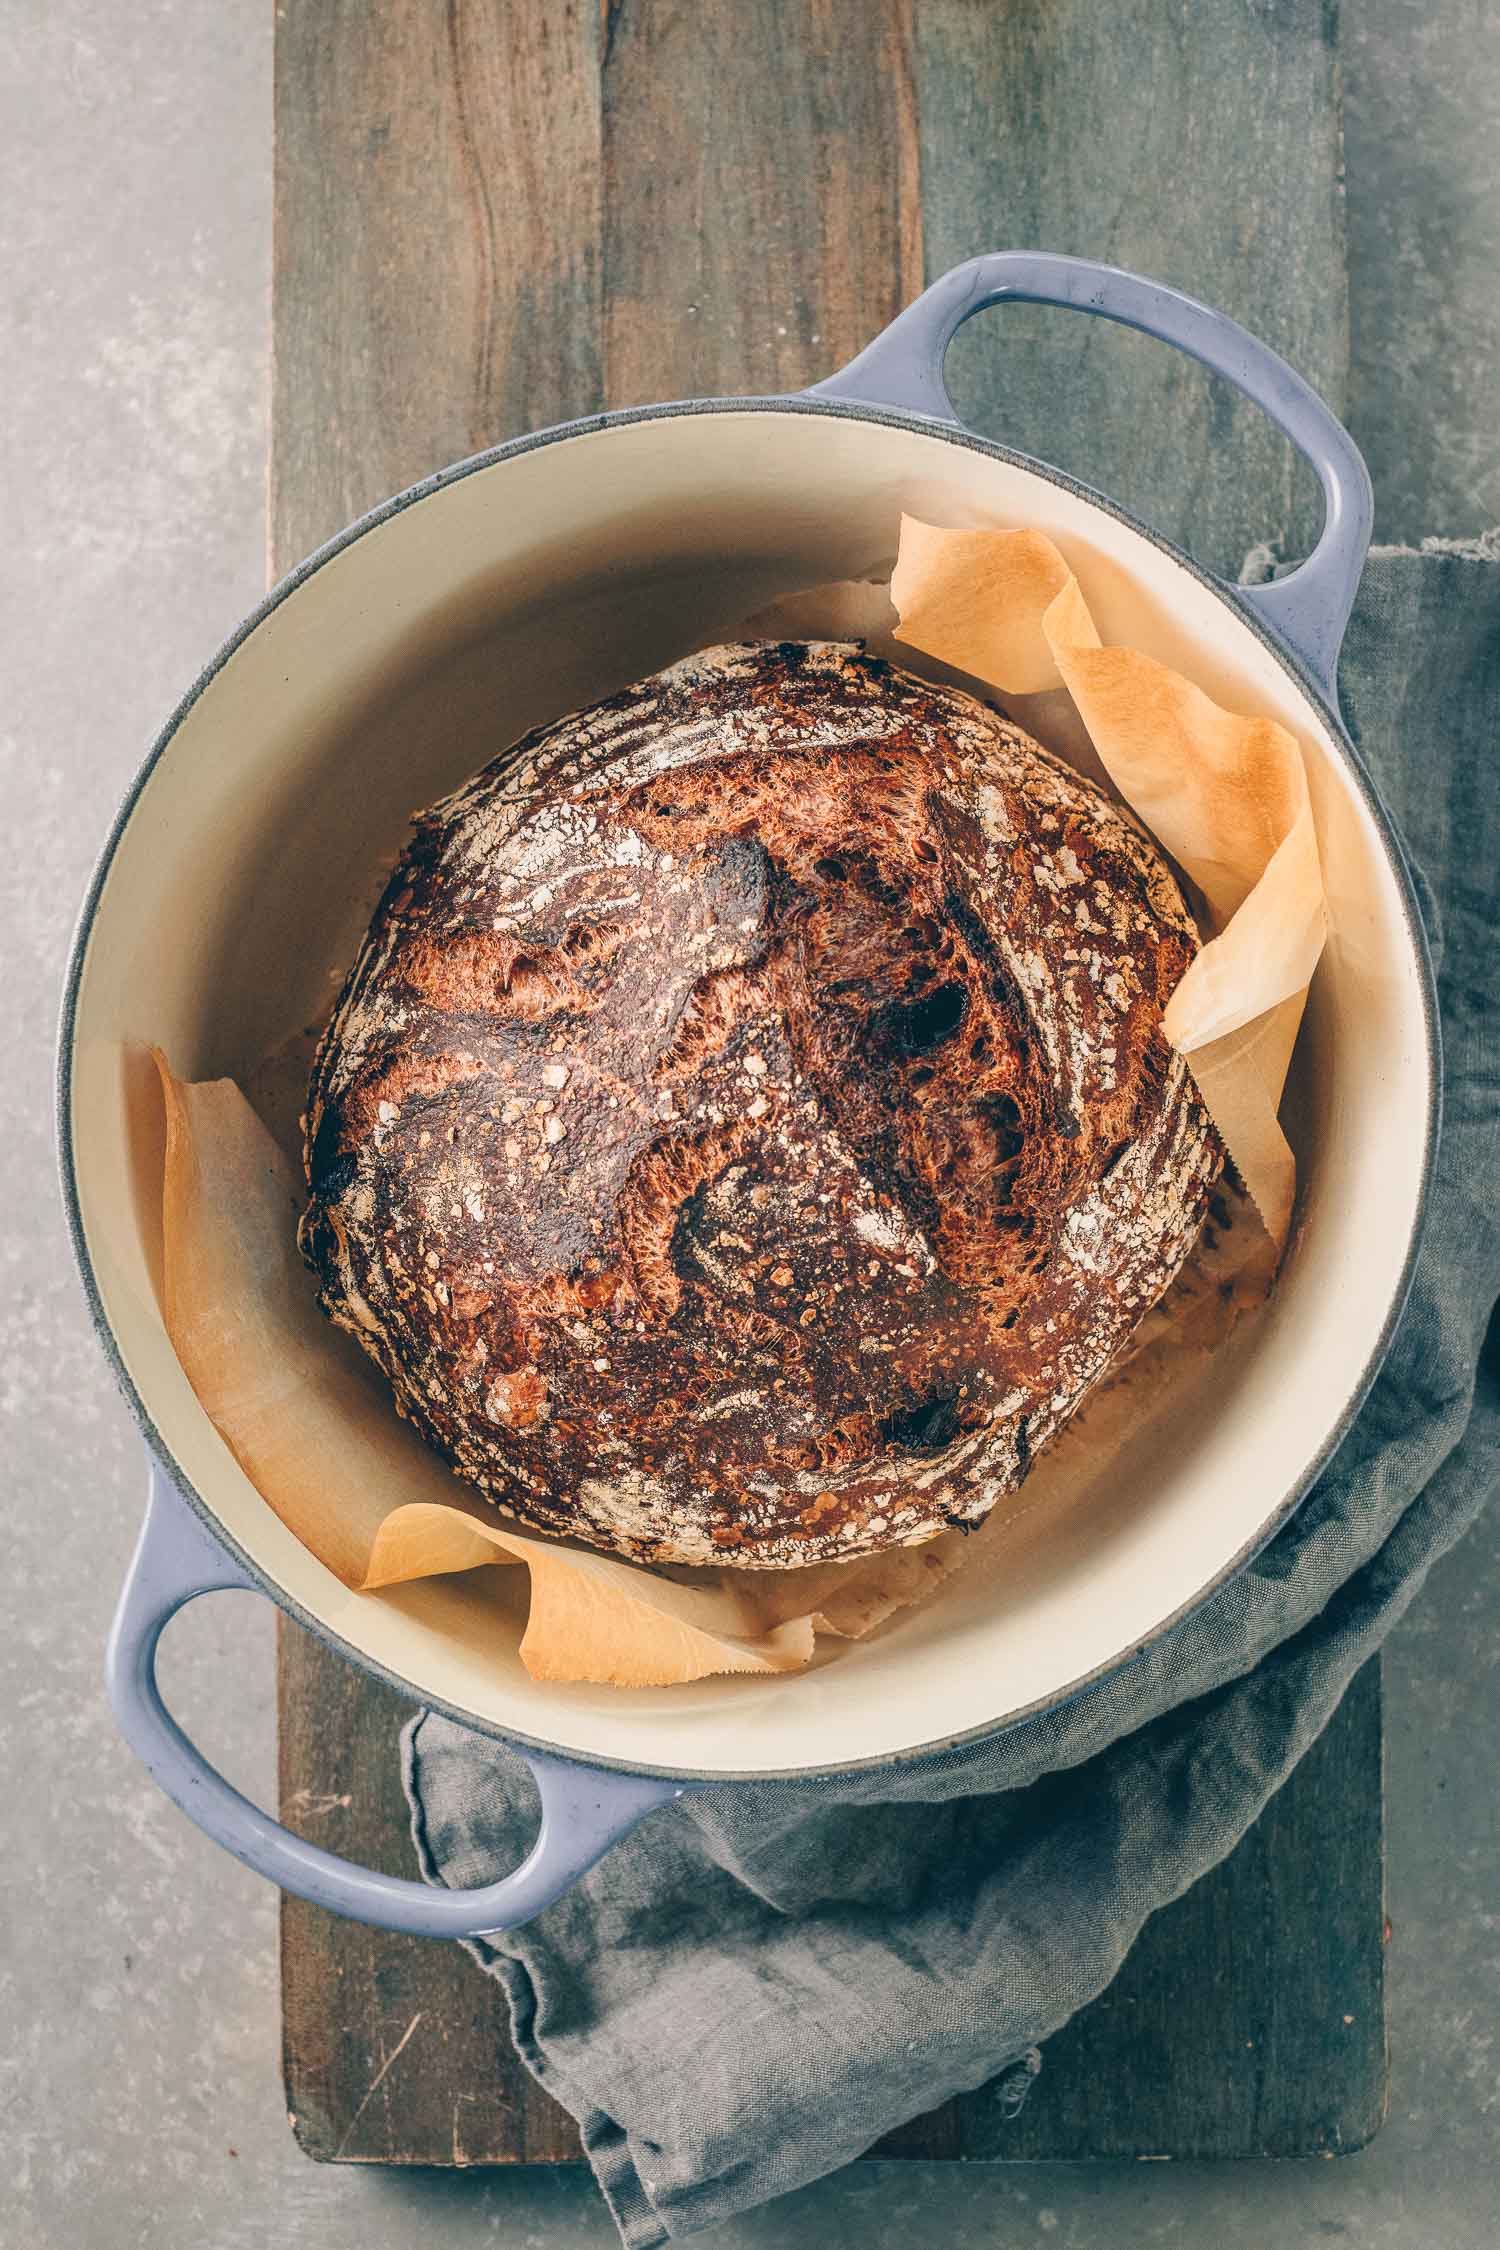
Day 2 or 3 (bake): This recipe uses a dutch oven for baking. Preheat your oven to 475ºF with a rack in the center of the oven. Put the dutch oven with the lid on the rack while the oven preheats. Once the oven has reached temperature, take the dough out of the refrigerator and invert it onto a piece of parchment paper, leaving enough paper on either side to be able to lift it. Make sure you have oven mitts then take the (very hot) dutch oven out of the oven and place on the counter or stove. Remove the lid and rest one of your mitts on top of the lid so you don’t touch it by accident. Take the ends of the parchment paper and carefully lift and transfer the dough to the dutch oven. Cover the dutch oven and place it back in the oven. Bake covered for 30 minutes then uncover and bake for another 20-25 minutes, checking your bread at the 15-18 minute mark just in case your oven runs hot. When done, tilt the bread out of the dutch oven and let it cool on a rack for at least 20 minutes before slicing.
Recipe Notes
Seam Side Up or Down?
If you transfer the shaped dough seam side down, that seamed side will be the top of the loaf when you invert it on your baking vessel. The seams will create a natural opening for the dough to expand so you won’t need to score it.
If you transfer the shaped dough seam side up, the seamed side will be the bottom of the loaf when you invert it on your baking vessel. You would need to score the top of the dough before baking to allow for expansion and good oven spring.



I think this post helps explain why I always get inconsistent results when I bake (any sort of) bread. I’m more of a seat of the pants cook and it shows when I bake. Thanks GREG
I made this loaf and it was absolutely gorgeous! I want to make it again, but only have fed starter. Should I decrease the temperature of the water?
I’m so glad it worked for you, Donna. You could decrease the temperature of the water or maybe just watch the fermentation time because it might not require as much time. If you’ve already tried baking it with fed starter I hope it turned out well, too. 🙂
I am allergic to almonds, what would you suggest as a good substitute?
Hi, Ally. You can use any nut you like or omit it altogether. The recipe will still be good. 🙂
Made this last weekend and it was so good! One of the best sourdoughs I’ve ever made. I doubled the cocoa, because I had such a great quality dark cocoa powder and I wanted to shine a little more. Can’t wait to make again, with a little orange zest. Currently bulk fermenting your master sourdough recipe, really love that you shared these great formulas!
This is so nice to hear, Natalie. I bet the higher cocoa content made the bread even better. Hope the master recipe worked for you. Happy to answer any questions if you have them. Thanks so much for giving my recipes a chance!
Could you use fresh cherries?
Hi, Mel. I haven’t tried fresh cherries for this recipe but it should work. Please let me know if you try it. 🙂
Hi, can I use fed starter instead of unfed one? If yes, would it be same amount?
Hi, Joey. Yes, you can use fed starter in place of unfed. It would be the same amount. All other conditions the same the fermentation time might just be a touch shorter. Thanks!
Made this recipe today and it turned out so nicely! I used about 18 grams of KAF black cocoa, and soaked the dried cherries in a bit of bourbon instead of water. It baked up beautifully and was airy and soft in the center. Will be making this part of my regular rotation, I think!
Hi, Alexi. So glad to hear that this recipe has worked out for you. Thanks so much for your nice feedback and I love that you used bourbon to soak the cherries. Love that tip!
I noticed you didn’t do a preshape is that correct? What’s the benefit of a preshape? I’m a third through this recipe and can’t wait to see the final product tmr! Temp is 28C here n I used an active starter and thinking how best to manage around that as I’m gonna be out during the bulk fermentation period and won’t be able to monitor
Hi, Patricia. I hope your bake turned out well. I have never gotten into the habit of pre-shaping, mostly since I learned from Ken Forkish’s method in his book and he doesn’t pre-shape. Tartine does and I have done it for those loaves but I haven’t found it necessary for my bakes though it’s supposed to make final shaping easier. 🙂
I have made this bread at least 3 times, and it disappears in a few days! Today is my 4th time. I LOVE this dough.! Looks like chocolate ice cream :D. Thank you!
This is so nice to hear, Grace. I’m glad you’re enjoying this recipe–thanks for giving it a chance!
This is revolutionary using un-fed starter!
I told my Mum about this method of using un-fed starter and she said that this is how her grandmother and mother would bake bread back in Greece (village) when she was little…
So there you go… Amazing! I can’t wait to try this Delicious recipe!
Thankyou for your practicality and flexibility! Very much Appreciated from this Mumma of three xo
Cathy
Aw, I bet the bread bakers in your family created some delicious sourdough bread. I hope this recipe works for you, Cathy. Thanks for the nice comment!
Hi! I’m going to start this recipe tomorrow can’t wait! Can I add a little bit of raw honey to give it a sweeter taste? If so, how many grams would you suggest?
Thank you!
Hi, Gina. Yes, you can add honey to this recipe. You can try maybe two tablespoons? That should add just enough sweetness. Hope this helps!