You Can Make Sourdough Bread with Unfed Starter (or Discard)
Have you ever wondered if you can bake good sourdough bread with unfed starter? Well, yes, you can. And you can leave the dough in the fridge until you’re ready to bake it. This is the simplest, most flexible method for sourdough bread I’ve tried yet.
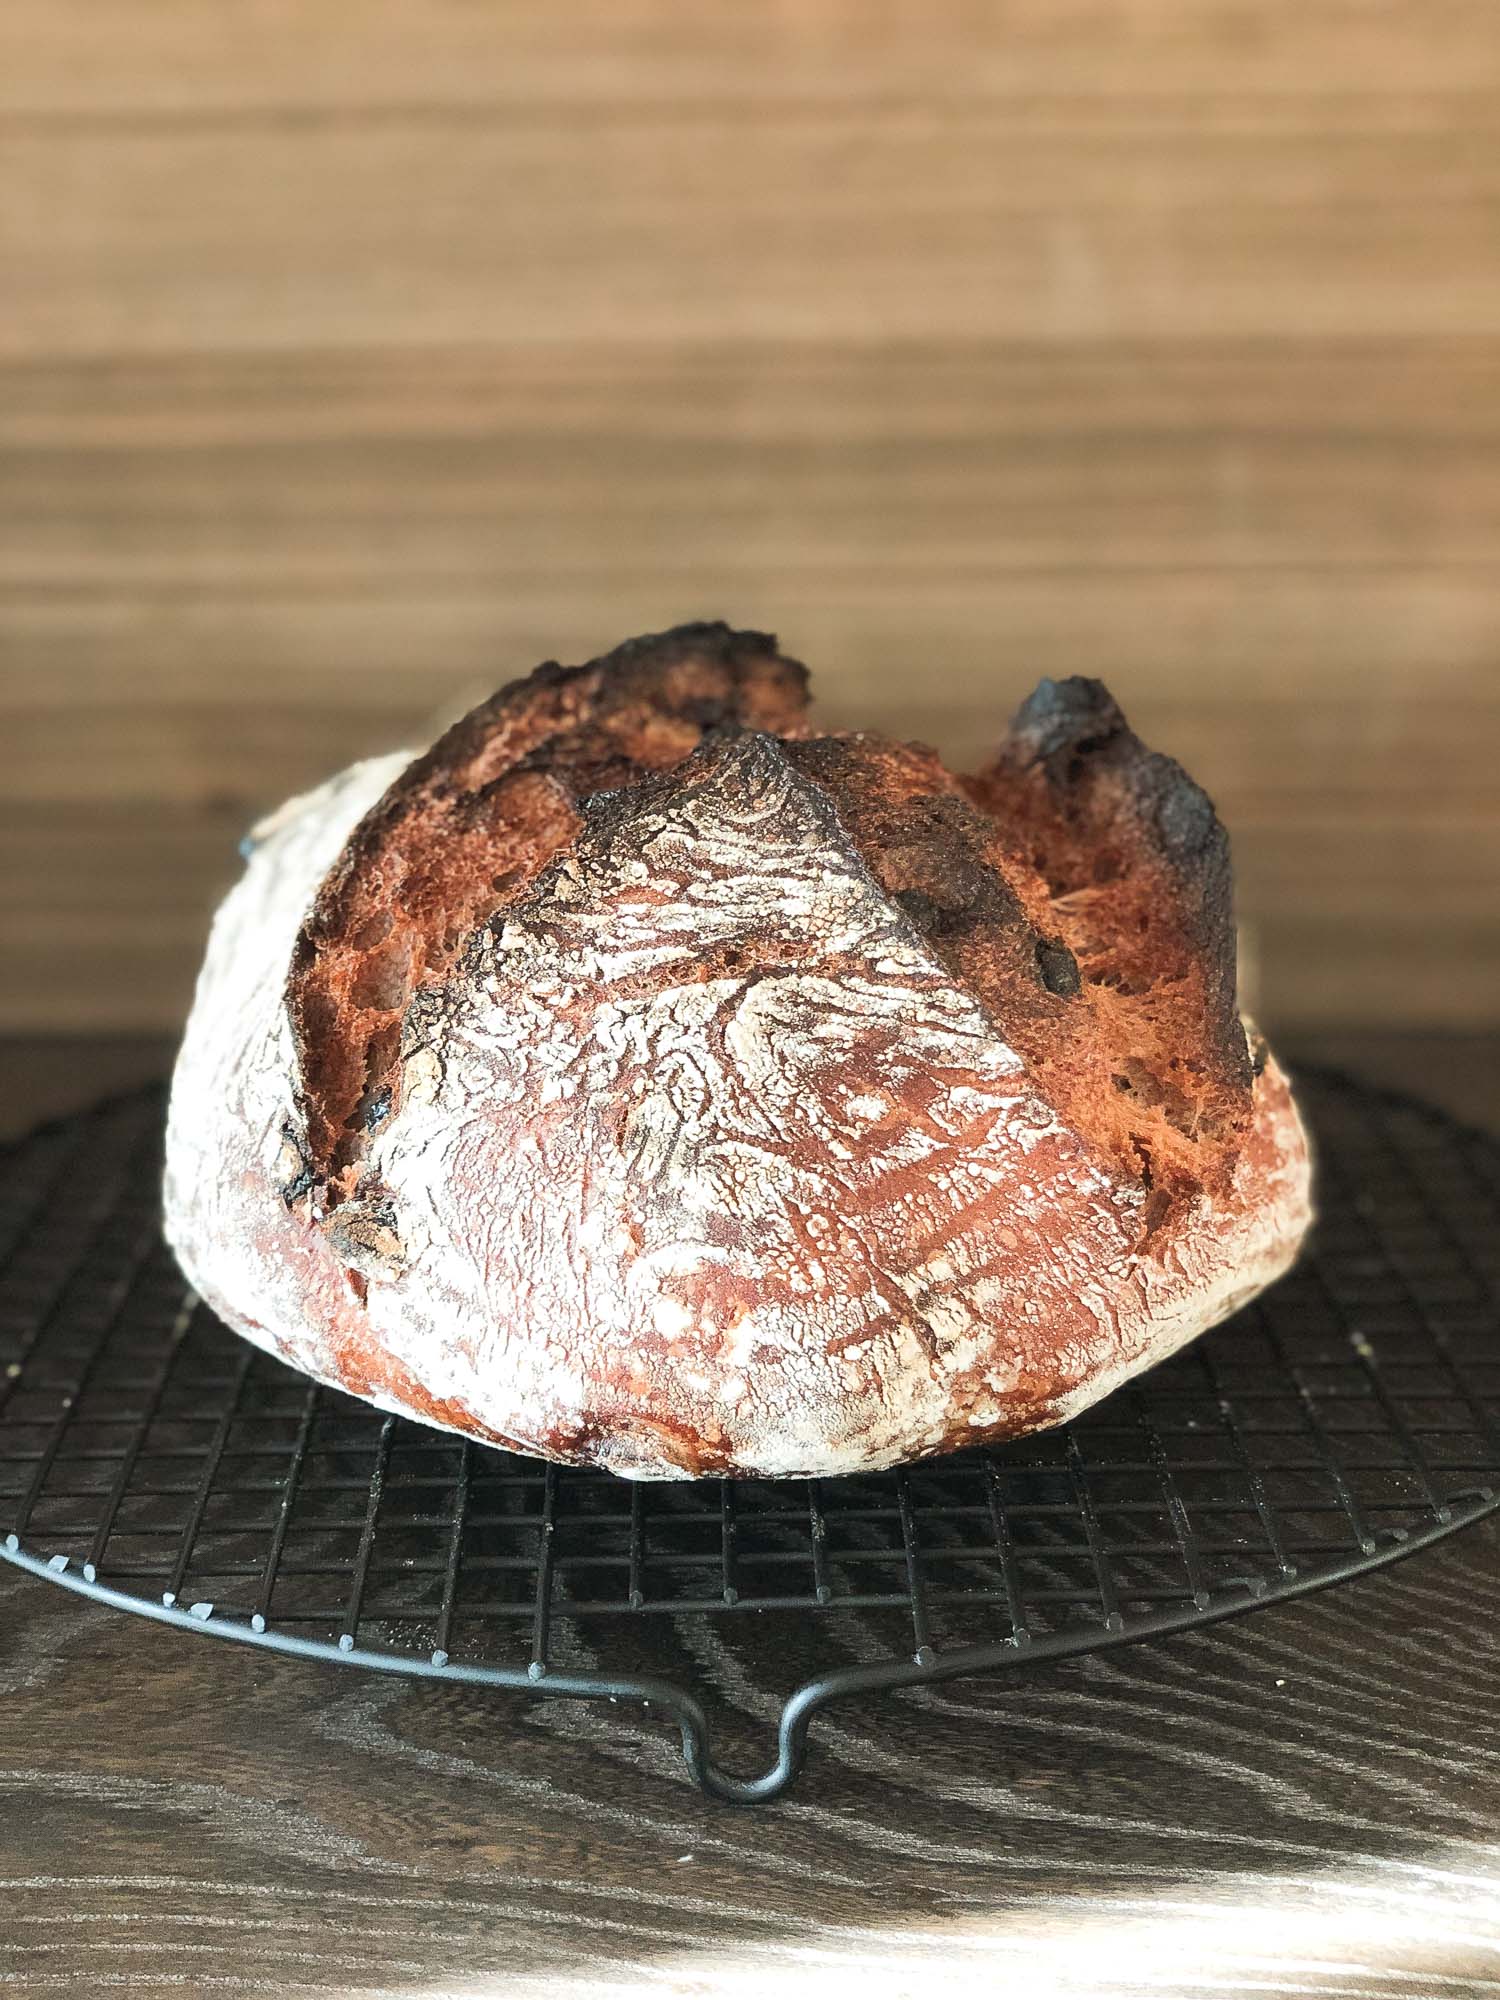
In my previous post I talked about the small change I made to my go-to sourdough recipe. Everything else unchanged, the reduced amount of starter in my dough has produced more consistent results, namely great oven spring.
In this post, part two of a series of three on sourdough bread, I’ve made a few more changes (fueled by my recent successes), essentially creating for myself another sourdough baking method.
One is not better than the other–I’ve simply been curious about a simpler, more flexible way to bake my bread and lately it feels like the sourdough gods have been anointing all the loaves coming out of my oven because even with my very low expectations with this method the oven spring has been fantastic. So what changes have I made?
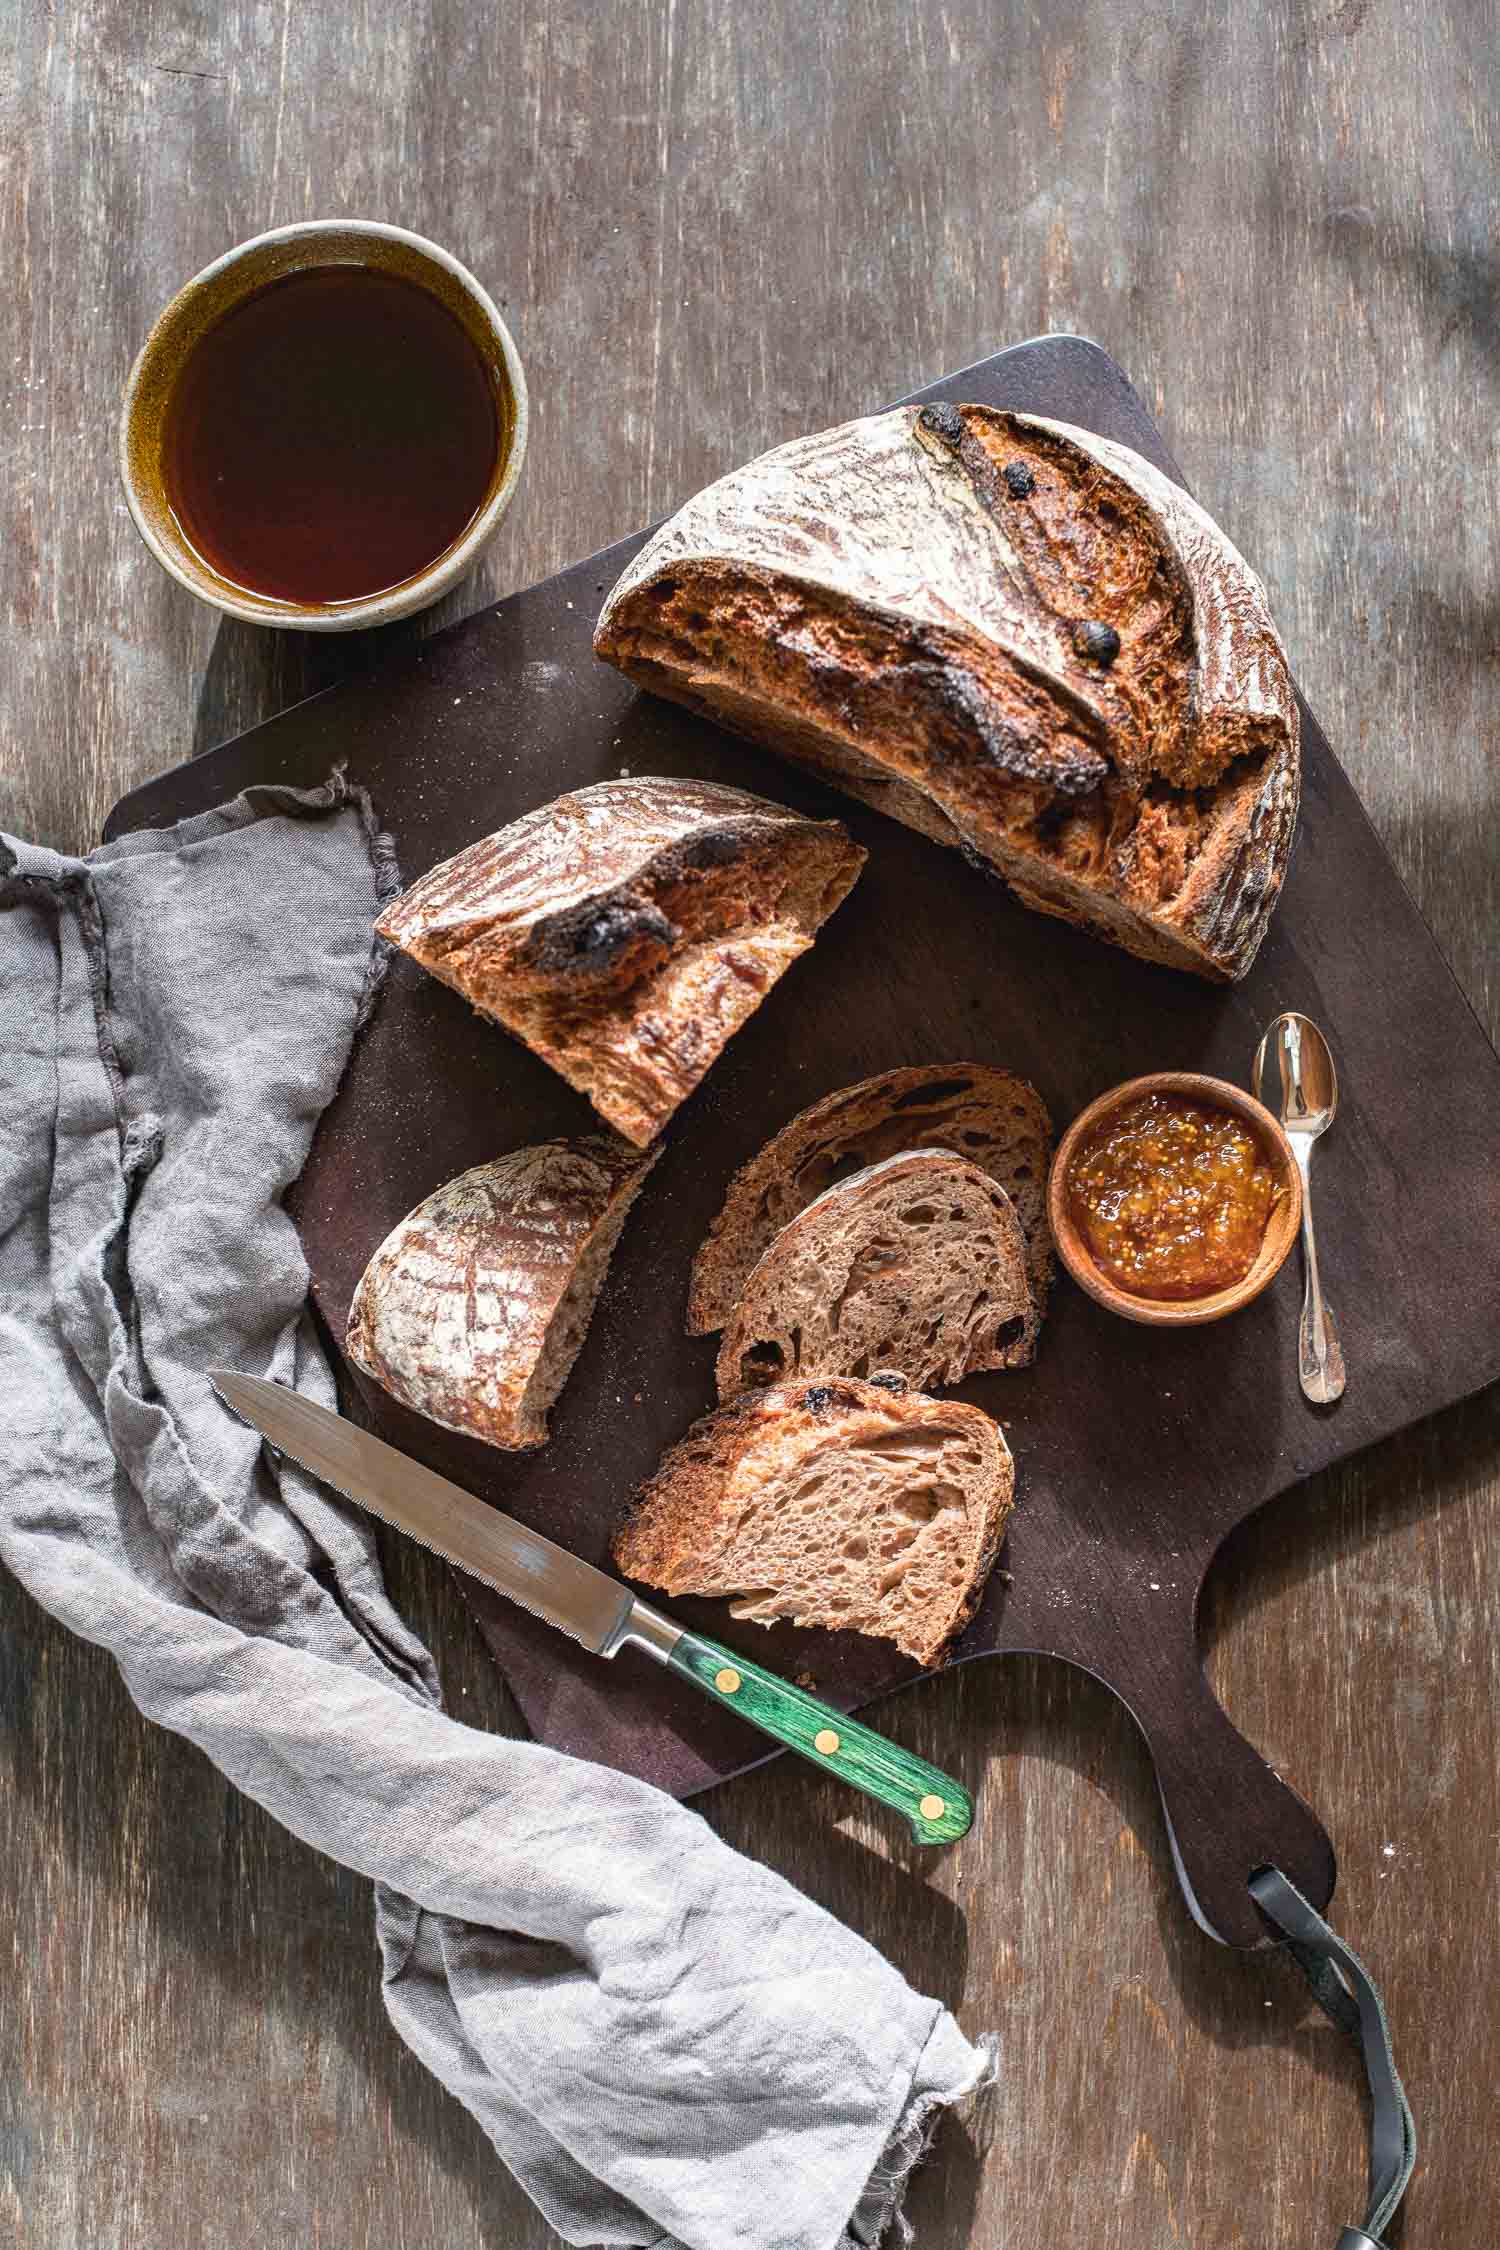
You Can Bake Sourdough Bread with Unfed Starter
This is the part where I say that with bread baking you can break some rules and still end up with a good loaf of bread. Every book and online source I’ve looked to for guidance on sourdough baking has told me that I had to have a freshly-fed levain (the portion of sourdough starter you are using for a bake) and it should be at its peak rise before I should even consider using it. And to make sure the yeasts are active and happy I had to feed my starter a few times before actually using it. For me, this required too much wait time. Even a single feeding required a four hour wait before my starter reached its peak. My starter is a few years old–Ida is robust and has performed well requiring no extra feedings before being used.
The original Ken Forkish method which my bread recipes have been based on has also been very good to me. I’ve learned simple but effective techniques that have made me a bread baker.
But I’ve long wanted to be able to observe the way yeast activity affects the behavior of dough and with the prescribed overnight bulk fermentation when all the magic happens, I’ve slept those important hours away instead.
For these recent bakes I mixed the dough in the morning instead of early evening and yes, used unfed levain. Even though most baking resources are firm about using freshly-fed starter I couldn’t see why the yeasts wouldn’t perform just as well feeding on the flour in the final dough. I’m sure early home bakers were too busy not to have taken this shortcut from time to time–I had to give it a try.
After pulling my starter out of the refrigerator and waiting for her to come to room temperature (to wake up the yeasts; about an hour) I took a small portion and mixed her directly into my dough–no feeding. As in the previous recipe I’ve begun to use a “fermentolyse” method wherein I mix the levain immediately with the flour and water. The same stretch-and-fold technique applies before leaving the dough alone for bulk fermentation.
The beauty of doing this during the day was that I would now be able to observe the rise (or fall) of the dough and see how long it would take for it to double in size. Of course, using unfed starter I did consider that yeast activity might be delayed.
After eight hours of bulk fermentation (ten with stretch-and-fold) my dough had risen beautifully. I didn’t notice much delay yeast in activity from my use of unfed starter. My previous 12-14 hour overnight bulk fermentation may have been too long–all the sugar was being consumed by the yeasts, inhibiting optimum rise in my loaves [which I corrected in my previous post by reducing the amount of starter (yeast), effectively increasing proportionately the “food” in the dough].
That idea of bakers getting “a feel for the dough”? By being able to see how bulk fermentation worked and that it took less time than I realized (considering the temperature in my kitchen and the size of my loaf) I’m starting to get it.
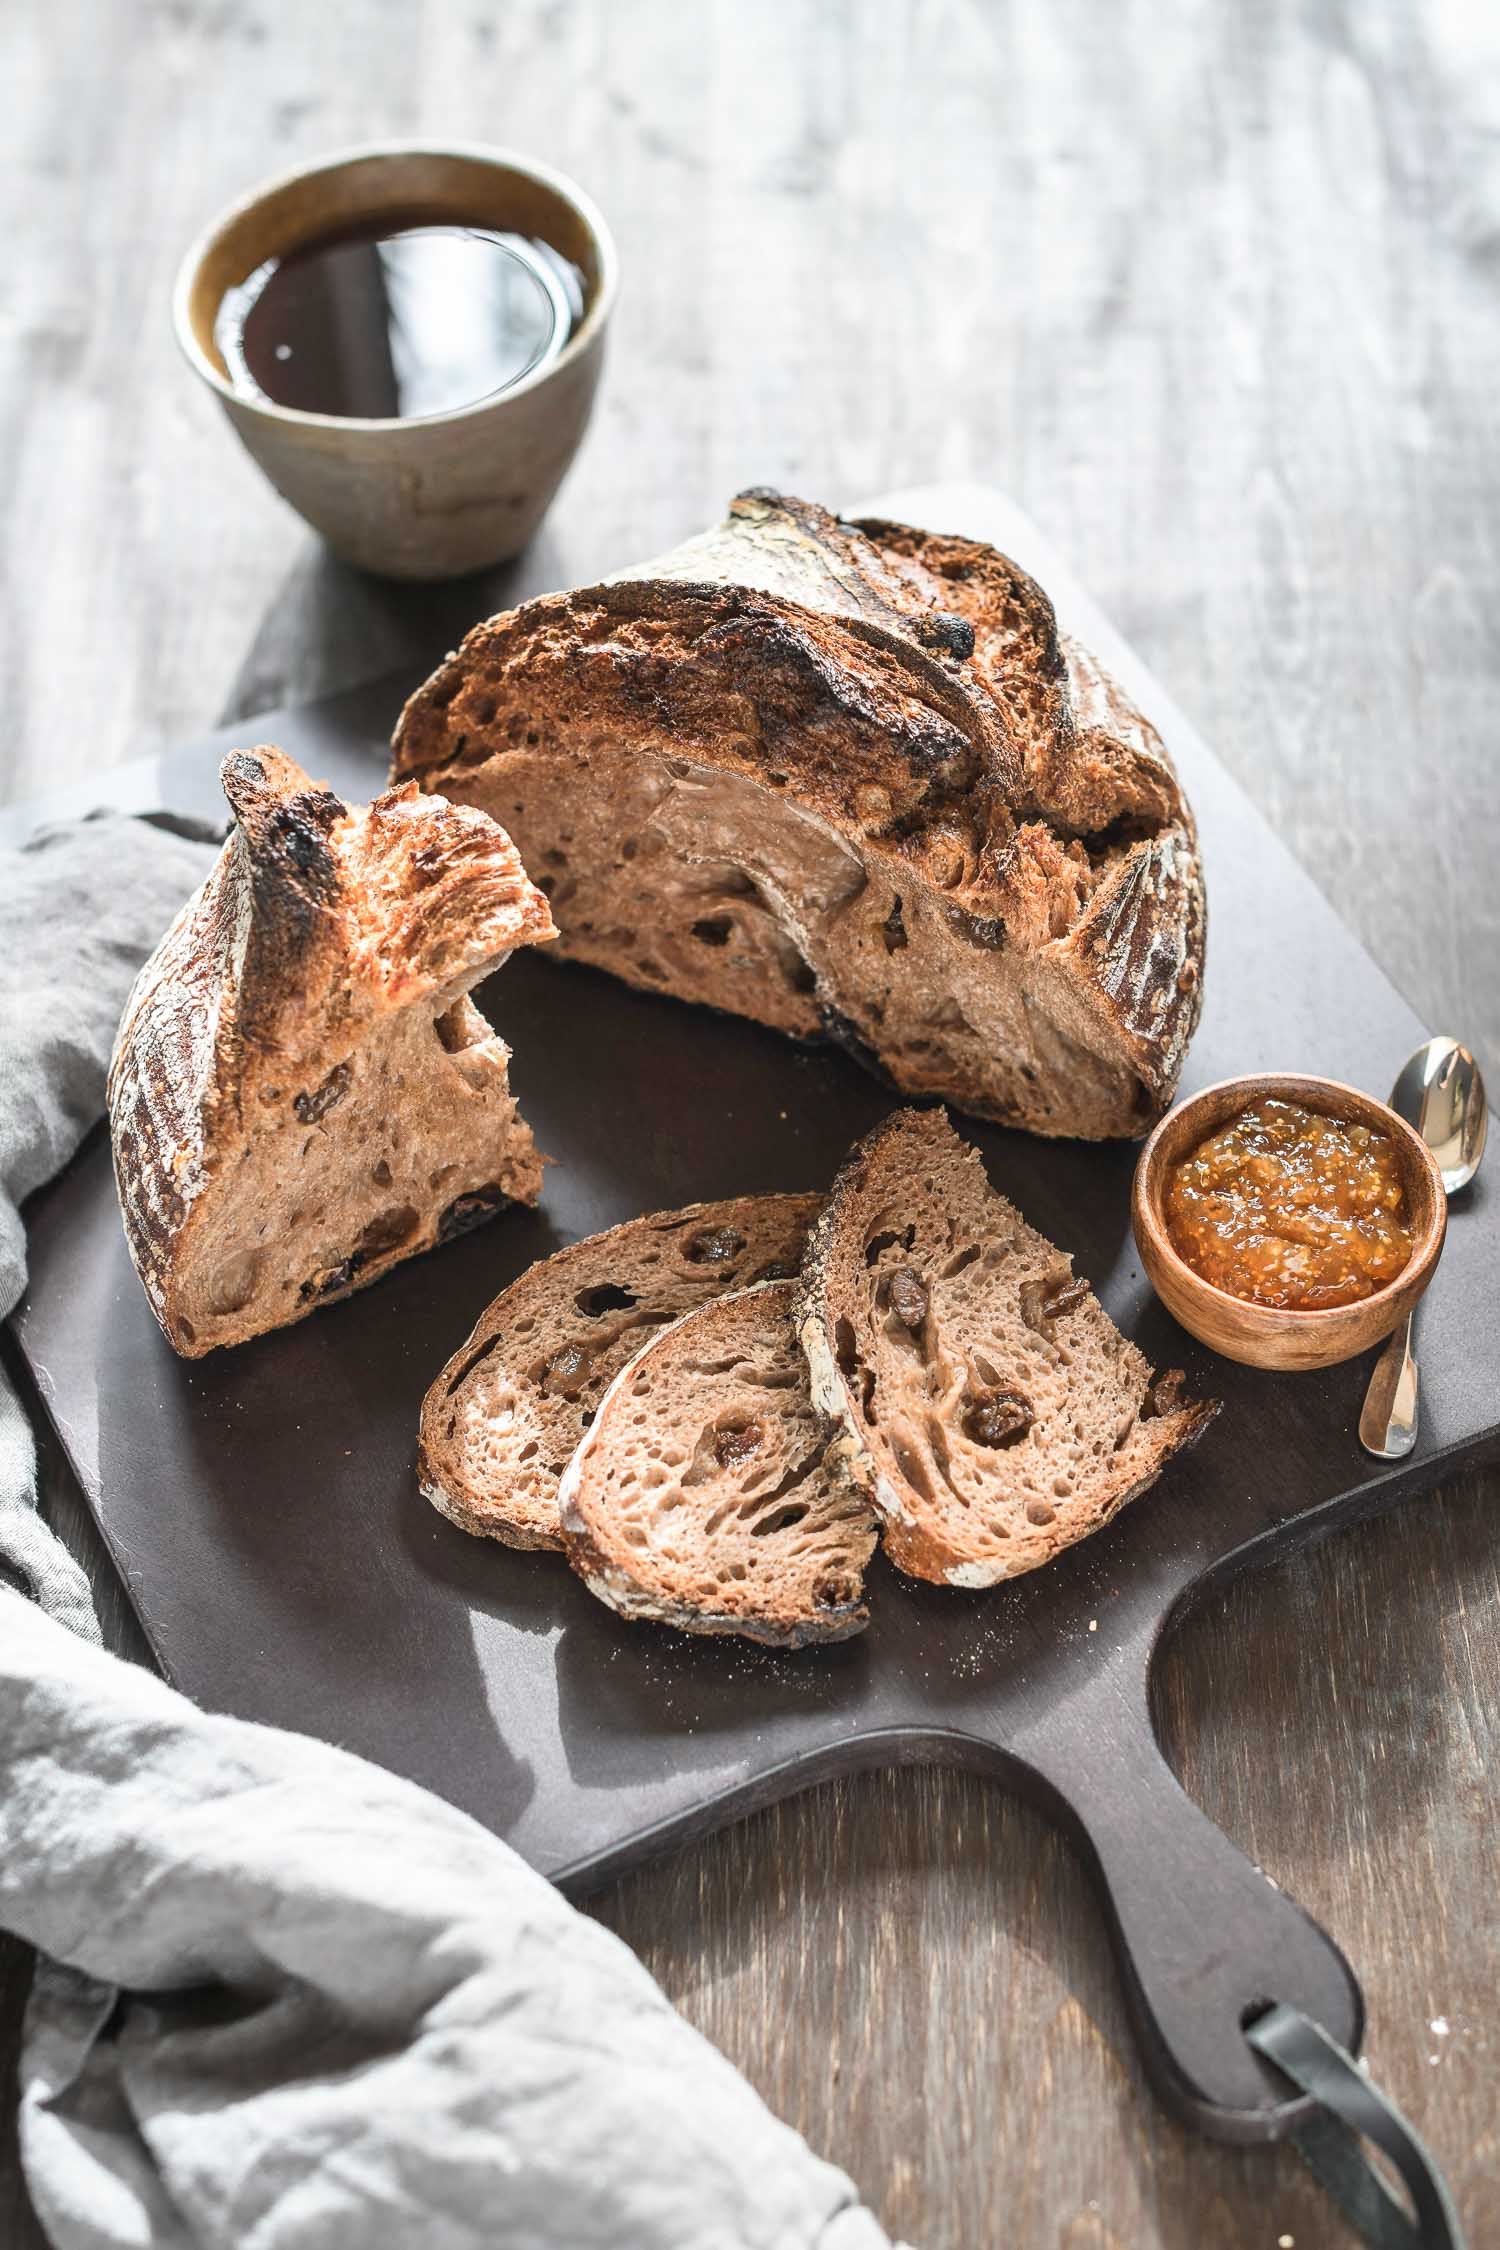
Extended Final Proof in Refrigerator
The original Ken Forkish method for his Overnight Country Brown which is my base method calls for a final proof time of about four hours. In my previous post I figured out that a shorter proof worked better for my bakes.
What I’ve done differently here is that after shaping the loaf, I stored it in the refrigerator to proof (or prove) overnight. I had never done this before either. The idea of refrigerator bulk fermentation or proofing is that it retards (slows down) yeast activity. The extra time at a cooler temperature allows for more flavor development and on the practical side, flexibility to bake your loaf when it’s more convenient. For the loaf pictured in this post I ended up proofing the bread for 19 hours in the refrigerator because I didn’t get a chance to throw it in the oven first thing the next morning. When I pulled the lid off my dutch oven I couldn’t believe the oven spring…and remember this was from an unfed starter. I was sold on this simpler method.
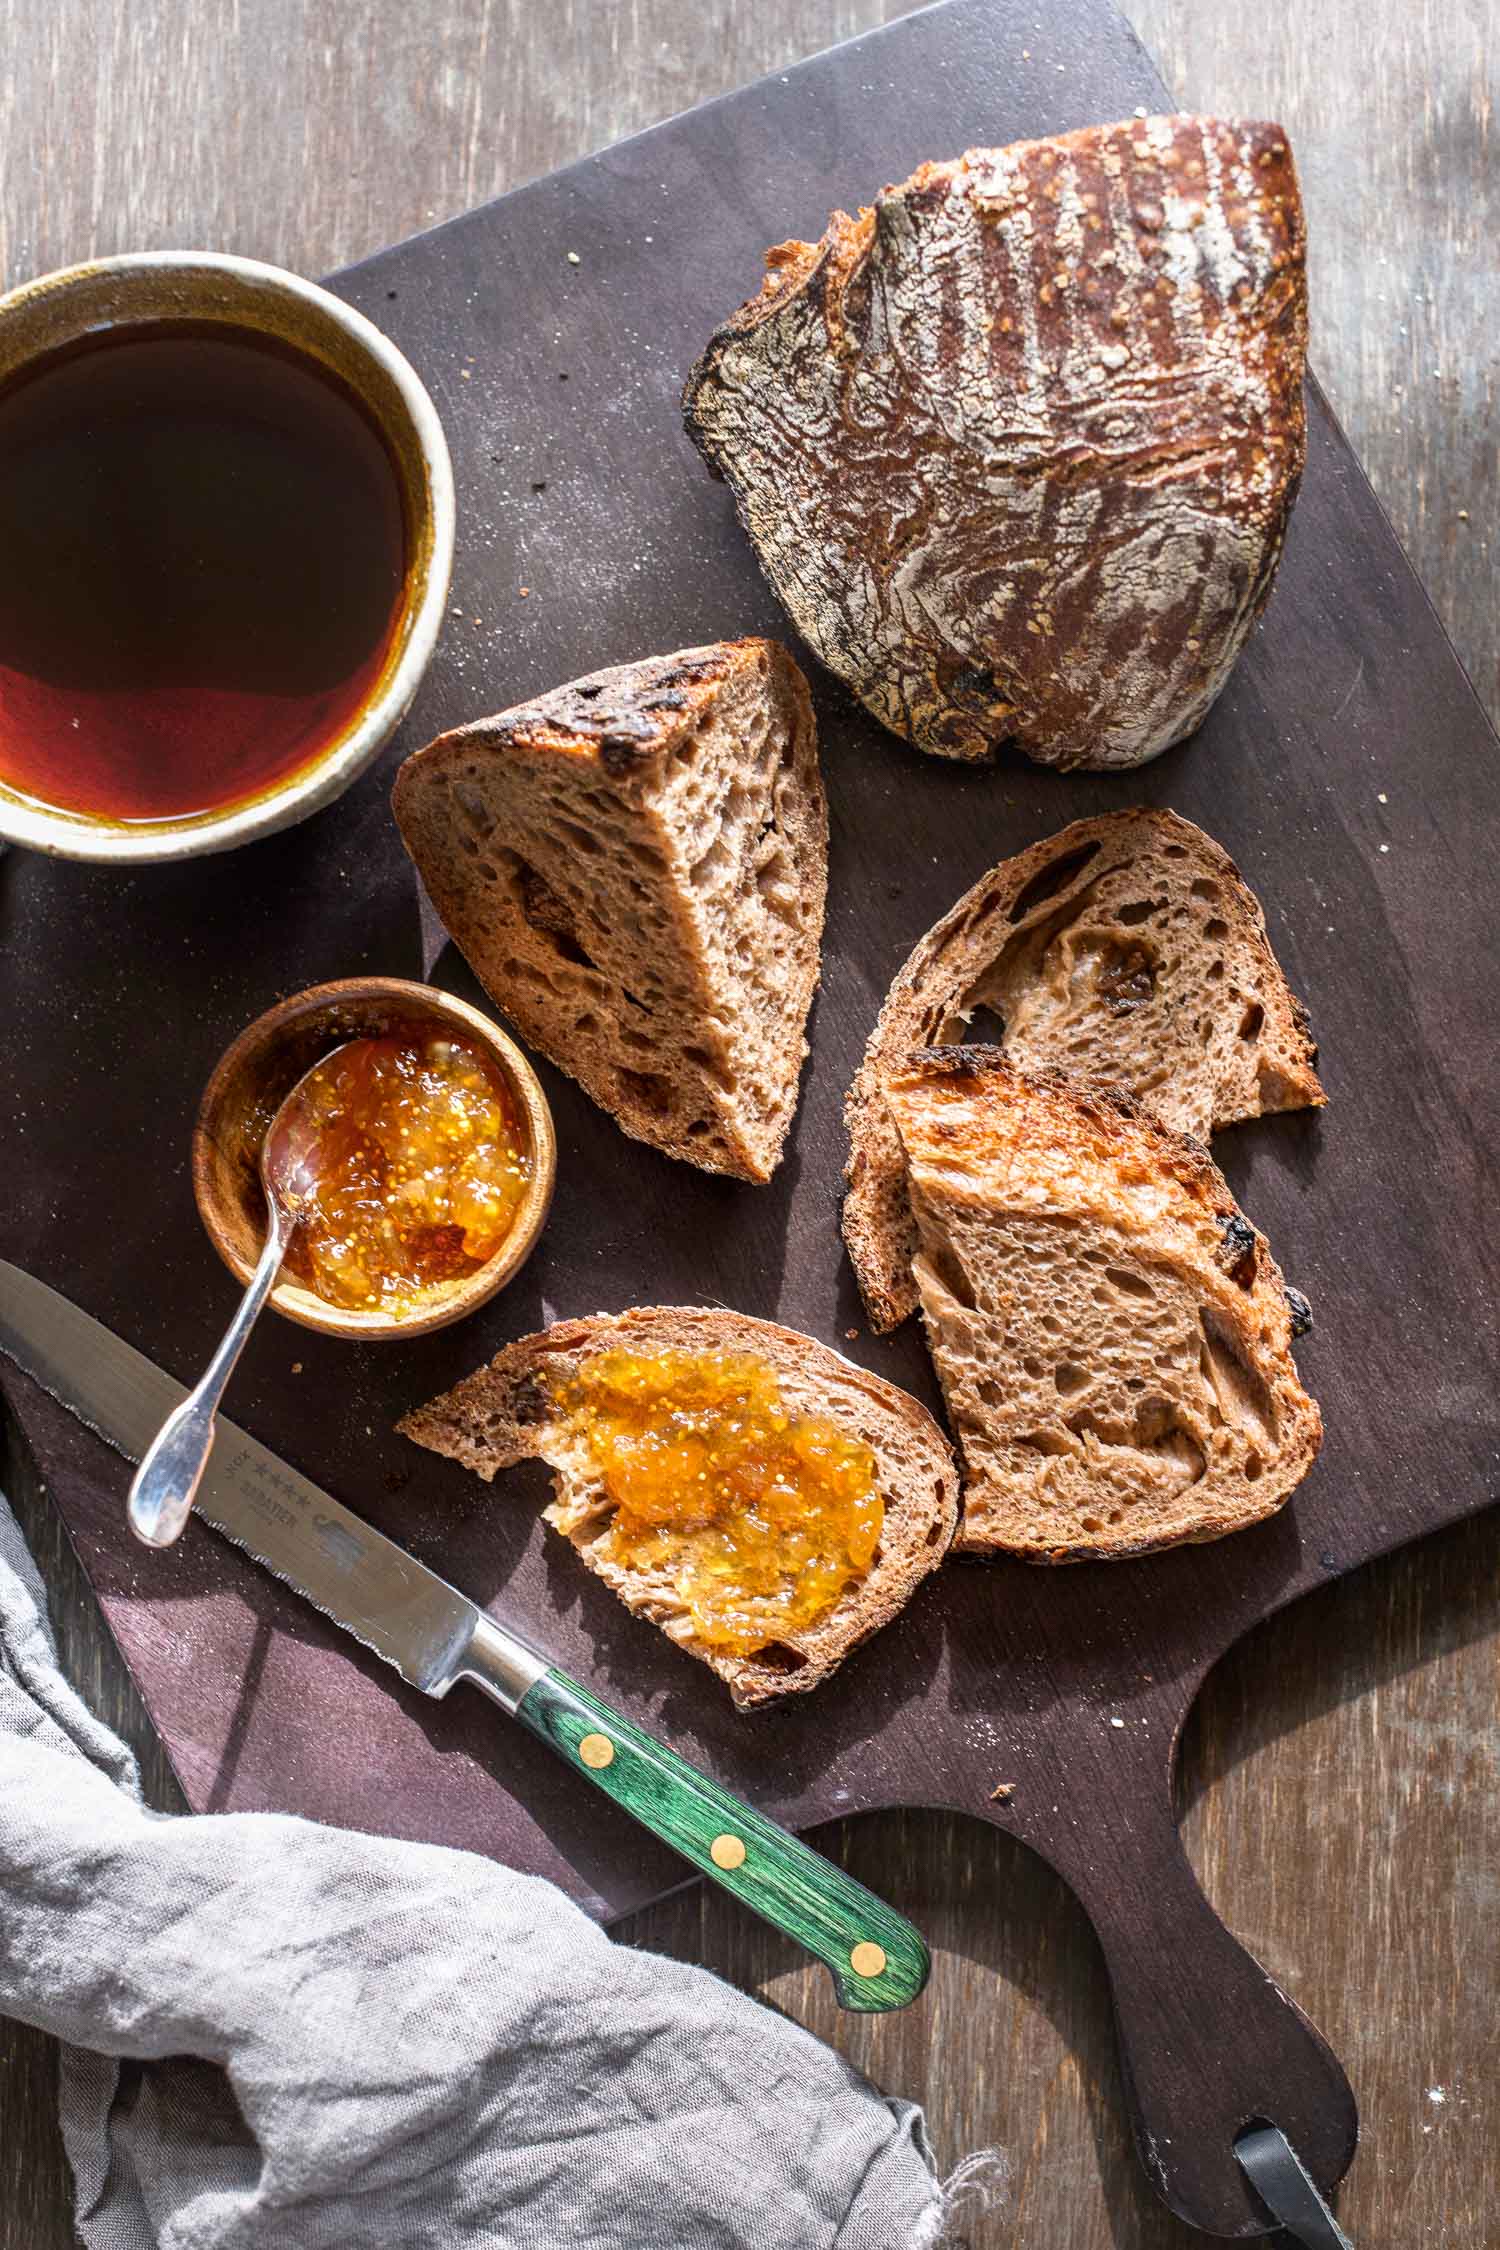
Bread Flour Is Better for Sourdough Bread
One last thing I will attribute to the improved results in my bread baking is the use of bread flour instead of all-purpose flour. The higher protein content of bread flour adds more structure and helps achieve better rise. I will note that protein content in flours varies by brand. I use King Arthur Flour for my baking. Their unbleached all-purpose flour has 11.7% protein while their bread flour has 12.7%. Others may argue that more protein may not always be better but where my biggest issue was getting consistently great oven spring in my bakes, I feel comfortable saying that the higher protein content has helped me achieve the results I’ve been after.
These ideas of using unfed starter, refrigerator proofing and using bread flour are certainly not revolutionary but they have been eye-opening for me. I no longer feel confined to one way of baking bread and I’m loving the new-found flexibility. When I first mixed the ingredients for this loaf I was convinced that it would be a failure, especially after it sat in the refrigerator for almost a day but this Chocolate-Raisin Sourdough Bread has been one of my best bakes so far. On the third part of this bread series I tested the limits of refrigerator proofing even further. Stay tuned.
Part One of this series: Orange-Raisin No-Knead Sourdough Bread
Part Three of this series: A Sourdough Baking Guide and Chocolate-Cherry Sourdough Bread
Note: For the techniques mentioned in this post, please watch these Ken Forkish videos.
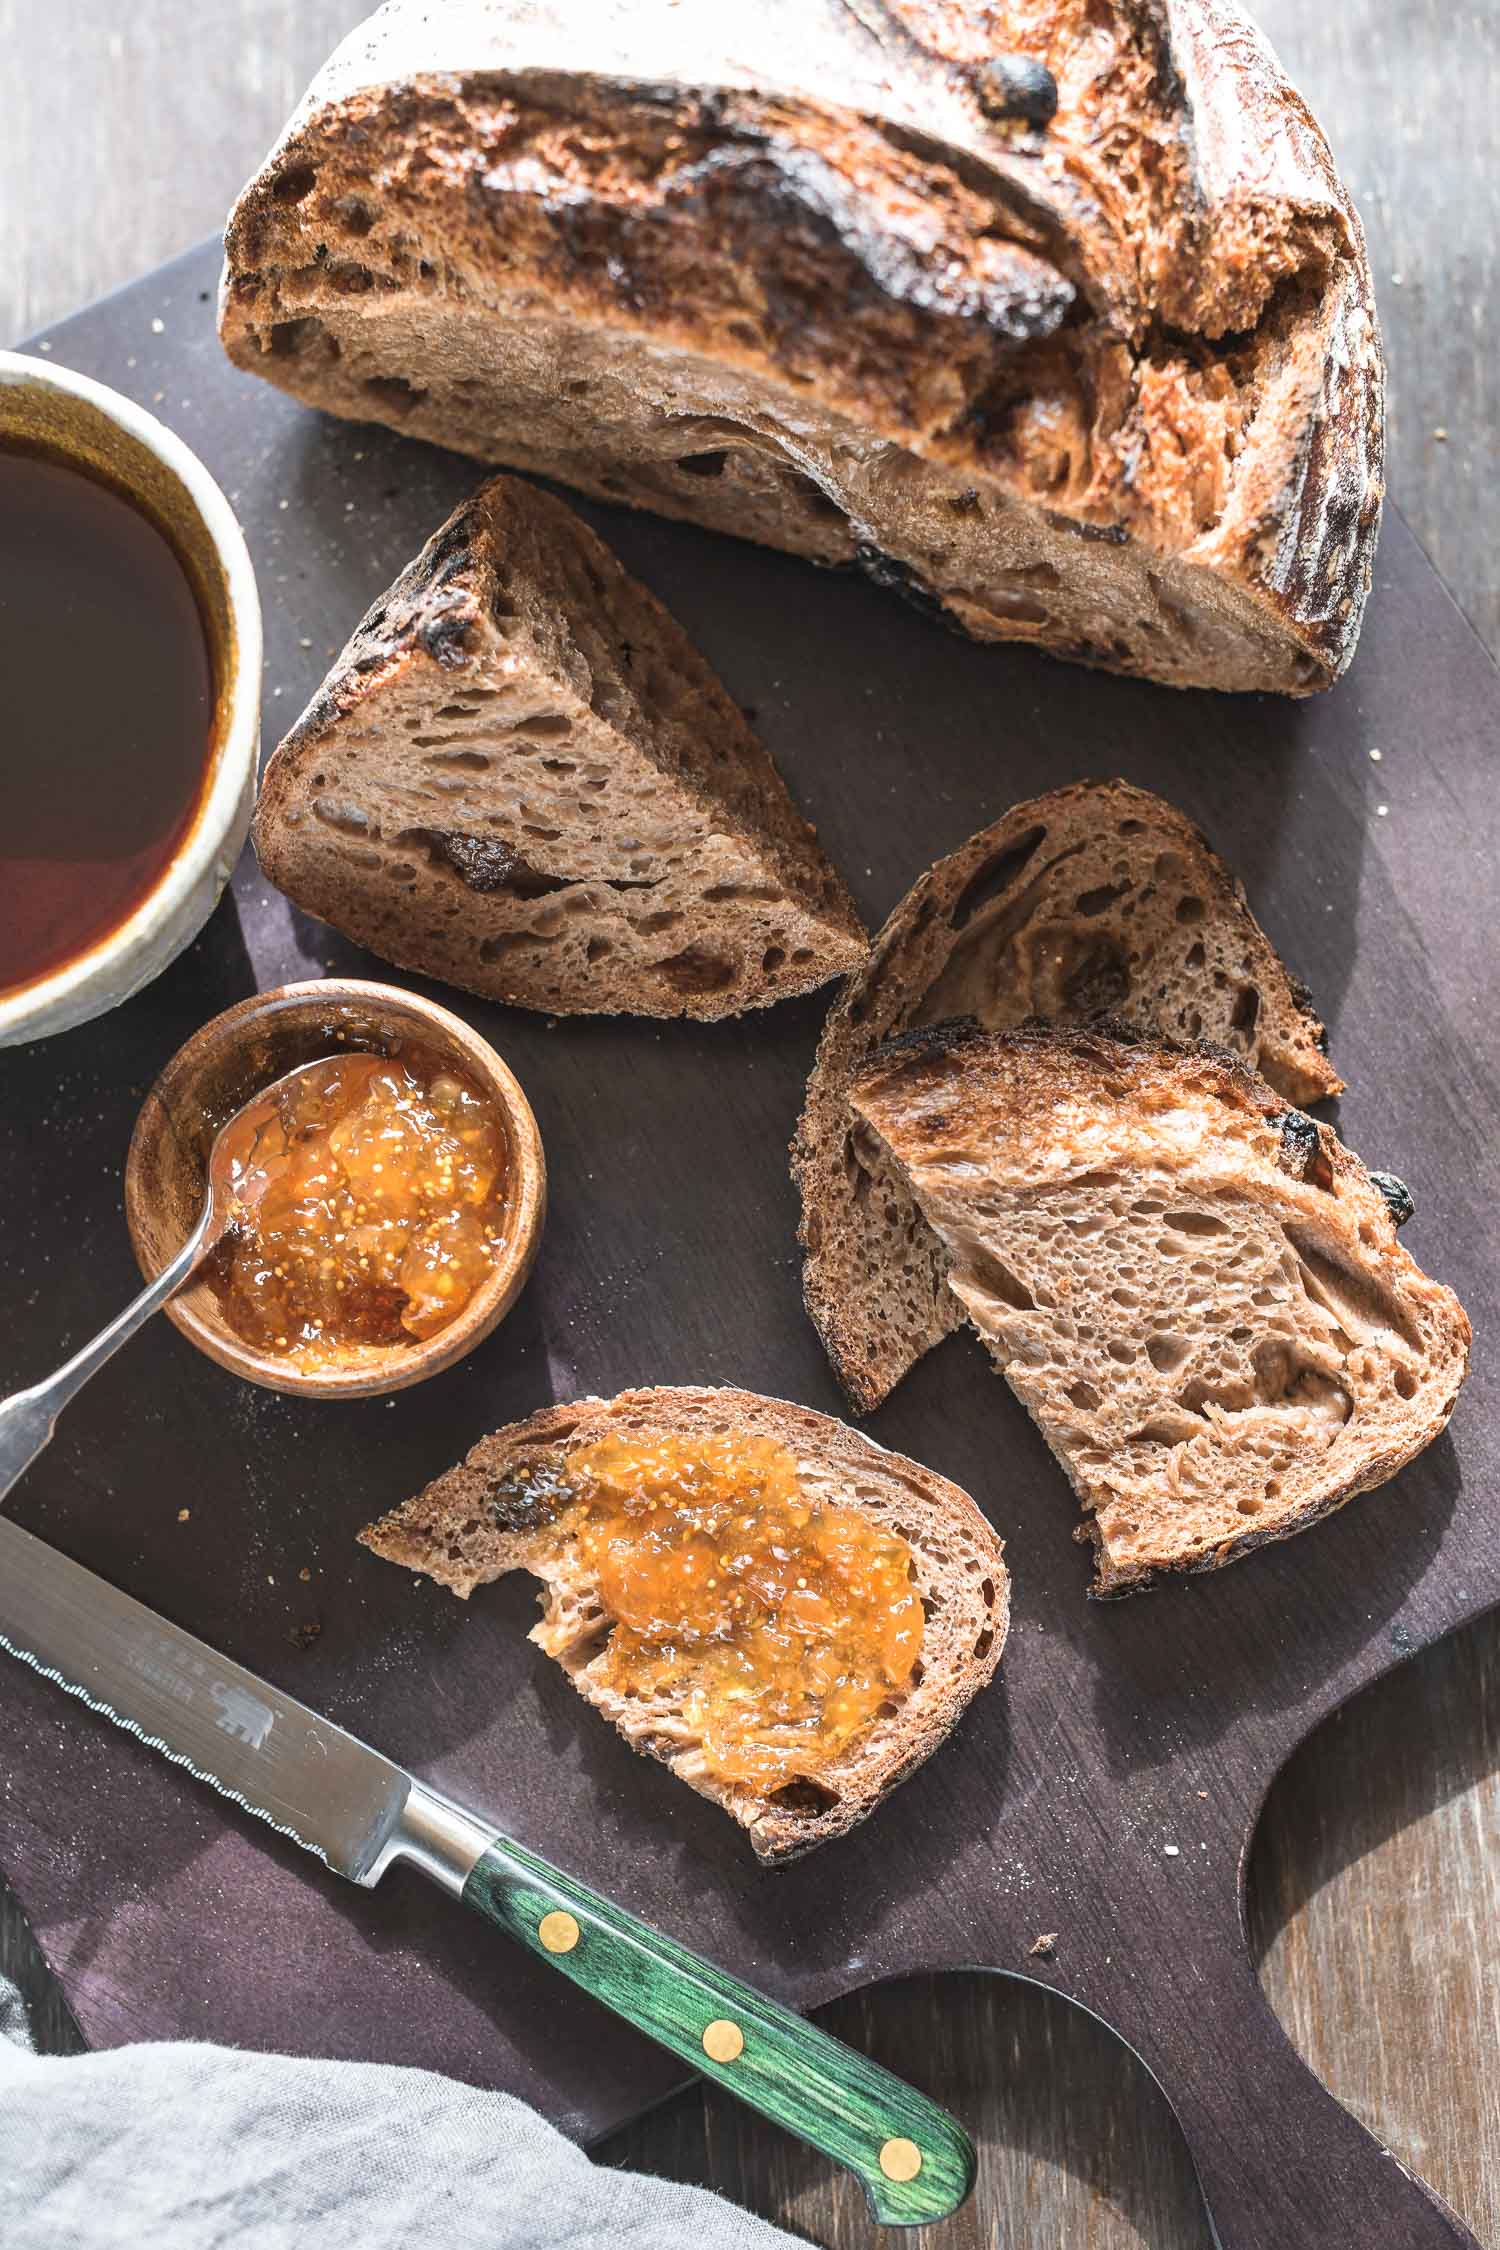

Chocolate-Raisin Sourdough Bread Using Unfed Starter
If you’re looking for a simple, straightforward way to make sourdough bread, this is the recipe. Using unfed sourdough starter and proofing your dough in the fridge until you’re ready to bake it–doesn’t get more flexible than this. Feel free to omit the cacao powder and raisins for a plan sourdough loaf.
Ingredients
- 85 grams unfed starter (at room temperature)
- 460 grams bread flour
- 367 grams water (90-95ºF)
- 10 grams raw cacao powder
- 5 grams kosher salt (use up to 10 grams for flavor)
- 55 grams raisins (soaked for 30 minutes; use more if you like)
Instructions
-
Day 1 (morning): If you store your starter in the refrigerator, take 85 grams and allow it to come to room temperature, about one hour. Make sure you have enough starter leftover to feed and store for future use.
-
Day 1 (morning; Mix the dough): Stir in the unfed starter and water in a bowl. Once the starter has been evenly distributed in the water add the bread flour and cacao powder (if using). Cover the bowl with a kitchen towel or plastic wrap and let sit for one hour.
-
Day 1 (morning): Add the soaked and drained raisins and kosher salt to the mixture in the bowl. Combine the dough using a wet hand and folding the dough over from the bottom to top. Then Ken Forkish employs what he calls the “pincer” method to make sure all the ingredients are fully incorporated. Imagining your hand as a lobster claw (my description), cut through the dough pinching a few times, mixing, then pinching again.
-
Day 1 (morning; stretch-and-fold). Pick up one portion of the dough (without taking it out of the bowl) and fold it over. Repeat this folding step a few times, inverting the dough with the folds at the bottom of the bowl when done. This stretch-and-fold step should be done every thirty minutes, three or four times over the course of two hours. After the final stretch-and-fold, cover the bowl with a towel or plastic wrap to for bulk fermentation.
-
Day 1 (evening; testing for completion of Bulk Fermentation): Depending on the temperature of your kitchen your dough should have doubled in size eight afters after stretch-and-fold. A warmer kitchen would take less time and a cooler one, more time. You should see bubbles throughout the dough if you’re using a clear container and if you pull the dough a little it should be webby underneath.
-
Day 1 (evening; shape and overnight proof): Transfer the dough to a lightly floured surface. The dough will relax and flatten when you take it out of the bowl. Taking one section of dough at at time, fold the sections over the rest of the dough until you have a somewhat tight ball shape. Then tighten the dough by pulling it towards you by cupping the dough with both your hands using your pinky fingers as the anchors. Tension is created on the surface of the dough as you pull it towards you. Rotate then repeat three to four times until the dough holds its ball shape. Transfer the dough on a floured banneton with the seam side down. Cover the entire proofing basket with a plastic bag and store in the refrigerator overnight. For my loaf, my dough proofed in the fridge for nineteen hours. It should be fine to bake the next morning. To test for readiness, poke the dough with a floured finger, making about a 1/2-inch indentation. If the dent springs back immediately, the dough needs a longer proofing. If the dent springs back slowly and doesn’t completely disappear, the dough is ready to bake.
-
Day 2 (bake): This recipe uses a dutch oven for baking. Preheat your oven to 475ºF with a rack in the center of the oven. Put the dutch oven with the lid on the rack while the oven preheats. Once the oven has reached temperature, take the dough out of the refrigerator and invert it onto a piece of parchment paper, leaving enough paper on either side to be able to lift it. Make sure you have oven mitts then take the (very hot) dutch oven out of the oven and place on the counter or stove. Remove the lid and rest one of your mitts on top of the lid so you don’t touch it by accident. Take the ends of the parchment paper and carefully lift and transfer the dough to the dutch oven. Cover the dutch oven and place it back in the oven. Bake covered for 30 minutes then uncover and bake for another 20-25 minutes, checking your bread at the 15-18 minute mark just in case your oven runs hot. When done, tilt the bread out of the dutch oven and let it cool on a rack for at least 20 minutes before slicing.




Such a great post with loads of information. I love your day 1 and day 2 steps. So very helpful. Thanks for sharing.
Oh, I’m glad to hear this, Kristy. If it helps to simplify the process for others then I’m happy. 🙂
You are a sourdough expert! For sure. While I remain intimidated by the starter. GREG
You can dry your starter and store her indefinitely until you’re ready to experiment…or if for some reason you should decide to retire your starter, there’s more where it came from. Happy to send you more. 🙂
Thanks for all your help. What kind of Dutch oven do you use?
Thanks
Jerry
1gmsmg@gmail.com
Hi, Jerry. Apologies for the late reply. I use a Le Creuset enameled dutch oven for my bakes but I know that others use Lodge cast iron with great success. 🙂
Thank you so much for sharing this and your chocolate/cherry/almond recipes! I hate discarding my starter, so I am always on the look out for new ways to use my “extra” starter – in addition to trying to maintain a minimal amount of starter in the fridge between my weekly/semi-monthly baking schedule. This recipe turned out wonderfully! It was moist with an airy crumb and the cacao gave it a beautiful color. I used your non-scored, “upside down” shaping method and loved the easy, free-form result. On my first attempt, I didn’t have any raisins, so I chopped up some prunes and added some dried cranberries instead. I also used the fruit hydration water as part of the water in the recipe. So happy to have this recipe! It’s very versatile and can be enjoyed savory or sweet. Next time, I may add some chopped nuts and a little cinnamon for a more decidedly sweet result 🙂 Thank you again!
Catherine, this is music to my ears. Thank you so much for trying this recipe and I’m so glad that you were happy with it. Your prune and dried cranberry additions sound great–will have to try them next time. Thanks again!!
Thank you for the guide.
One thing that you don’t mention is when was your starter fed last, the one that you used for this method..was it fed day before or was it dormant in the fridge longer than 12 hours?
Thank you
Be
Hi, Be. I don’t remember exactly but my starter would have been fed within the last 24-48 hours before using it in this recipe.
then it was fairly fed, unfed i thought 1 week or more
This is so interesting to me, especially after my decision yesterday to use unfed and cold starter in addition to my levain as I had accidentally doubled my flour + water when I had only prepared a single batch of levain. The whole bake was a little bit of an experiment as my schedule kept getting thrown off track, but I made many discoveries and found similar success in using the cold, unfed starter. One of my best loaves of bread so far as well!! Looking forward to testing your method and having a more flexible way to make bread!
Nicole, apologies for a very delayed reply–I missed your comment. So glad you found that unfed starter can work well, too. I hope you have been enjoying lots of great sourdough bread during these challenging months and yay for more flexibility with sourdough. 🙂
Hi. I’ve been trying to. Figure out why you say put dough into banniton seam side down?
Hi, Kim. This is the technique Ken Forkish uses in his book “Flour, Water, Salt, Yeast”. If you place the dough seam side down in the banneton, this becomes the top when it bakes. He doesn’t score his bread and rather uses that seam to encourage splitting when the dough bakes. I’ve also baked the breads seam side up (so the seam is down when the dough is taken out of the banneton) but when I do I score the top of the dough before baking. Hope this helps.
This is by far the best recipe/technique I have encountered in my 40 years of bread baking I’m not a huge fan of raisons so have substituted drunken cranberries (dried cranberries soaked in Grand Marnier). Amazing crust and crumb, moisture and flavour. So smart to figure out that unfed sourdough will feed itself on the flour/moisture in the recipe given enough time. I’m trying to figure out how I can use this technique on other favourite bread recipes and get just the right formula for grain to moisture ratio given that Helmut (my sourdough starter) is not an exact formula of grain and water. My husband proposes marriage every time I make this bread.
Anne Marie, what beautiful feedback to receive, thank you so much. I’m very happy that you and your husband enjoy this bread and I so appreciate you taking the time to write this comment. I hope you and your family are keeping safe. Thank you!!
This was an interesting recipe for sure! I had a few issues with it though..
to start off here is what I changed:
1) Because of the quarantine, I used a mix of bread and cake flour. most likely 50/50
2) I added 5 extra grams of cocoa powder
3) I added about a tablespoon of honey
After following all the directions and leaving it in the oven for the full 55 mins, (30 lid on 25 off), my loaf came out very gummy. It was moist for sure, but also slightly sticky throughout the crumb. It smells and tastes very good, but that texture is just so strange. Could it have been the flour I used? I noticed when shaping the dough that it was very sticky, and stuck to my bench scraper. If you have any ideas of what happened, they would be greatly appreciated.
Other than the texture discrepancy, the loaf looked beautiful. I ended up scoring the top and it looked great. I am going to try it again sometime soon, but with using the correct flour and not adding any extra honey or cocoa.
Hi, Jordan. I’m afraid the cake flour would have been the culprit here–the other two changes, extra cocoa powder and honey, shouldn’t have affected the recipe. Cake flour happens to have the lowest protein content compared to other varieties so using half here is what I’d say caused the different results. The higher the protein content in flour, the more gluten which is a factor in dough’s elasticity, structure and rise. Hope this info helps–it sounds like you were able to salvage it? Hope your second try will be a much better experience. 🙂
Thank you for such detailed steps. It was going very very well till I tipped it out to shape. All the tightness and smoothness just disappeared n it became a messy dough. It had doubled in size after 6 hrs (temp is abt 32C here) Still I gingerly shaped it as best as I could.
Another question I have is that you put your dough seam side down n I did not notice you don’t do scoring. Is that why?
It’s still in the refrigerator n I hate to take it out in event it flop sideway once out of the banneton. I’m sure I did something wrong somewhere cos this is not the first time when I tip it out to shape. All the structure just disappear!
But regardless of shape, it’s still a lovely recipe n I will try again .
Thank you once again !
Hi, Patricia. Not knowing anything else about other conditions 32ºC can be quite warm and I wonder if you can try a shorter bulk fermentation time next time. Even if the dough doesn’t fully double it might be ready. Would you happen to know the protein content of your flour? Also, a higher hydration dough can take some getting used to but it does come together. Or you can also try a little less water until you arrive at a dough you’re comfortable working with. 🙂
As for the seams, you can go either way. The first method I learned and became familiar with was Ken Forkish’s in his book, Flour, Water, Salt, Yeast. He places the dough seam side down in the basket so that it ends up being the top when flipped for baking. The seams become the natural opening for the dough to expand. Lately, I’ve been placing my dough seam side up in the Banneton so I’ve been scoring the tops. You can go either way. I’m curious how your bake turned out–would love to know. 🙂
Thanks for your advice . I think my flour has abt 9 percent protein content. And the weather has been really hot lately. But fortunately In the end the bread turns out great! My first chocolate sourdough and it is so yummy! Love it!
9% is considered a lower protein flour so congrats for making it work. The higher the protein content the bigger the gluten network you have to work with to make the dough easier to handle. 🙂 So glad you liked the recipe and I really appreciate your feedback, thank you! 🙂
Hi! Is it possible to use all purpose flour here instead of bread flour?
Hi, Safwa. Yes, it’s fine to use all-purpose flour. If your a/p flour has a high-protein content you should get the same results. 🙂
You are a genius! I love my sourdough starter, she’s just over a year old and while I am really good at keeping her fed and happy I struggled with making a decent loaf of bread. I don’t have the time in my schedule or the patience for most of the recipes out there. However when I googled “make sourdough from unfed starter” and got your instructions I was super excited. It took me three tries with your recipe; I botched it the first time and over proofed it before my bulk ferment so it tasted delightful but was a bit flat. The second time I didn’t let it proof at all….don’t ask….and it was again a bit flat and without a strong flavor. But today (and yesterday) I finally followed all the steps properly and made a beautiful loaf of sourdough. I’m so excited to have gotten this down as now I will be able to make bread each week with my starter. THANK YOU for making this process easy so I can do it on a Saturday and Sunday with little effort and have a beautiful and delicious bread for the week!
Jackie, I’m so glad this recipe worked for you. Sourdough can be so tricky as fermentation time is so dependent on temperature. Glad you found what works for you. Thank you for your nice feedback. 🙂
This recipe is awesome and it seems fool proof. Made a few errors along the way. Shaped bread in banneton instead of leaving it in the container for the bulk rise. Realized my mistake in about a half an hour. Took it out and put it back in the container. Then left it to bulk rise…only 4-5 hours later took a look and it had risen way over two times. Shaped it and put in in the refrigerator. In the morning it had risen still in the refrigerator. Took it out before I turned on the oven, again recognized my error and left it in my cool mud room. It had relaxed a bit and was looking a bit flat when the oven and Dutch oven were heated enough. Pushed the bread gently back into shape as much as possible and dropped it in the Dutch oven and fingers crossed baked according to directions. It came out perfectly, full and crusty with a great taste and crumb. I’d like to make it into a sandwich loaf, what do you suggest, shaping it in the loaf pan and placing it in the refrigerator or
shaping it before baking and allowing to rise slightly at room temperature? This will be my go to recipe, I never seem to feed my starter within the optimal time for usage, so this is a fantastic technique. Thank you.
Hi Cecilia. I’m so glad you like this recipe and it sounds like you know how to read your dough and have learned how to be flexible with it. This is a late reply but in case you haven’t tried baking this in a loaf yet I would put it in the loaf pan after bulk then bake. However, if time isn’t your friend, I think it would be okay also to shape, put it in the loaf pan and bake the next day. 🙂
I KNEW IT!
I am a new bread baker borne, like many others, during the early months of the pandemic. Everything I kept reading about the “chemistry” of what was happening suggested that hungry starter would work. I just kept thinking, if it eats the flour in my jar, why wouldn’t it eat the flour in my dough? The process takes so long that each time I set out to experiment I always balk at the last minute because what I really want is just a loaf of bread so I go back to the just-post-peaked starter because I know it works.
So now that you are my new bread hero, I would love to hear what you have to say on flavor. My preference is sour sourdough bread and I have yet to achieve it. I have proofed in the fridge for 2 days (far too long to wait for bread!!), made starter using rye and wheat flour (her name is Wheatny Houston) and have wet my hands for the stretches with white vinegar. Nothing has yielded a sour loaf. Instead I get some sour undertones. Is there anything you would suggest? I’ve been trying to stay away from buying an additive, I’m hoping to find a method/ingredient in my kitchen.
Thank you for this post! I can’t wait to try out your recipes!
Carrie
Hi, Carrie. It sounds like you are enjoying experimenting and working with sourdough. 🙂 So much to learn but a rewarding endeavor. In addition to what you’ve already tried–whole grain flour and long cold fermentation–I’ve read about two other ideas that might help produce a more sour loaf. One is to use a starter that has a higher acid load. This means a starter that is fed less often or one allowed to go hungry between feedings. The second idea is to bulk ferment at a higher temperature. I have tested both ideas and they can produce more tartness but not sure if they would be tart enough for you. Worth putting your Wheatney to the test. 🙂 This is the way my husband prefers our sourdough also. Hope this helps!! 🙂
You probably want more acetic acid vs lactic acid to get more punch. Jean is right that one way is less frequent feedings. Possibly even going so long that you get that hooch layer but keeping it instead of pouring it off. If you google acetic acid in sourdough there’s lots of people talking about it. Most people want the smoother lactic acid taste it seems but there’s good discussion out there on what conditions each acid favors!
Thank you SO much for this recipe! I was searching for a way to use up unfed starter! I made this recipe without the chocolate or raisins, and it was delicious. The crumb was great and I added everything but the bagel seasoning to it. So delicious!!!
So glad this recipe worked for you, Jeanne! Thanks for the nice feedback!!
Thank you for the tips shared here…I have used sourdough discard for waffles and english muffins, so look forward to trying it to make real sourdough bread. I read your other sourdough recipes and wonder I should modify the steps there to use unfed sourdough starter, similar the process here.
Hi Marlyn. You can try using unfed starter for my other recipes; just keep in mind that bulk fermentation times can be longer with unfed starter. A freshly-fed, robust starter will always yield the most consistent, prettiest results but you can use unfed, certainly.
I baked this yesterday and was blown away by how delicious it came out. I replaced the cacao with cocoa, the raisins with dried blueberries, and 60 g of the bread flour with spelt. It’s honestly one of the best tasting loaves i’ve ever baked. The oven spring was great, and the crumb is exactly how i like it. My starter has been really active lately and even unfed I only wound up needing to bulk ferment for 6.5 hours (after folding), so it went faster than i anticipated too! I will definitely be making this one again.
CQ, I’m so glad this recipe worked for you and that you made it your own. Love flavor variation sounds delish! Thanks for taking the time to give me feedback–much appreciated! 🙂
Hi Jean,
Thanks for the post, “Once you go sourdough, you cant go back”
Time, with a busy work schedule and the other joys of life that also needs attention, is a challenge.
I am baking sourdough bread for three months now with my starter Betty. Testing hydration, baking temp etc litterally with each batch.
Challenges I found baking in the middle of the week was bulk fermentation time.
I fixed this by working with my ubfed starter straight from fridge in to yogurt maker for 30 min, from there diluted into potion of cold water. Other portion of watee for salt. Mix all together. Do 2x stretch & folds over period of hour to hour & half. Ready to bulk rise over night. I use 5% of unfed starter to flour ratio. Next morning before work I divide my dough into 2 balls, let sit for 15 – 20 mins. Fold loafs and into the fridge, toniht I pull from fridge, scour them into the oven.
Doing this cold ferment without any honey or sugar to activate starter(cutting a lot of time consuming ritiuals) an working with cool water, saves me a tonne of time. No over fermentation.
My oven spring strength improved by at least 30%.
This is wonderful, Martin. Thanks for sharing how you’ve adjusted your bulk fermentation process to accommodate your schedule–I’m sure it will be helpful to others who come across this post. This is very helpful. Sounds like your Betty is happy and you’ve been making great bread together. 🙂
Thank you so much for sharing this recipe! I followed the steps exactly; however, the dough came out a little flat. It did have a bunch of air bubbles in the dough, but was only 1.5 inches high. Do you know what could be causing the issue and do you have any suggestions to fix it? Thank you!
Hi, Winnie. I can think of two things that might have given you different results with this recipe. 1) If your dough (or room temperature) was warmer your dough could have over-fermented. 2) The flat dough might have been a shaping issue. If you happen to track the temperature of your dough I’d love to know what it was so I can help you troubleshoot. Hope this helps. 🙂
Probably the best sour dough recipe, full stop, that I have used. Instead of the dried fruit I put 55g of choc chips and it turned out perfecto! I also tried the unfed starter method to make a regular sour dough loaf. It didn’t spring as much as the chocolate bread. Could this be because it didn’t have the extra sugar to feed on? Do you have a regular sour dough loaf recipe using unfed sour dough? Many thanks for a great recipe.
Peta, what a nice compliment, thank you. So glad you liked this recipe. Unfed starter will normally take longer to bulk ferment and while it’s great to be able to use it, a fresh, active starter will usually yield the best results. I still use unfed starter, though, because it’s so convenient. Also, the younger the unfed starter is, the better it will perform. Hope this helps. You can use any of my sourdough recipes and try them with unfed starter. I would just expect to have a longer bulk fermentation time.
This bread turned out beautifully. I wish I could post a photo. Thanks for this cool recipe.
Catherine, I’m so glad this recipe worked out well for you–thanks so much for giving it a try. If you have an Instagram account and post a picture of your loaf, please tag me. Would love to see. 🙂
This is my all-time favourite recipe. I have a super busy schedule and was struggling to find the time to make sourdough bread regularly but this works magically. I regularly make the choc and raisin bread and it is ALWAYS delicious. But I also use this recipe/schedule for other loaves too, such as plain wholemeal, works perfectly everytime! Thank so much for such a great recipe!!!
This is so nice to hear, Anya. Thank you so much for the nice feedback.
Fantastic recipe!!! this turns out perfect every time even when I make it just plain.
Was wondering if I could substitute the cocoa with cinnamon and how much would be required?
I’m so glad you like this recipe, Louise. 10 grams is a good amount to start with if you’ll sub the cocoa with cinnamon. I haven’t incorporated cinnamon this way but if you’ve had a chance to try it, would love to know how it went. Thanks for the nice feedback. 🙂