Homemade Sourdough Pizza Dough
Sourdough pizza is not for those in a hurry but the full flavor of a long, slow fermentation of the dough is worth the wait.
A sourdough pizza post was inevitable–you probably already guessed it was coming but there was a years-long gap between my first attempt and the latest and I didn’t want to share this recipe without testing it a few more more times…so I’ve waited…testing…tasting lots of pizzas in between.
Ordinarily, as much as we love it, pizza is not something we eat often and when a craving hits, an authentic Italian, wood-oven-baked pizza is just a short drive away. My little pizza stone does the job–it takes a little longer in my oven–but there’s no denying that my local Italian restaurant’s brick oven will do it far better. What they don’t have is pizza with a sourdough crust and this is the part worth waiting for and writing about.
If you’ve never tried pizza with a sourdough crust, you’re in for a treat. A naturally-leavened dough really does make better tasting bread and it’s no different for pizza. A full-flavored crust is the reward for the extra fermentation time called for compared to using commercial baker’s yeast and I am confident there will nary be a cornicione (pizza edge) on your plate when you’re done.
One thing about sourdough pizza is that it requires a bit of planning. With commercial yeast you can be inspired to make pizza for dinner in the afternoon and make it happen. Using sourdough, better go with Plan B. Even if you already have an active starter, your pizza dough will need more hours to ferment than the conventional method so it’s best to start in the morning.
The process goes like this: mix the dough, rise, divide, second rise, shape, assemble, bake. On a warm day when your dough will ferment faster you can enjoy pizza the same day but I suggest splitting these steps over two days, at least. The sourdough pizza magic happens during the long, cold ferment in the refrigerator. This has been a tried-and-true method for my sourdough bakes and the results are even more pronounced with sourdough pizza. If you’re lucky enough to have a pizza oven at home, preparing a large batch of dough ahead of time and allowing it to sit for a few days is convenient, and tastier. For a pizza party or if you just want to enjoy pizza all week, the split schedule is better than doing it all the same day. Continue to my notes and tips below if I have convinced you to try sourdough pizza.
Sourdough Pizza Notes and Tips
- Pizza Dough Schedule: For same-day pizza, you would still need a sourdough starter that’s ready to use in the morning (feed it the day before) before proceeding with the process. My routine is to feed my starter, mix the dough, let the dough rise the first time and store it in the refrigerator for cold ferment on day one. On day two I divide, let the dough rise a second time, shape and bake. I have let my sourdough pizza dough cold ferment for days with wonderful results (flavorful, easy-to-shape dough). Alternatively, you can also divide the dough before you store it for cold fermentation but I think it’s easier to just take a portion from the batch as you need it (if not using all at once).
- Bulk Fermentation: This is the first rise. Similar to sourdough focaccia, it’s better to not allow the dough to reach full fermentation since you want to reserve some of the rising power for the final proof, particularly on a warm day when dough tends to ferment more quickly. To be safe, you can allow the dough to rise around 50% before you transfer it to the refrigerator for cold fermentation. You can allow the dough to double during the next stage. At this second stage, you will allow for time for the dough to get light and bubbly on top.
- Dough Hydration: Most pizza dough calls for less water in the formula, about 65% hydration. I prefer and am more accustomed to working with higher hydration dough so my formula is at 80% hydration, including the olive oil. Without the oil which is optional the hydration is roughly 75%. The additional water is probably beneficial when using a home oven since pizza requires a longer baking time than in a pizza (or brick) oven so the extra moisture comes in handy.
- Scaling the Recipe: The recipe below works for four smaller, thin, roughly ten-inch rounds or three slighter bigger, thicker pizzas. Depending on how much pizza dough you need, you can adjust the recipe accordingly.
- Baking Time: If you use a baking stone like I do, preheat it with the oven. You might need to adjust your baking time since all ovens are different and your pizza may end up thicker or thinner than mine. If your pizza has a thicker center it’s better to have extra baking time to finish the center than to have a burned bottom and doughy middle. Also, try not to overload the pizza with toppings.
- Shaping: After the second rise, this dough is easy to shape. Instead of rolling it, I gently stretch the individual dough round or drape it over my fist to stretch it. There’s no rolling required.
- Freeze Extra Pizza Dough: I have never had leftover pizza dough but I’ve read that it can be frozen up to three months. Freeze it in individual portions and thaw in the refrigerator overnight before using.
- Flour/Olive Oil: I prefer to use a combination of 00 flour (finely ground Italian flour) and semolina flour for pizza dough but you will also get great results with bread- or all-purpose flour. Use what you have. The olive oil is optional but I like the extra hydration and extra flavor it lends to the crust.
- Will the Crust Be Sour? This is a common question when sourdough starter is involved. You can manage the flavor of the crust and have a little sourness if you prefer it or not at all. The sourness or tang from sourdough mostly depends on the acid load of one’s starter. A regularly-maintained starter will not have a lot of acid build up and won’t produce sour bread. Incorporating whole grain flour can also highlight the sour notes in bread but mostly it improves the flavor of the final product.
- Benefit of Better Digestion: One thing I like about naturally leavened bread is how much kinder it is to our system. The long fermentation makes the pizza crust easier to digest so it doesn’t feel like a heavy lump in your stomach after you eat it.
Homemade Sourdough Pizza Dough
Sourdough pizza is not for those in a hurry but the full flavor of a long, slow fermentation of the dough is worth the wait.
Ingredients
- 400 grams 00 flour (or bread flour or all-purpose flour)
- 50 grams semolina flour (or bread flour or all-purpose flour)
- 330 grams water (luke warm)
- 70 grams sourdough starter (active or fed the night before)
- 9 grams kosher salt
- 25 grams olive oil (optional, if not using replace with same amount water)
Pizza Topping Suggestions (Optional or Choose Your Favorites)
- pizza sauce (I use pureed tomato sauce seasoned with herbs, onion powder, garlic powder and salt)
- mozzarella cheese (grated or sliced thinly)
- prosciutto slices
- fresh basil
Instructions
-
Day 1, Mix the Dough: In a bowl, mix the flour, water, starter, salt, olive oil. Mix well, cover the bowl with a lid, plastic wrap or towel. Let sit for thirty minutes to one hour. Tip: take the dough temperature each time you handle it to assess fermentation time.
-
Day 1, Stretch and Fold: Perform four stretch and fold sessions every thirty minutes for two hours. Take one portion of dough and fold it over itself, pulling to the point of resistance. Cover and let sit between sessions.
-
Day 1, Bulk Fermentation: Bulk fermentation started when the dough was mixed. After the stretch and folds, leave the dough to rise around 50% (it's okay if a little less or more). Depending on dough temperature, this could take one hour to a few hours.
-
Day 1, Cold Fermentation: After bulk fermentation, store your covered dough in the refrigerator. From here the dough can sit for up to five days, taking portions as you plan to use them.
-
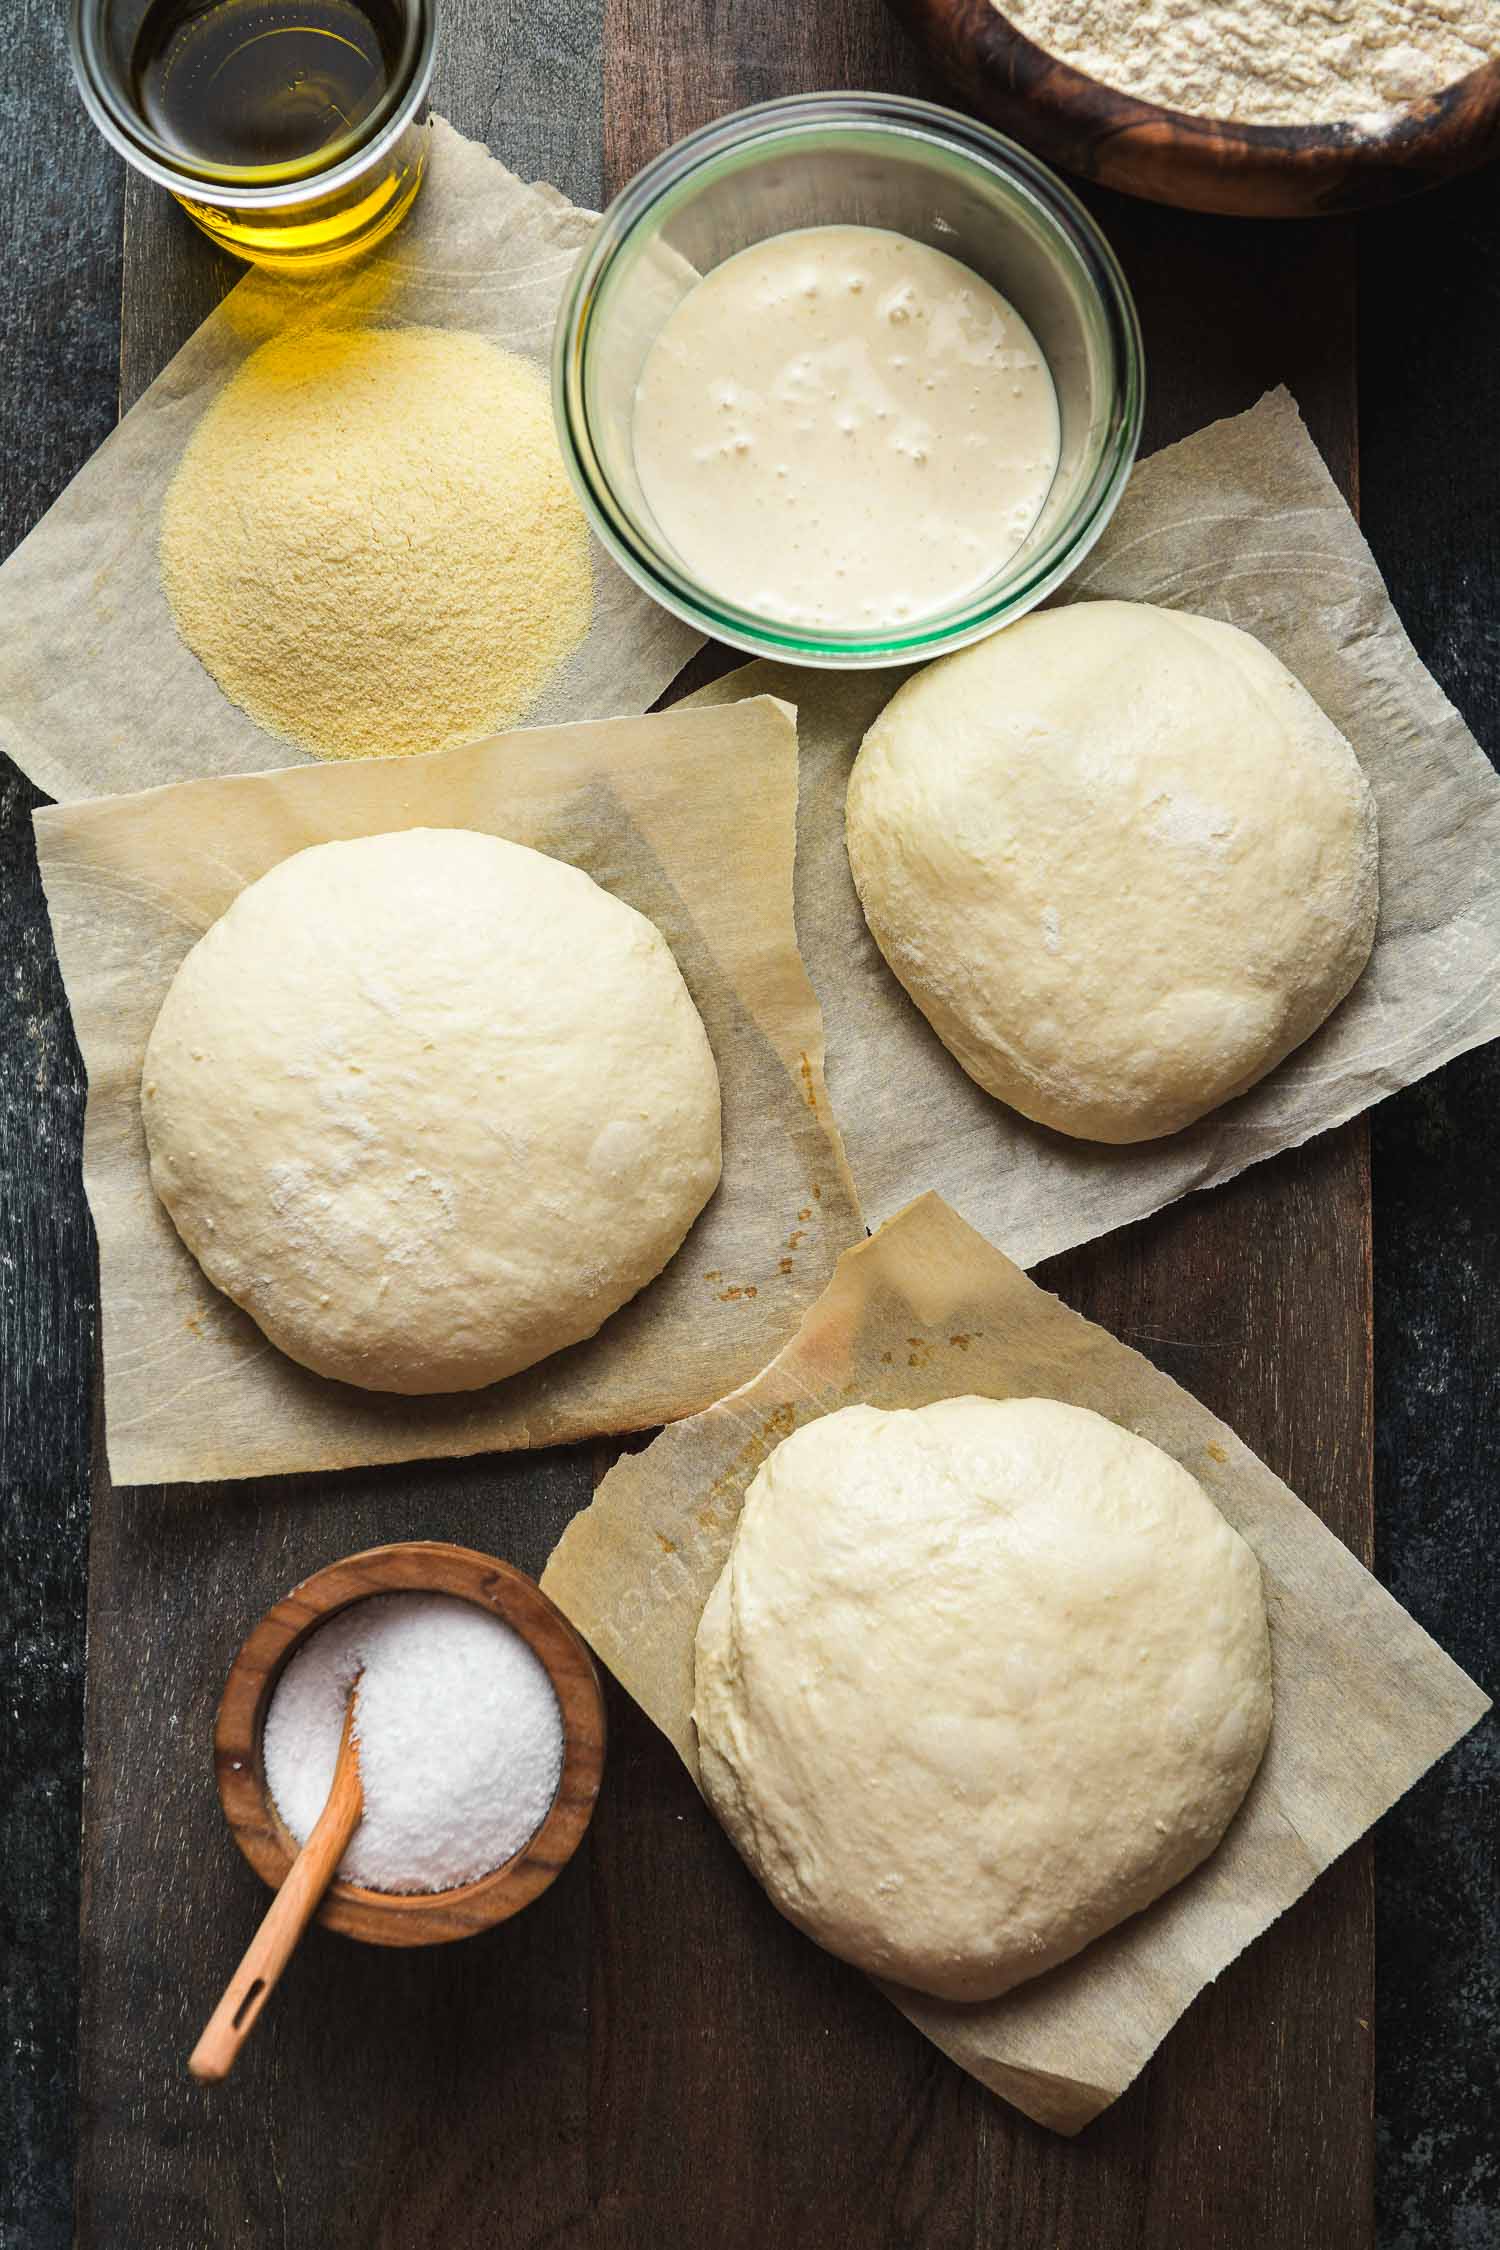
Day 2 (or 3 or 4 or 5), Divide and Final Proof: Take the dough out of the refrigerator. Use a bench scraper to divide the dough on a lightly floured surface. For this batch I like to divide in three or four portions. Shape each portion into a round and rest on a baking pan dusted with corn meal. Cover and let rise until doubled. The surface will be doubled and bubbly. This can take a couple of hours or longer.
-
Day 2 (or 3 or 4 or 5), Shape and Bake: Preheat your oven to 450ºF with your baking stone. Once it has reached temperature, shape each dough round by spreading on a pizza peel or parchment paper to make it easier. Lightly dust with corn meal for easier handling. Stretch the round by gently pulling it into shape. It should be easy to handle. Keep the rim of the dough thicker than the center. Assemble each pizza with your favorite toppings and transfer onto the baking stone (I like to brush the edge with a little olive oil for extra color). Bake for 8-10 minutes or until the pizza has reached desired doneness. Repeat for remaining pizzas.


I’m not much of a bread maker except for no knead overnight in the fridge bread:) This must be very delicious; sourdough is so tasty.
Great photos! Beautiful pizza! I wish I could smell it!
Thanks, Mimi! These pizzas were such a treat!
Planning on trying this recipe today. I am no stranger to bread/dough/pasta/ “all things flour”.. (been baking bread for 40+ years) but I am a newcomer to the world of sourdough/starter baking. Interesting that there is an all purpose flour option WITH concurrent 80% hydration!…. I’ll try this option and see how it goes.. Thank you for sharing this recipe.
Delicious, small delicate pizzas, It’s stretch out gently. Did a dinner party. It was a hitp
Hi! When it was mentioned that I should take the dough temperature, what is the ideal temperature it should be at?
Thank you
Hi, Roberta. There’s not really one ideal temperature but taking the dough’s temperature can give you an idea how long fermentation would take. In my kitchen, in the low to mid-70s ºF, it would take roughly four to five hours for dough to double. Pizza dough is forgiving so you should be okay. Hope this helps. 🙂