Chocolate Chip, Raisin, Walnut Sourdough Bread
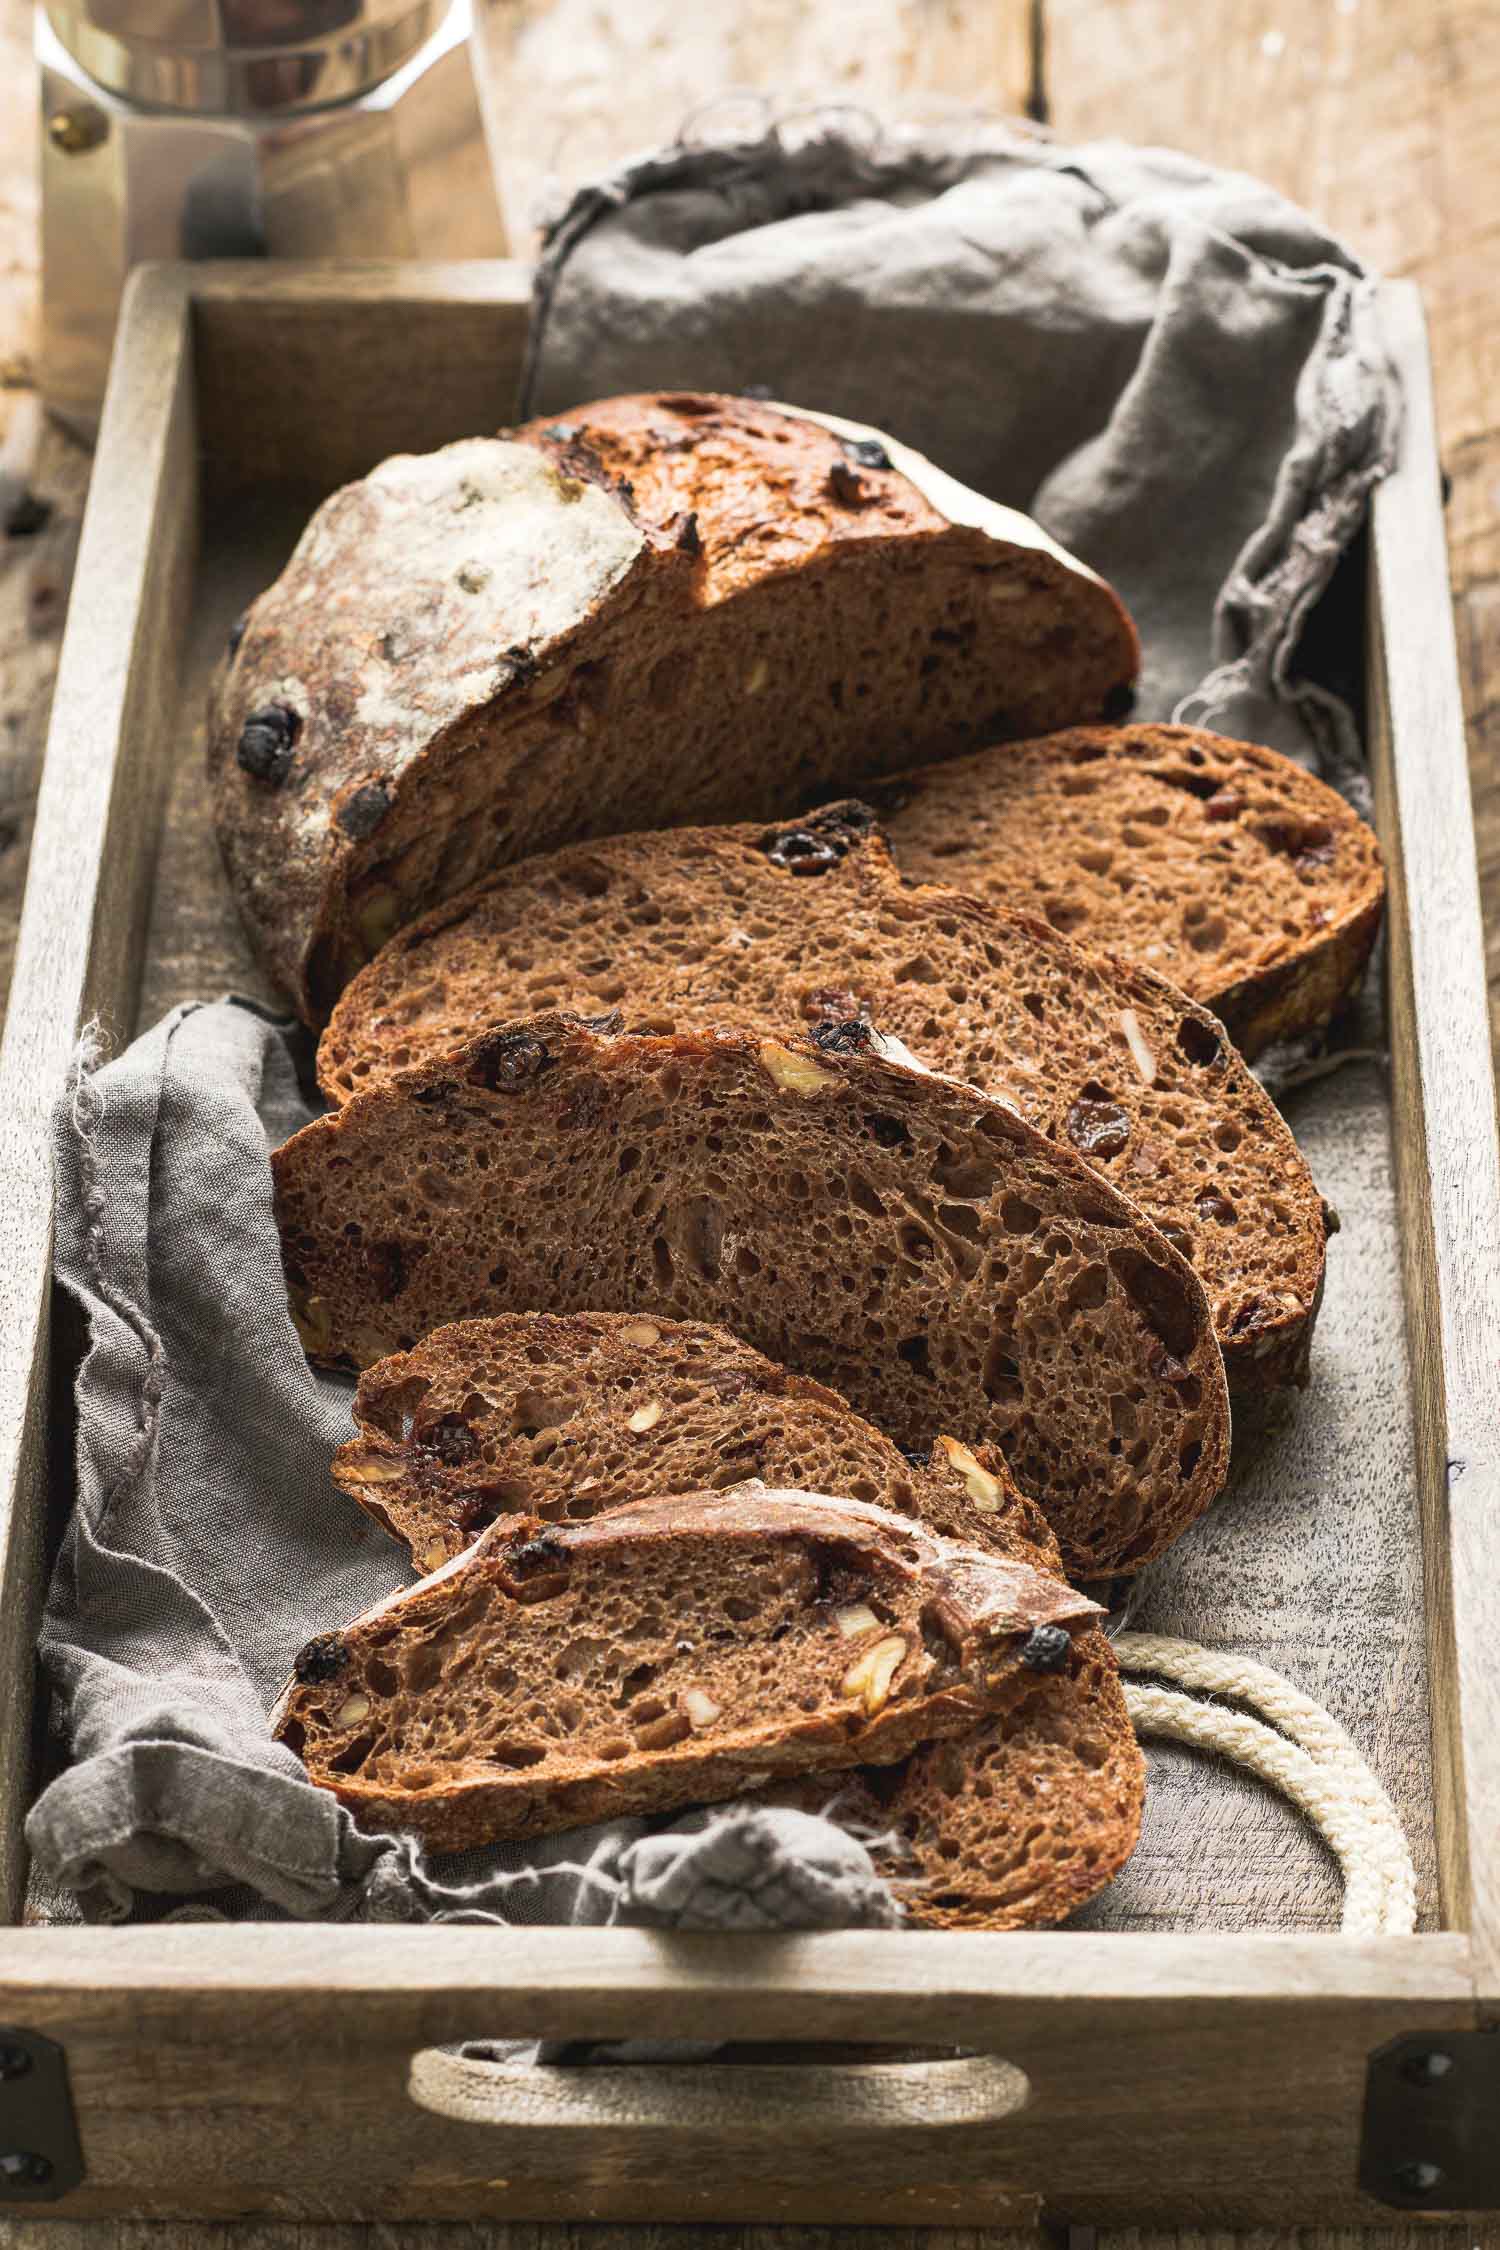
This sourdough loaf has a few sweet surprises inside.
If you’ve dropped by here from time to time over the last ten years you might have noticed that I have a tendency to jump into a pattern of cooking or baking according to a theme for a time until I get that particular obsession out of my system. Homemade pasta, French macarons, olive oil cakes, madeleines and of course, sourdough bread. Does this happen to you, too?
It’s safe to say that these days I’m not alone in my sourdough mania. More than a few of us have latched on to bread baking as a distraction from all this uncertainty and as one who shares recipes, sourdough has been my blogging inspiration lately. Even with other recipes that have been waiting to be published here I haven’t felt any enthusiasm to share anything else besides bread so they’ve continued to be pushed back.
But the weather has warmed up around here and as lighter fare grows more inviting the interest in sourdough (and using the oven in an already warm kitchen) might begin to wane but for now, here’s yet another bread recipe.
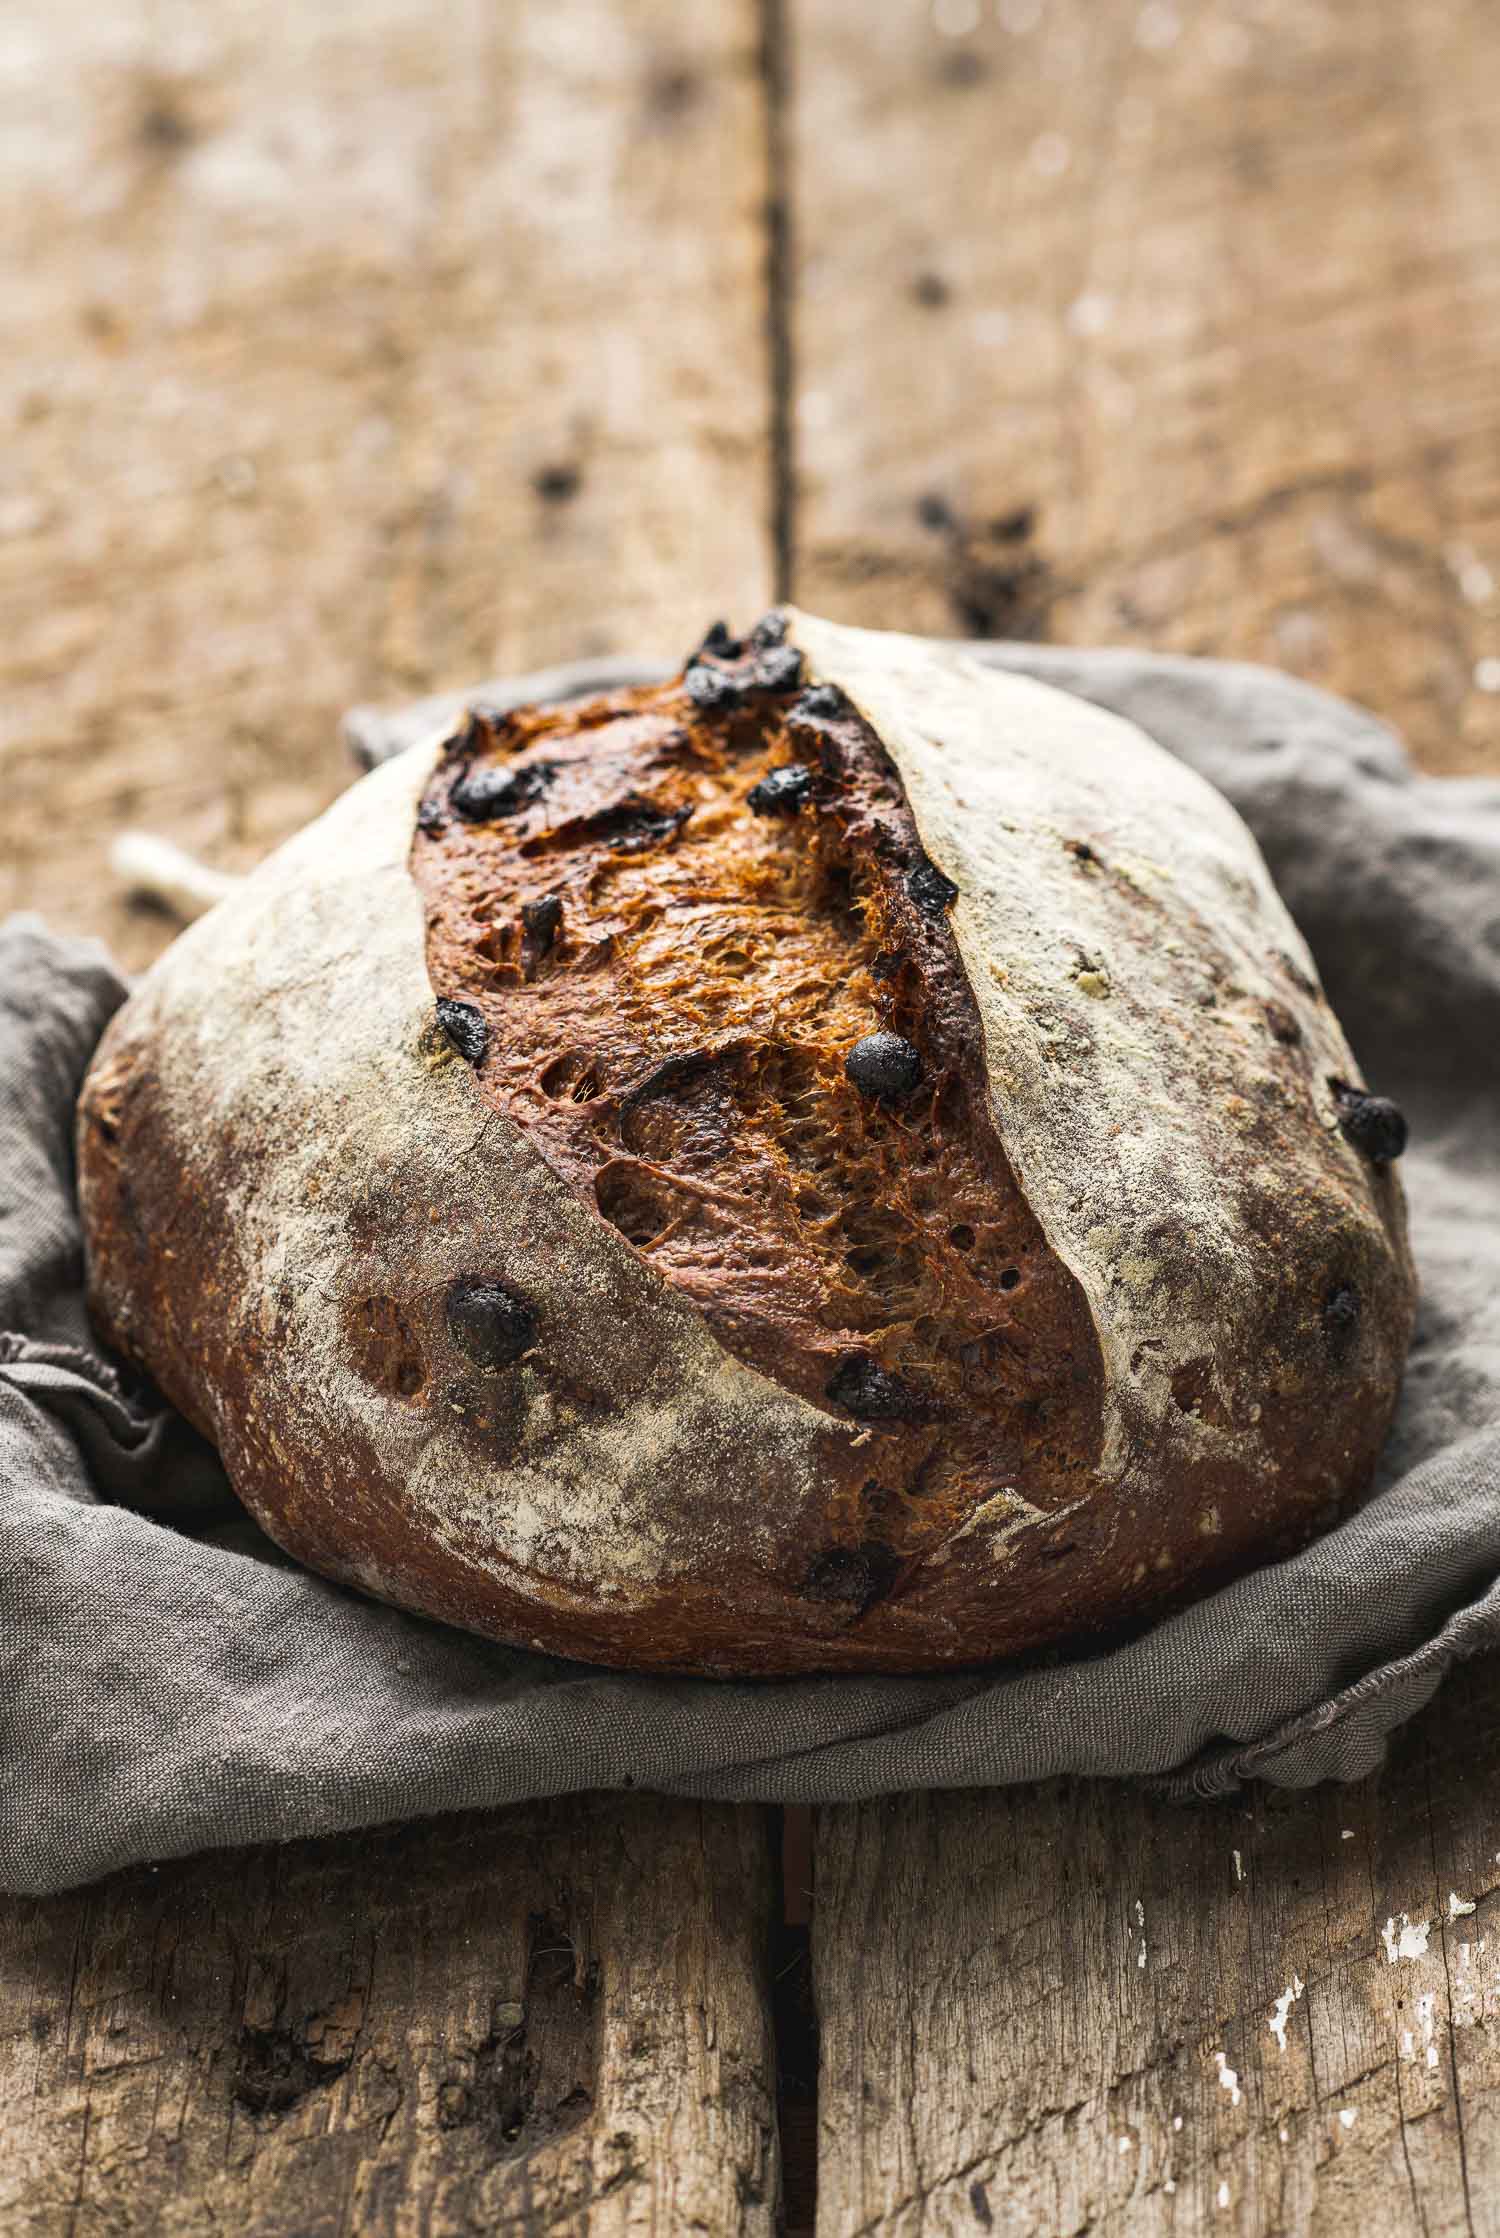
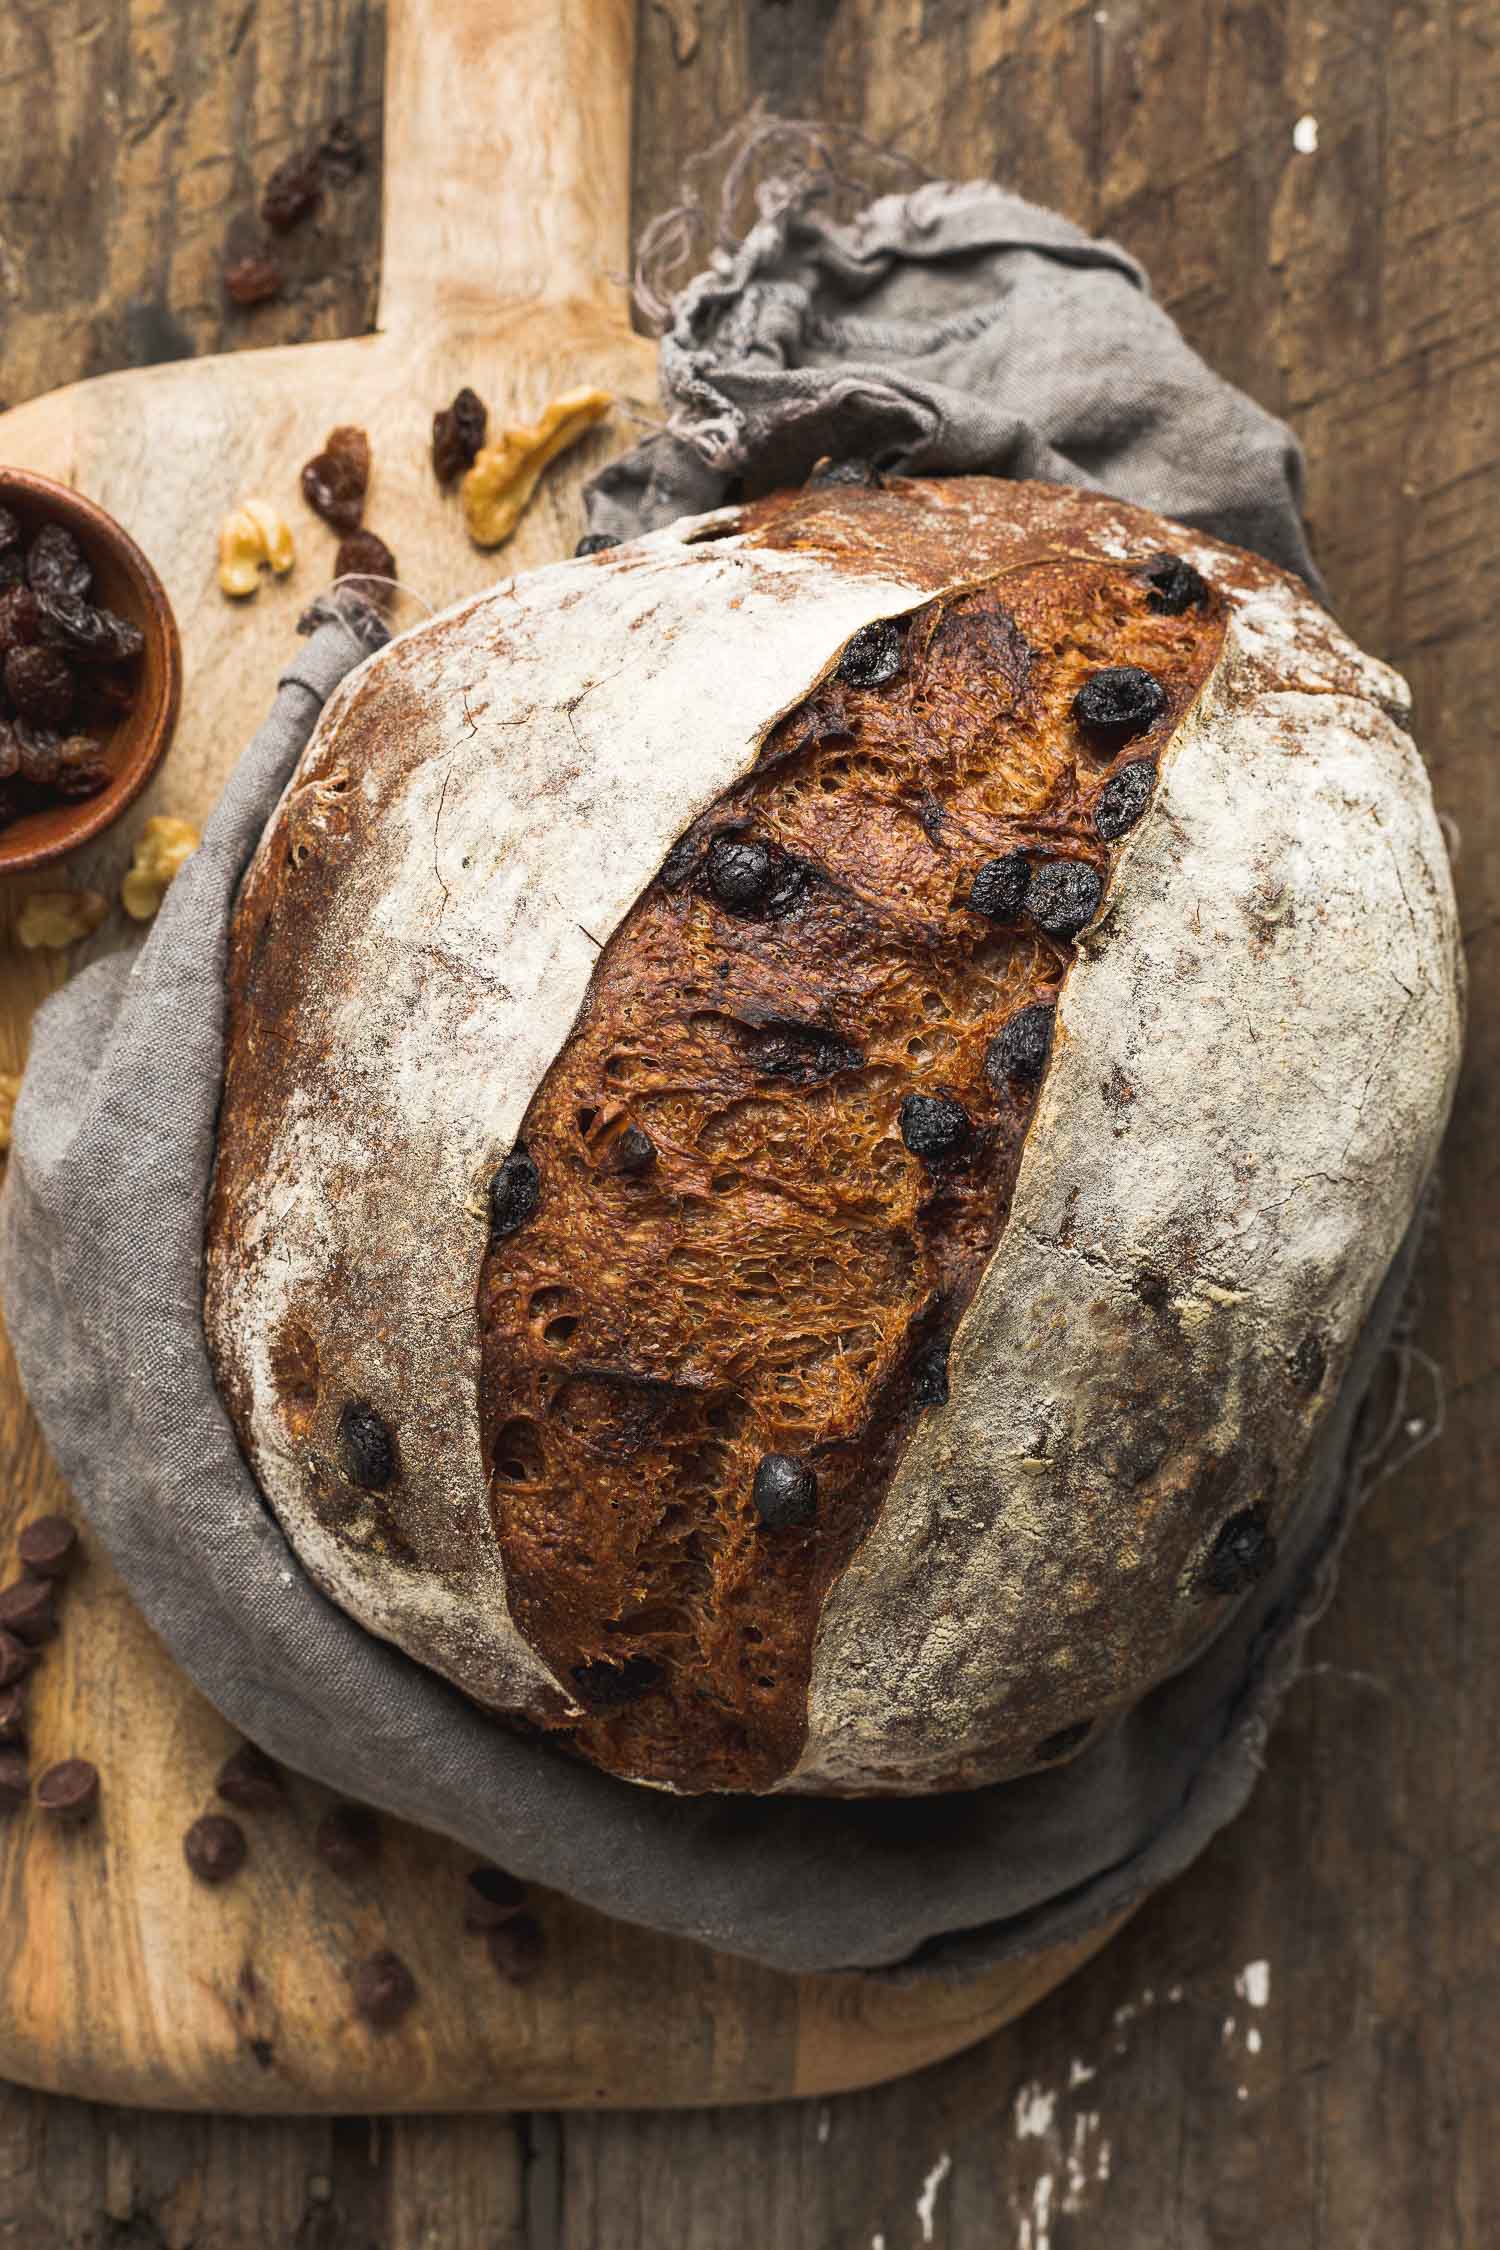
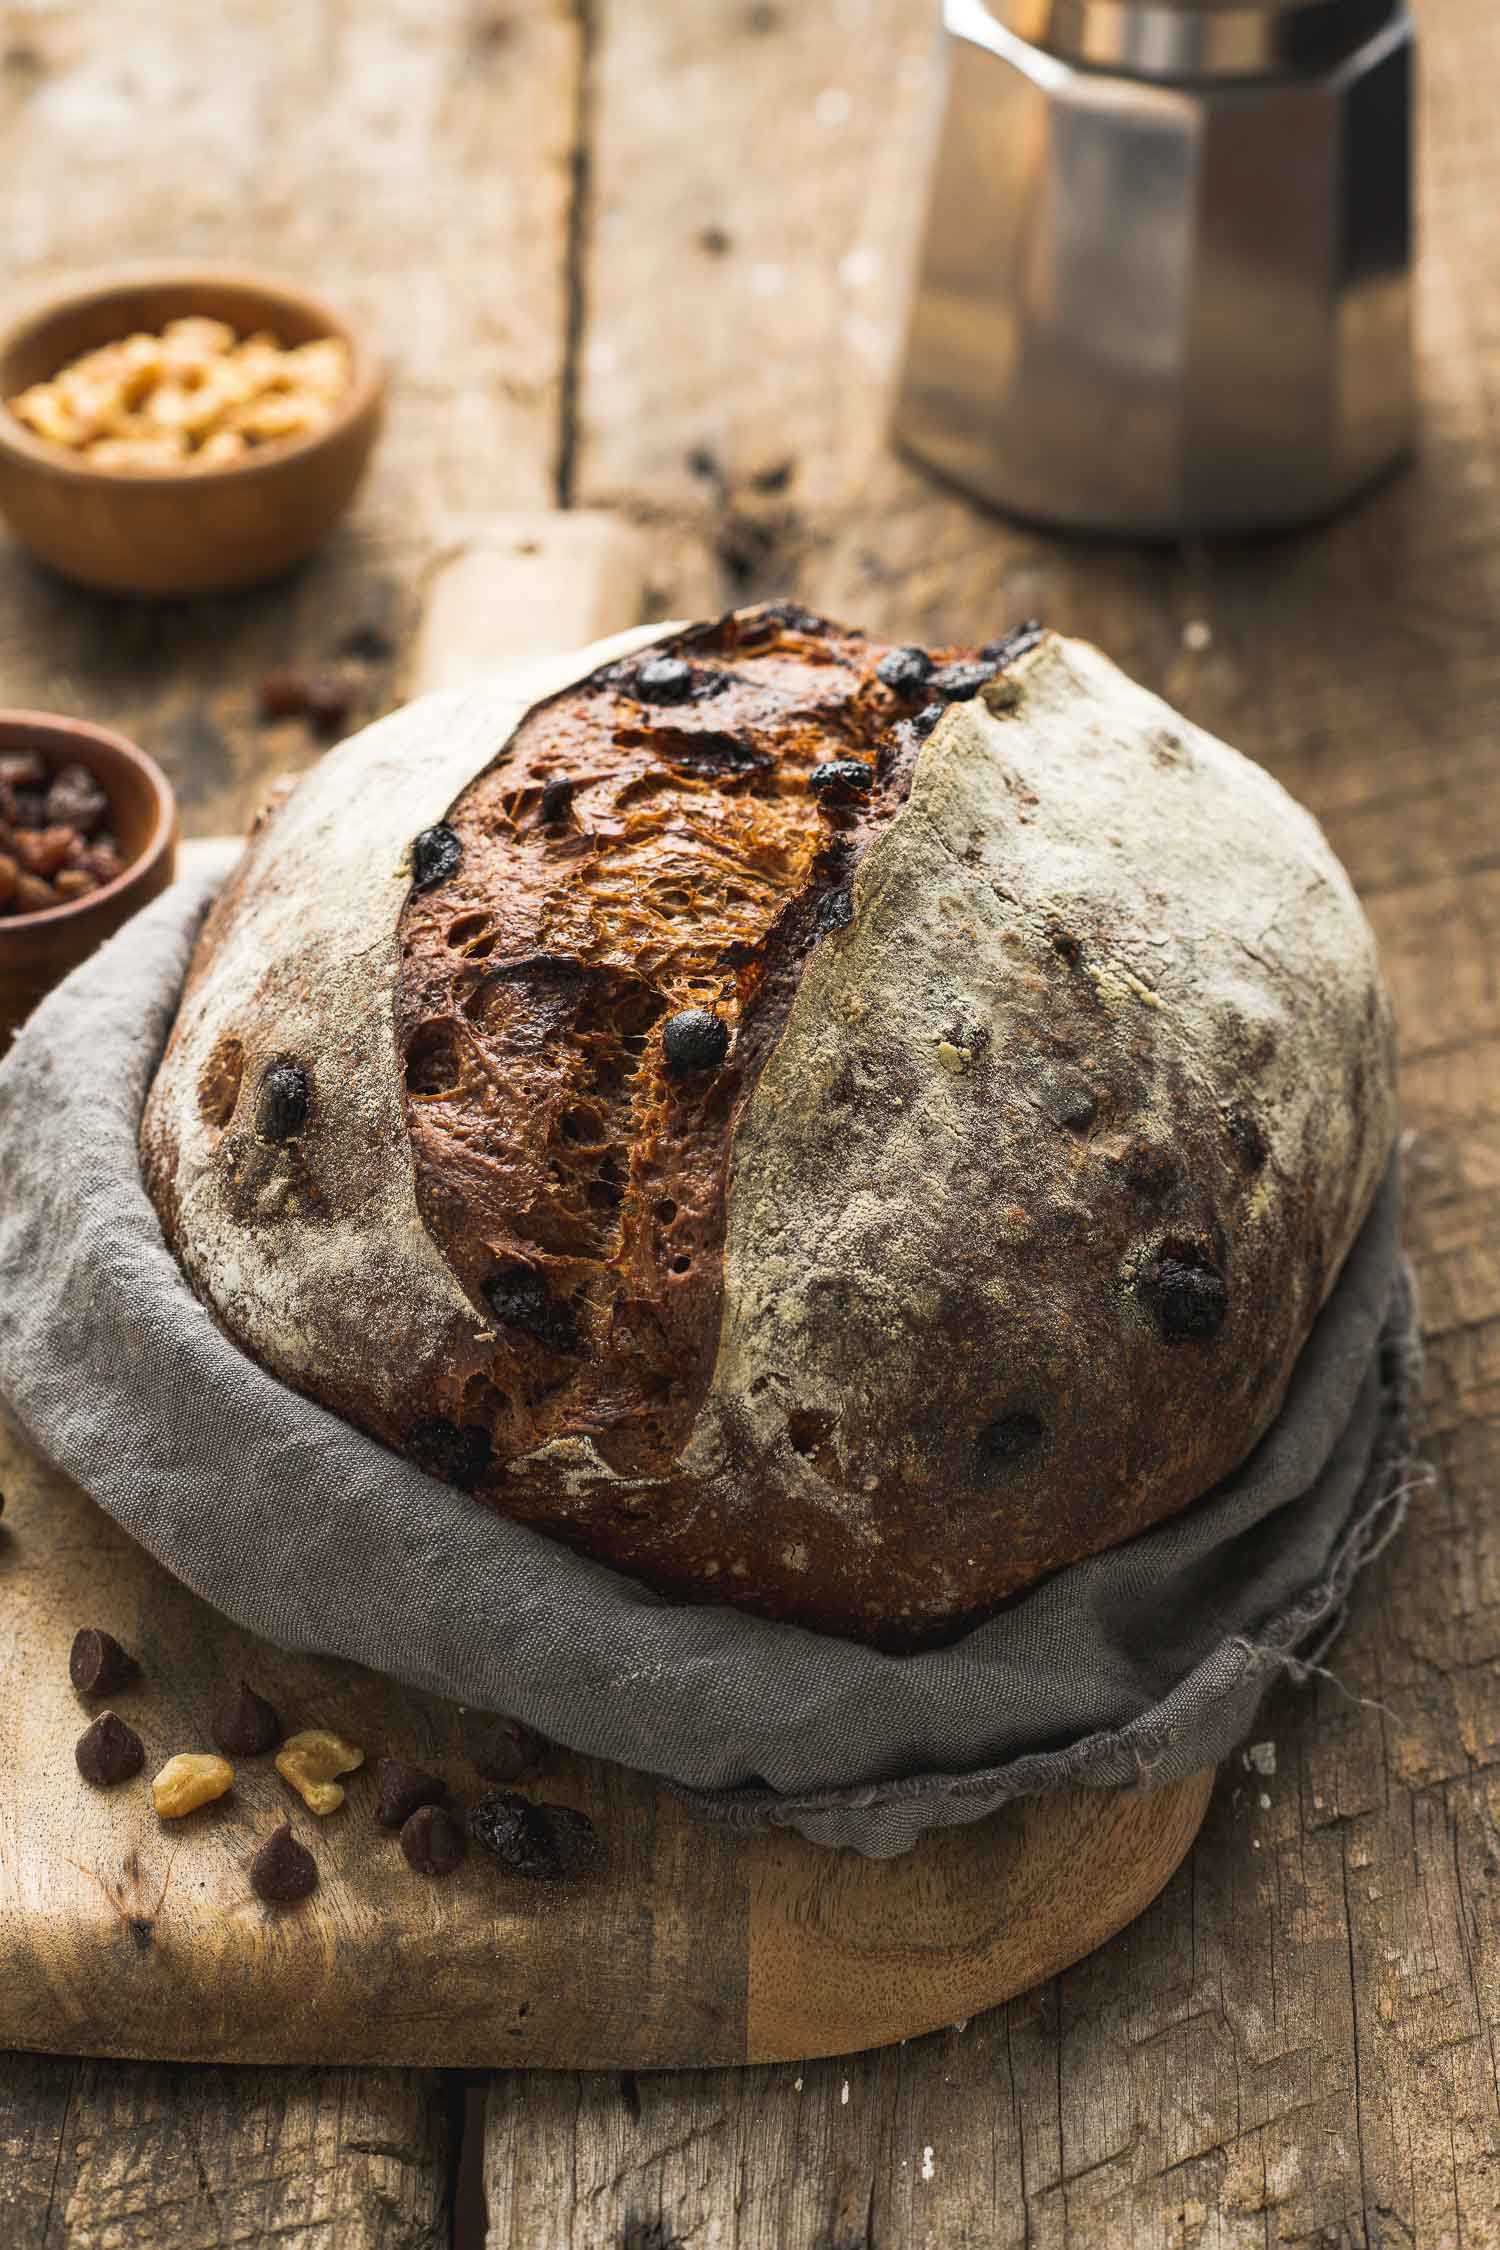
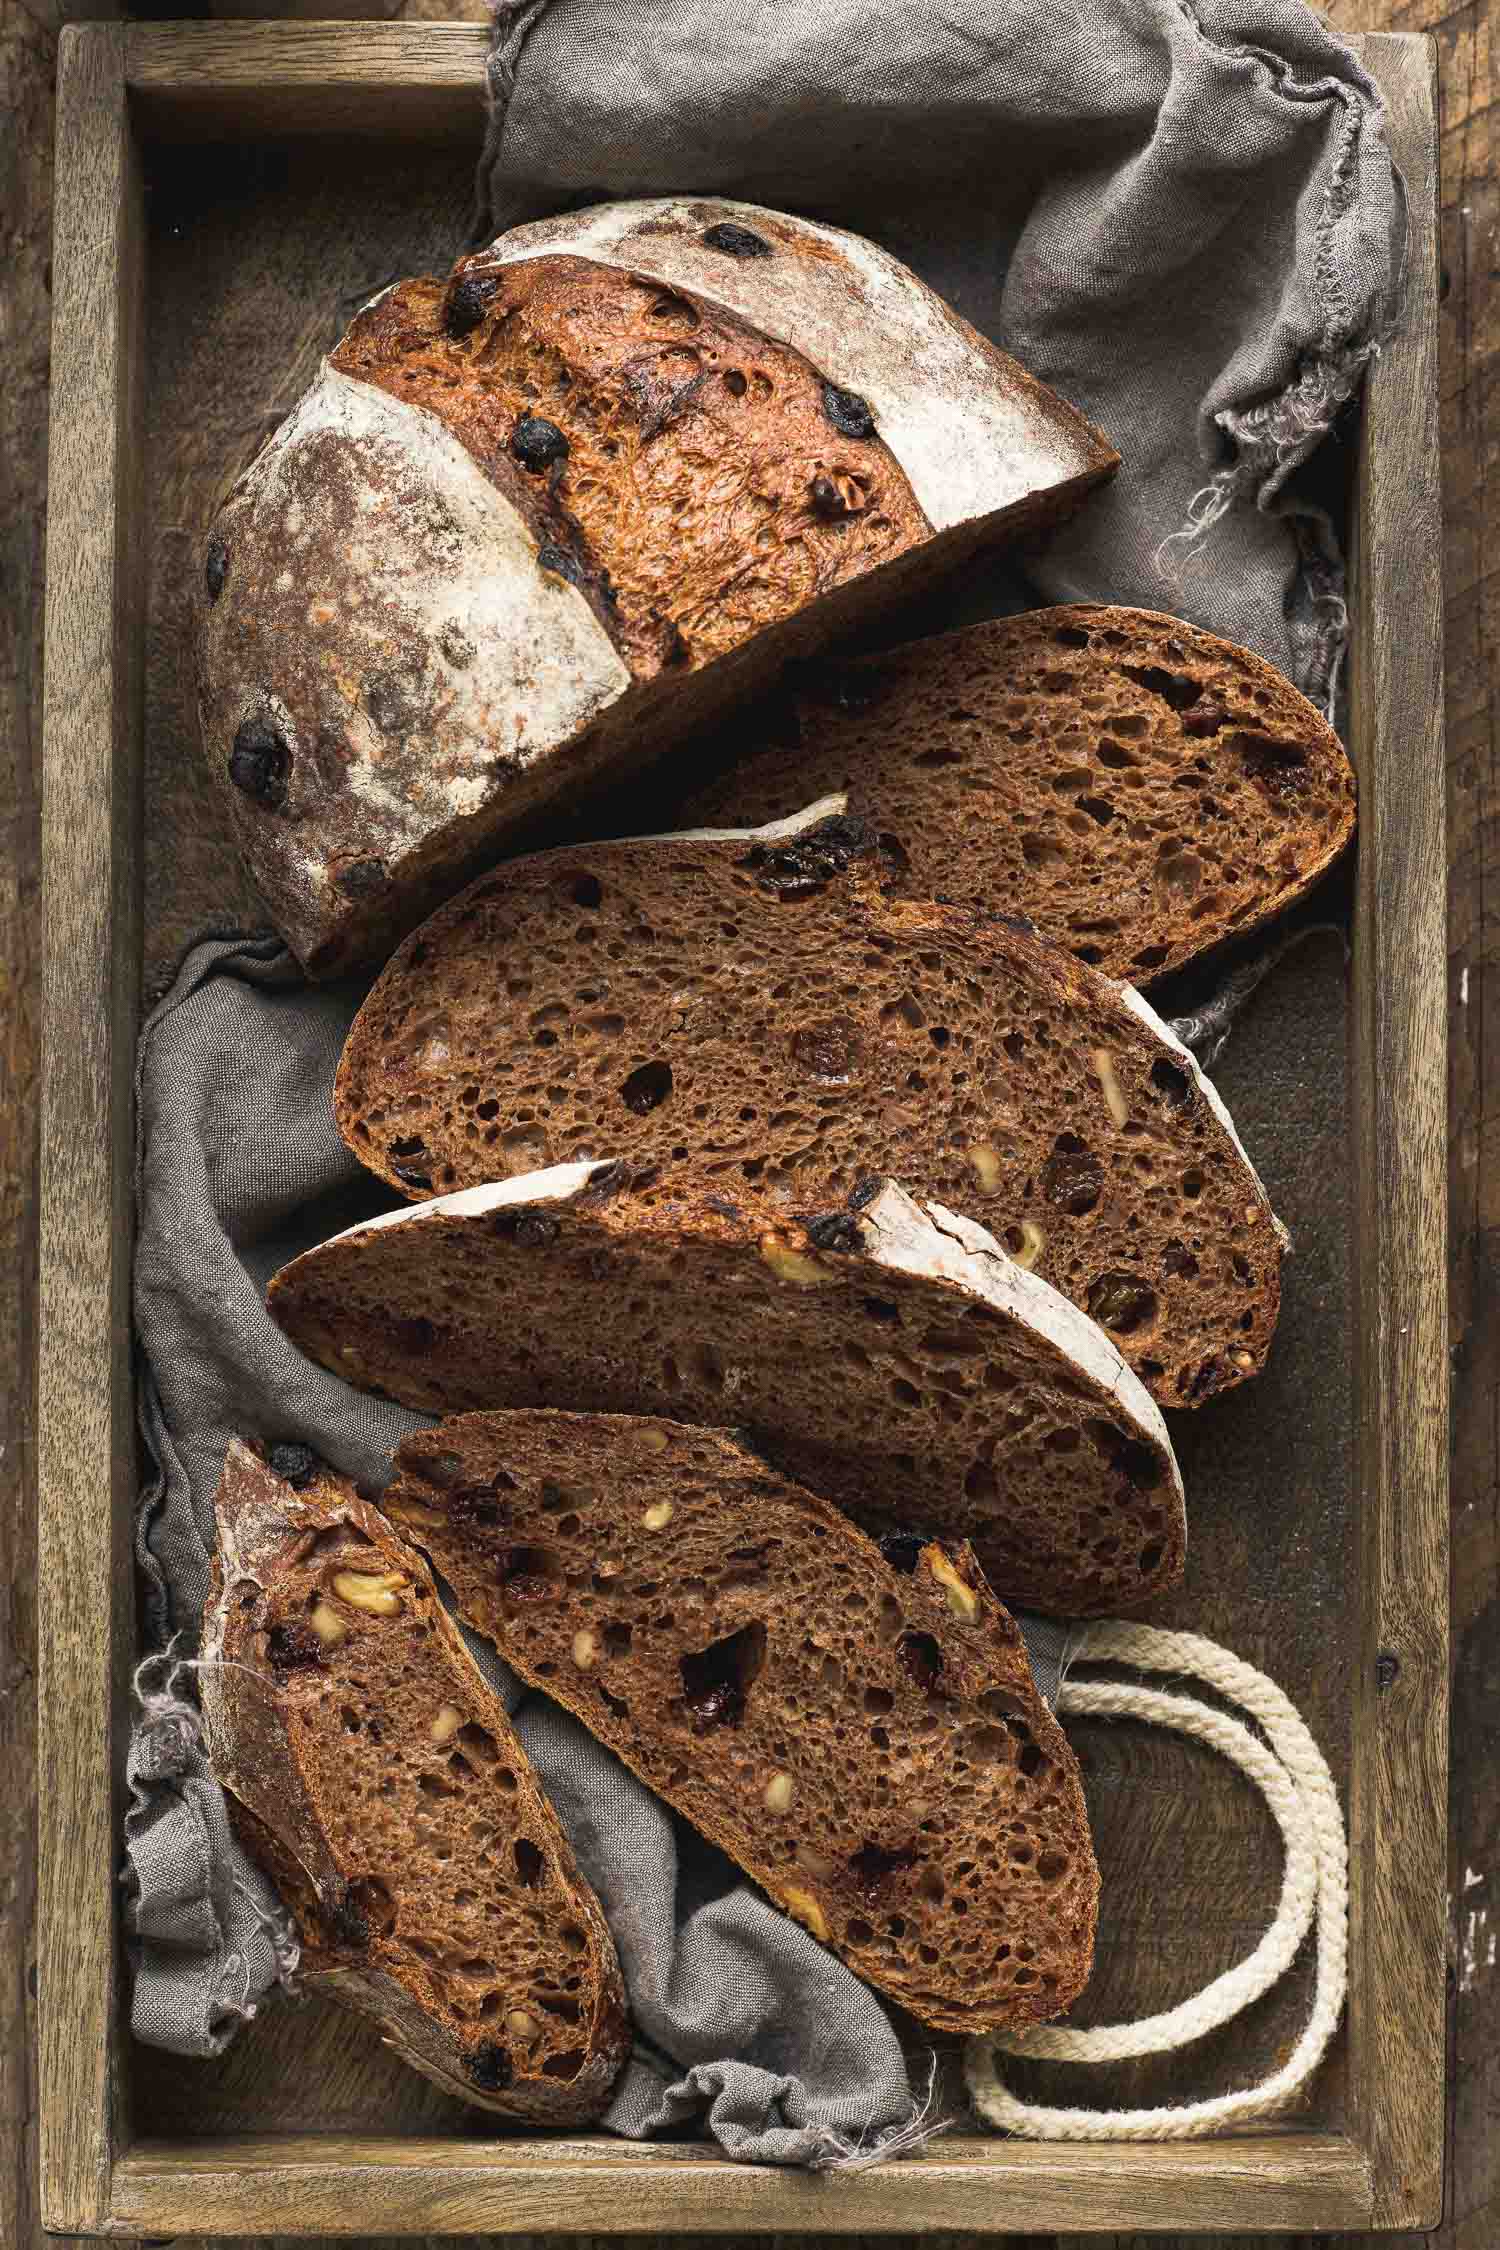
Switching gears from my recent bakes, this time I have a sourdough loaf with a few sweet surprises inside. This is very similar to the Chocolate-Cherry Sourdough Bread from last year but instead of just cocoa powder I added chocolate chips and used raisins and walnuts to round out the add-ins. This recipe also uses a different folding technique because I wanted to practice what I’ve recently learned and since I’m out of bread flour I’ve been using all-purpose flour with equally good results. Even with 20% rye flour in this recipe (which is optional) and using unfed starter since this was an unplanned bake, I was very happy with the quality of the oven spring and the look of the crumb.
Just like with my older recipe, this chocolate loaf has no added sugar in the dough so the mild, sweet notes all come from the chocolate chips and raisins which for me, pair well with the depth and richness from the cocoa powder.
Since this is still a higher hydration dough the crumb is soft and moist but pleasantly springy when you first slice into it the first day. Like other naturally-leavened breads this loaf will keep for several days and toasts beautifully. We’ve enjoyed slices plain but they’re even better paired with fig jam, your favorite preserve, peanut butter or even just honey. Use whatever dried fruit or nuts you have as an add-in in place of the raisins and walnuts here to make this recipe your own–you can’t get it wrong and you’ll be proud of yourself for having another recipe to add to your sourdough repertoire.
Chocolate Chip, Raisin, Walnut Sourdough Bread
This sourdough loaf has a few sweet surprises inside.
Ingredients
- 300 grams bread flour or all-purpose flour
- 30 grams rye flour (or same amount bread or a/p flour)
- 240 grams filtered water
- 65 grams sourdough starter (recently fed)
- 6 grams kosher salt
- 4 teaspoons unsweetened cocoa powder (~11-12 grams)
- 35 grams chocolate chips (I used semisweet)
- 35 grams chopped walnuts
- 35 grams raisins (soaked in water for 30 minutes then drained)
Instructions
-
Day 1, Mix the Dough and Autolyse: In a bowl add the flours and sift the cocoa powder in to avoid clumps then whisk to combine. Add the water and use a spatula or dough whisk to mix the dough until no dry bits of flour remain. Cover the bowl with plastic wrap and autolyse for one hour. (Dough temperature: 77ºF)
-
Add Starter: After one hour add the starter and incorporate into the dough by folding or kneading it in. Cover with plastic wrap and let sit for 30 minutes.
-
Add Salt and First Stretch and Fold: After 30 minutes add the salt by sprinkling it over the dough and dimpling it in with your fingers (better to wet your hand for this to prevent the dough sticking). You can further incorporate the salt by using this stage to perform your first stretch and fold session. Cover and let sit for 30 minutes. (Dough temp: 77ºF)
-
Perform a second stretch and fold after 30 minutes then cover and let sit again for another 30 minutes.
-
Lamination: Carefully turn the dough out on your counter that has been lightly misted with water. The topside of the dough when it was in the bowl will be the bottom when turned out on the counter. Using wet hands carefully take a piece of the dough and pull it gently moving your hands so they're supporting the dough from the bottom. Pull gently from all around the dough until you have a flat, rectangular sheet of dough. Sprinkle about 2/3 of the chocolate chips, raisins and walnuts evenly across the top. Take two sides of the short edge of the rectangle and fold it 2/3 of the way over. Sprinkle half of the remaining add-ins on the folded piece of the dough and take the other short edge and fold over. Sprinkle the remaining add-ins on the top then fold this piece in thirds again. Transfer the laminated dough seam side down on a square casserole dish, cover with plastic wrap and let sit for 30-45 minutes. (Dough temp: 77ºF)
-
Coil Folds: Using wet hands pick up the dough from the center on each side and lift until one portion of the dough separates from the casserole dish and tuck it under the rest of dough. Rotate and repeat on the other side. Doing this twice. Repeat this coil fold session every thirty minutes until you see your dough gaining more structure between folds. Three coil folds were performed for the loaf pictured here. (Dough temp: 79ºF)
-
Bulk Fermentation: After the last coil fold allow the dough to finish bulk fermentation until it has grown by 30-50%. At temperatures I've noted here the total bulk time for my loaf was five hours and 45 minutes from the time I added the starter. (See note) It may take a little longer or less time depending on your starter and the temperature in your kitchen. Just watch for bubbles on top of the dough and it should look lighter and airier with rounded edges.
-
Shape and Cold Retard: Dust your banneton (round or oval)with rice flour. Turn the dough out on a lightly floured surface (all purpose or bread flour). The top of the dough now becomes the bottom. Gently pull the dough to flatten it a little, fold in thirds and roll into a ball. Transfer the dough to the banneton seam side up, pinching the seams together. Cover with a plastic bag and refrigerate overnight.
-
Day 2, morning, Bake. Put your dutch oven with the lid on in your cold oven and preheat to 475ºF. When your oven has reached temperature take your dough out of the refrigerator and flip it over on the counter lined with parchment paper. I like to use a small cutting board for this step (parchment paper between the banneton and the board) to make it easier to flip the dough out. Brush the excess flour from the top of the dough and score. Put on your oven mitts and take your dutch oven out of the oven. Remove the lid and gently lay the dough in the pot using the parchment paper. Cover, return to oven and bake for 30 minutes. Remove the lid and bake for another 15 minutes. Cool on a wire rack for at least three hours before slicing.
Recipe Notes
This was an unplanned bake so I used an unfed sourdough starter. At the temperatures noted above bulk fermentation might have been 30-45 minutes shorter with freshly fed starter.



If I made sourdough bread as well as you do the it would be an obsession I’d never want to escape. Though I do understand how the warmer weather may trigger a new passion in the kitchen. GREG
Very Helpful Article but I have a question that How many calories will our body get by eating this?
Hi. Will this result in a sour loaf because of the amount of starter used plus the overnight ferment? Thanks 🙂
Hi, Kris. My bakes haven’t been sour in this recipe. The only thing I can think of that may give you this result is if your starter happens to have more acidity than mine but most likely you wouldn’t. The sweet components should offset any sourness your dough might produce. Please let me know how it goes. 🙂