Sourdough Breadsticks (Grissini)
Grissini are crispy Italian breadsticks and they are not only very easy to make they’re another perfect use for your sourdough starter.
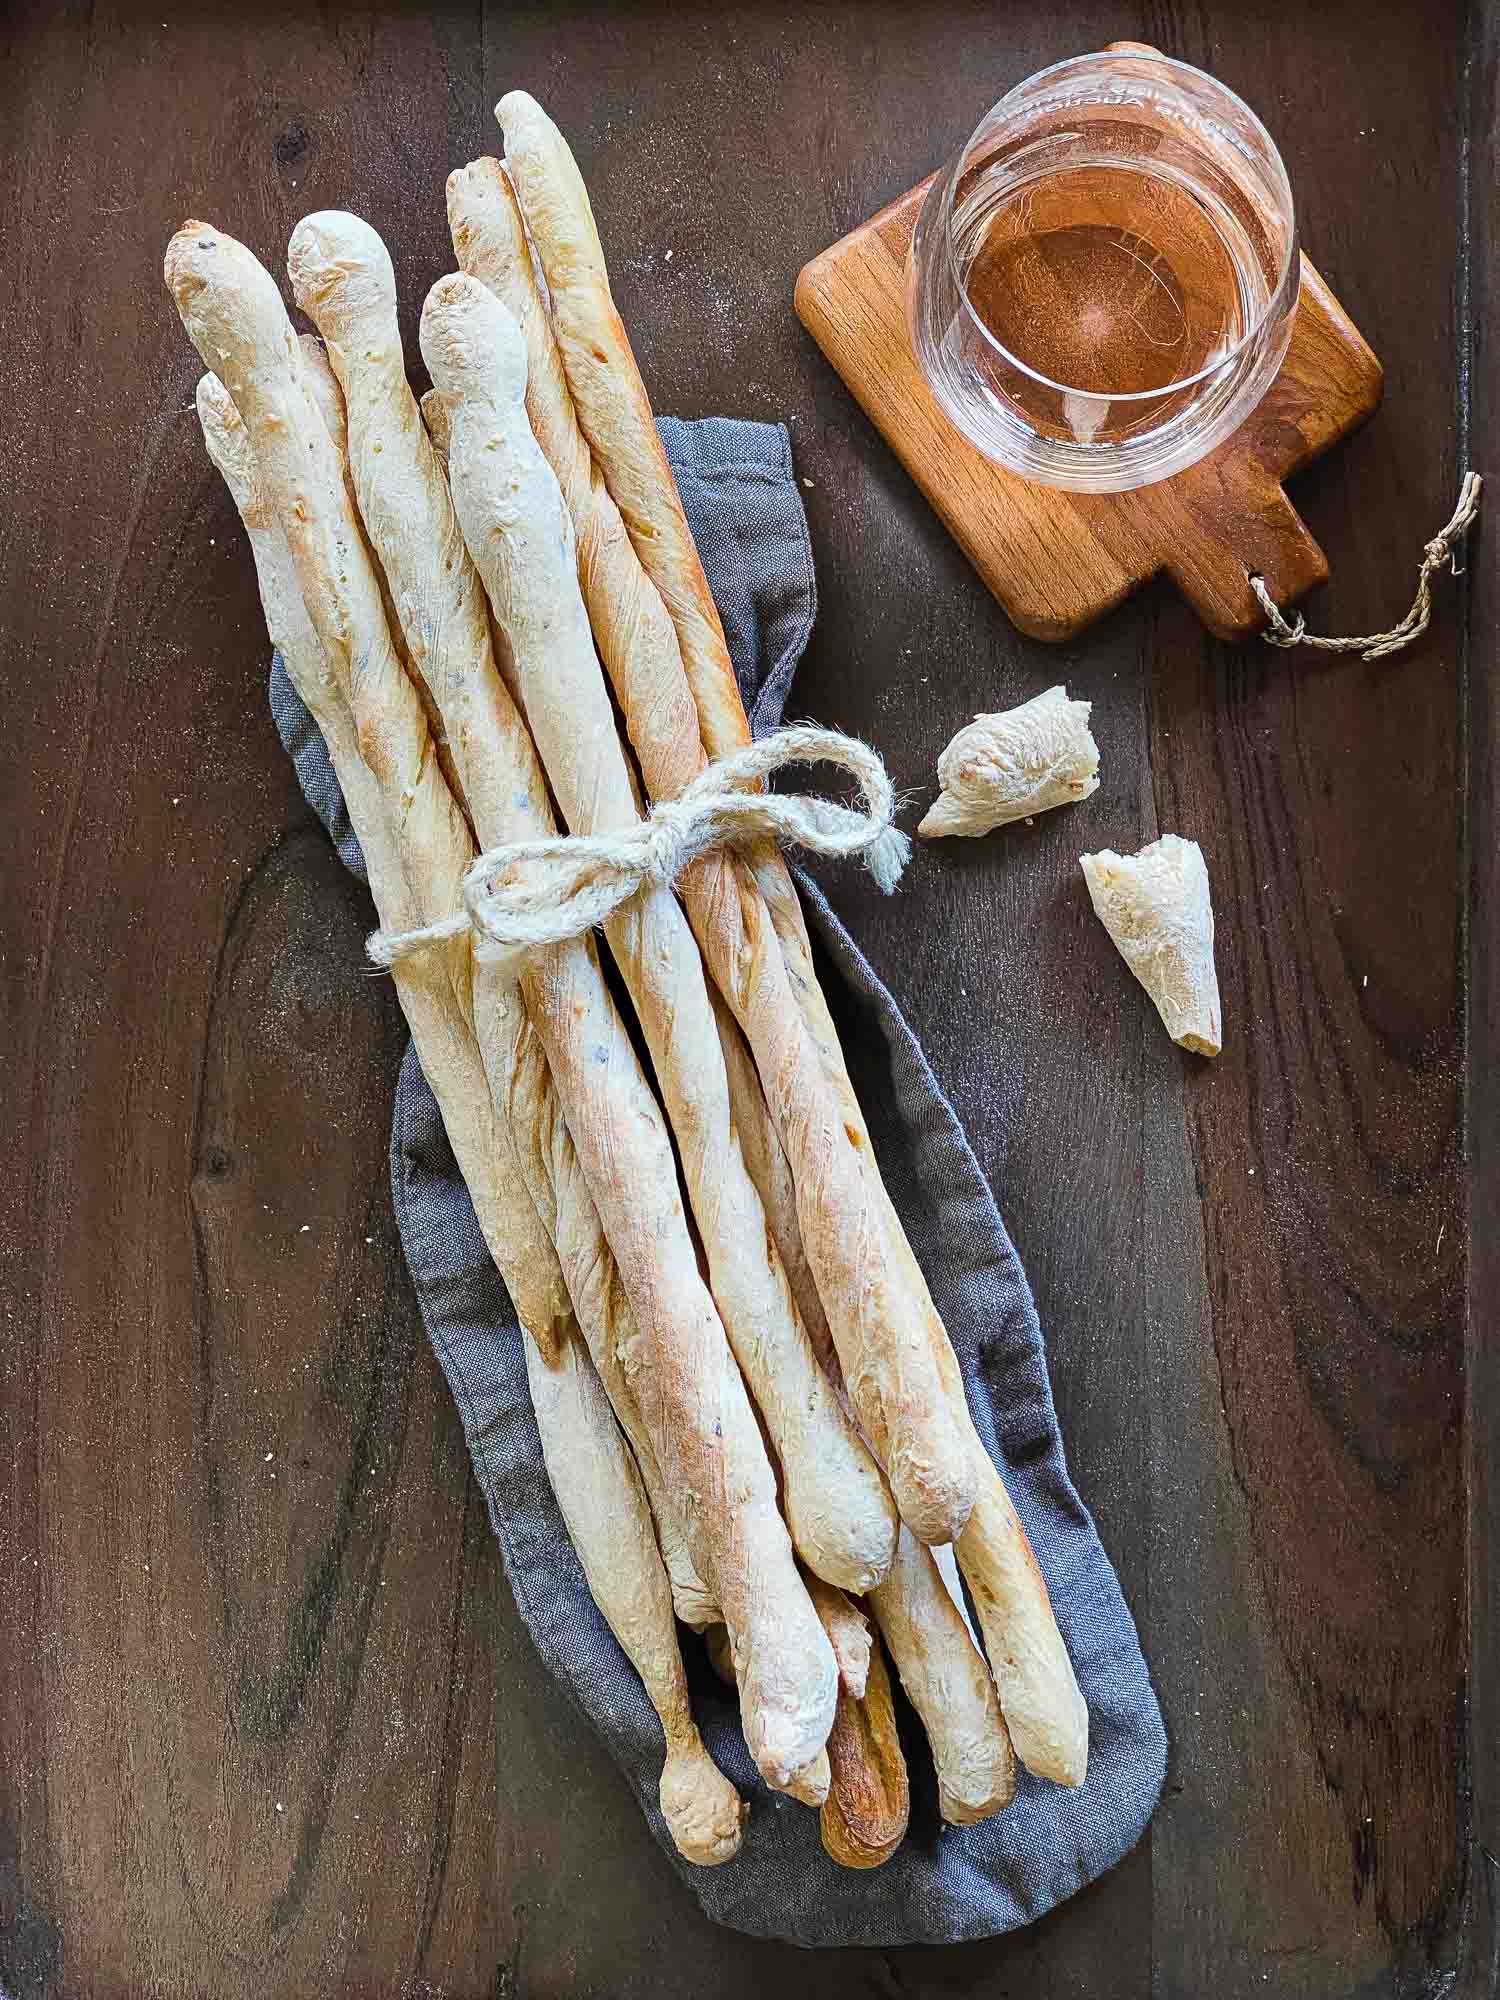
Remember the good old days when we could still eat out at a restaurant? My husband and I always preferred being seated at the pizza counter or the bar over getting a table in the main dining room. At a couple of our favorite spots jars of tall, skinny, crispy grissini always lined the counter and were the perfect thing to nibble on while we sipped our wine and waited for our meal. I have a feeling that these types of bar snacks will no longer be available post-Covid (so all the more reason to make them at home).
Grissini are different than their popular American counterparts that come with unlimited refills at that one popular restaurant in that the latter are soft, plump, doughy logs. There’s nothing wrong with them–they’re just different than the breadsticks pictured here. Grissini are said to have originated in Turin in the 17th century and growing up in San Francisco with a thriving Italian community the thin, crispy variety are the ones I learned to love and immediately think of when I hear breadsticks. My introduction to their proper Italian name happened by way of a local Italian specialty food store whose owners couldn’t stock the shelves enough to meet demand. Their grissini came in two varieties–plain and seasoned–and they sold out every day.
How to Prepare Grissini
My husband loves these Italian-style breadsticks so I’ve made a few batches over the years. A baker in Turin might beg to differ and I’m certainly no authority but looking at available recipes online, there are countless ways to prepare them. No two recipes are alike and this is part of their beauty.
The most common denominators are to use a little sugar (which I omit) and fat (olive oil) and to work with a dough with a lower water content which aids in achieving the coveted crispy texture. They’re typically served plain, mildly salty or infused with rosemary but the flavor options are limitless. I’ve come across recipes that are mixed by machine, some by hand, leavened with commercial yeast, a few not leavened at all–of course my choice is always to put my wild, yeasty pets to work.
All this is to say that you can’t get this recipe wrong so try not to focus on the exact amounts I provide below–or the method either. Use it as a guide or if nothing else, as just another recipe suggestion for your sourdough starter. Have fun with it.
My Method
I didn’t follow a recipe. In fact, I hadn’t even planned on sharing these breadsticks on the blog. I took these pictures with my phone intending to share only on my Instagram account but surprisingly, I received quite a bit of interest so here we are.
I used starter that was fed the day before and added flour and water according to the normal hydration percentage I use for my sourdough loaves (~80%). This makes for a wetter dough but feel free to decrease the water and use the lower amount I list in the recipe.
Again, there’s not one right way to make grissini but the easiest thing to do is to mix all the ingredients together, knead in the bowl for a couple of minutes then let rest for a few hours, turn out on counter, cut into strips and shape.
My method is not harder but since I like a wetter dough (which would make kneading at the early stage a challenge) and I couldn’t decide between chopped olives and dry seasonings to incorporate into the dough, I left it alone for a few hours (as if in autolyse stage). When I finally decided to use a dry seasoning mix to flavor the breadsticks I incorporated it through one stretch and fold session and used two coil folds to help make the dough more manageable since I didn’t knead after the mixing stage. If you’re new to using sourdough starter and are still learning these terms, don’t be intimidated. Here’s a video showing stretch-and-fold and here’s a video showing coil folds. Are these techniques necessary? Not at all but they’re part of my flow with sourdough bread these days so this was the natural course for me to take–I promise they’re very easy.
Flexibility in Preparation
As I mentioned earlier, use less water if you would feel more comfortable with a drier dough. Use more olive oil, or less. Knead with a machine or knead by hand. Wait a few hours or shape after kneading. It’s completely up to you.
What I do recommend if you plan to incorporate seasonings or other add-ins like herbs, seeds, cheese or olives is to mix them in the dough rather than sprinkling them on top before you shape the grissini. Toppings have a hard time sticking to the shaped breadsticks and they tend to burn. Mixing the add-ins into the dough lends more flavor.
How to Shape the Breadsticks
There are several ways to shape the breadsticks.
- Roll the dough flat on your work surface, divide into strips, twist and bake.
- Divide the dough into little balls and roll into long skinny ropes and bake.
- If you cut your strips too thin you can fold in half and twist to make a thicker rope and bake.
My dough was light and airy, though wet, so I cut it into strips and sprinkled a liberal amount of flour on top of the dough and also on the counter and used a combination of the methods above. Really, have fun with the process and don’t be afraid to use extra flour.
Tip: A pizza cutter makes easy work of dividing the dough.
Baking Time and Temperature
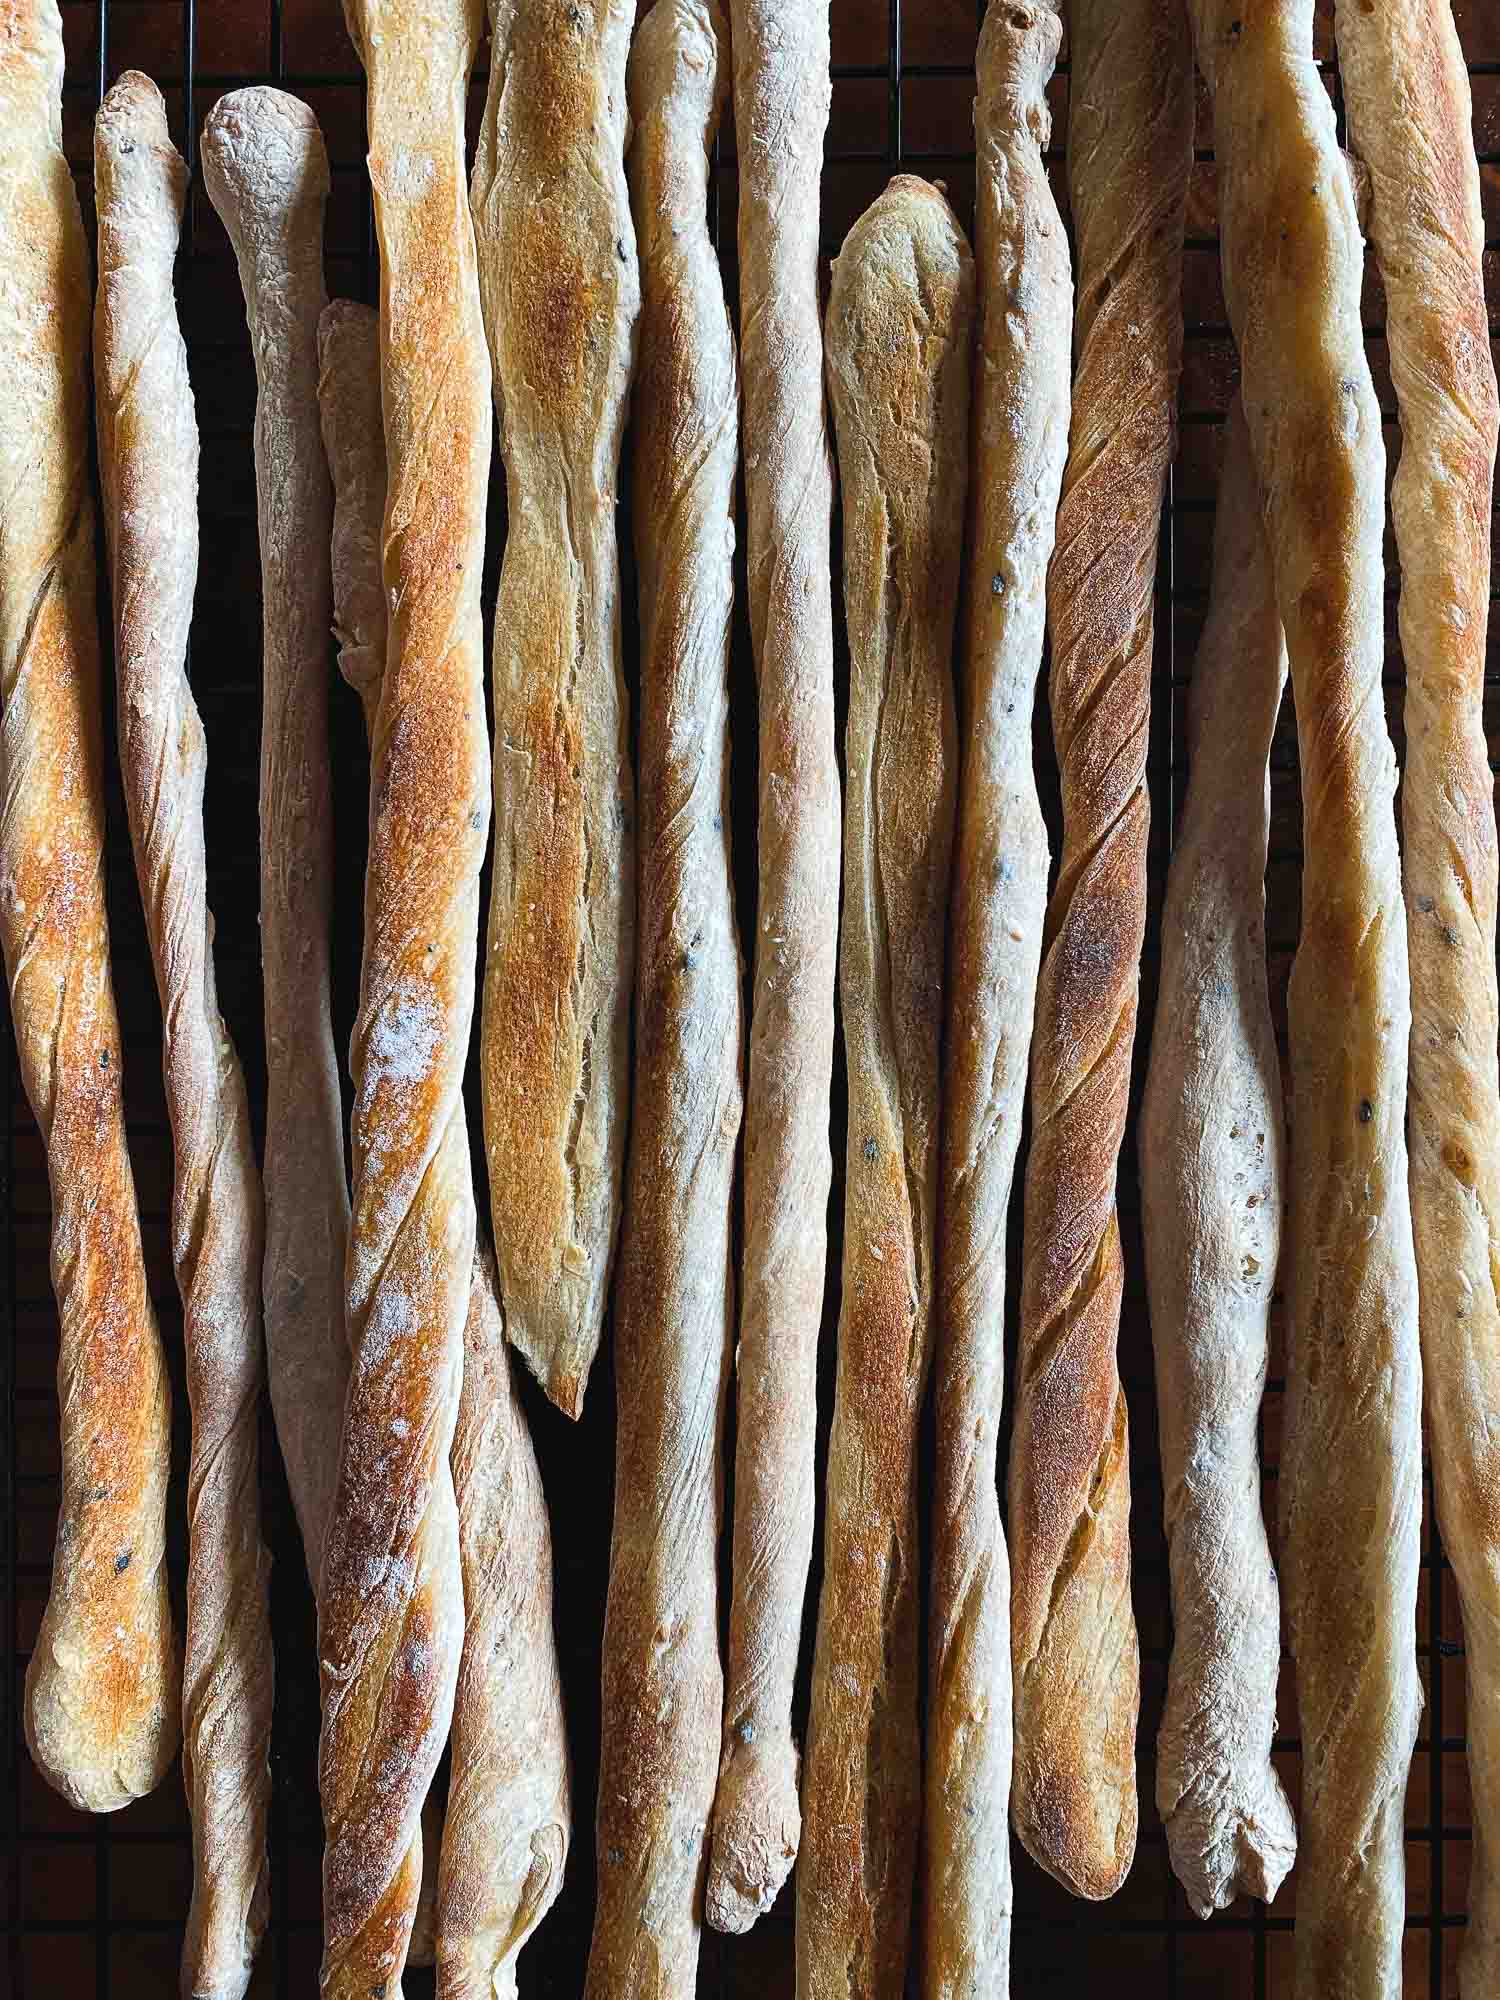
Finally, the main characteristic of grissini is their crispy texture. You want to be able to hear that satisfying snap when you bread a stick in two. The key is to not to make them too thick or too thin and also to bake them long enough without burning them. It’s to be expected that your grissini, like mine, will not be uniform in length or thickness. Mine were between 12-14 inches long and on average 1/2 – 2/3 of an inch in diameter. Use the baking temperature in the recipe as a starting point but since your grissini might be a different size and depending on your oven, watch the heat and time carefully until you see what will work best for your grissini. If your grissini are thinner use less time and if they’re thicker, bake them a little longer.
Truthfully, even if you don’t get a perfectly crispy breadstick you’ll still be happy with the results. Just keep playing with the recipe until you get it exactly the way you like it.
Sourdough Breadsticks (Grissini)
Grissini are crispy Italian breadsticks and they are not only very easy to make they're another great way to use your soudough starter.
Ingredients
- 140 grams sourdough starter (freshly fed or discard)(See Note)
- 250 grams all-purpose or bread flour
- 188 grams lukewarm water (See Note)
- 2 grams kosher salt (two generous pinches)
- 1 tablespoon olive oil
- 1 tablespoon seasoning blend (I used Trader Joe's Everything but the Bagel Sesame blend) (See Note)
Instructions
Mix the Dough
-
In a bowl combine the starter, flour, water, salt and olive oil and use a spatula to mix all the ingredients until you no longer see dry bits of flour. Cover the blow with a towel or plastic wrap and let it rest for about two hours. (Alternatively, if your dough is drier–see note regarding water/hyrdation below–you can add the seasoning mix now, knead by hand until your dough is smooth and supple and let it rest for two to three hours and skip to the shaping stage. Please see main blog post for prep and shaping options).
Add the Seasoning/Stretch and Fold
-
Sprinkle the seasoning mix in a two or three batches over the dough and stretch and fold a few times until it's been incorporated into the dough. Cover and let rest for 30 minutes. (If you incorporated at the mixing stage above, there's nothing to do at this step).
Coil Folds
-
With wet hands, take two sides of the dough and lift off the bowl, allowing one flap of dough to fold under itself. Rotate the bowl and repeat. Repeat for the other side, coil folding twice more. Watch the video link in the post for a demonstration. (If you mixed the dough and kneaded already you can skip this step). Repeat the coil fold once more after thiry minutes.
Shaping the Breadsticks
-
Preheat your oven to 400ºF and line a baking sheet with silpat or parchment paper.
-
30 minutes after the last coil fold, generously flour your work surface and gently turn out the dough. The dough will most likely be wet so sprinkle the top with flour to minimize sticking to your hands. Gently pull from the ends of the dough to flatten it into a rectangle. Divide the dough into strips and shape into long, thin ropes by gently pulling the ends and twisting a few times. Add as much flour as necessary to coat the strips so they're easier to work with. If the strip you cut is too long and thin put the ends together to make a shorter rope and twist the two strands together. Alternatively, you can just cut the dogh into little balls, flour them and using the palms of your hands to roll them into ropes starting in the middle of the dough with an outward rolling motion.
Bake
-
Arrange the strips/ropes on your baking baking tray about 3/4 to 1 inch apart. Bake with 16-20 minutes until crispy and turn out on a cooling rack. This recipe will bake in two or three batches. Watch your heat and time carefully to make sure they don't burn. They will crisp up further on the cooling rack.
Recipe Notes
- Sourdough Starter: You can use a little more or less starter in this recipe. This is based on 80% hydration dough. Using more will make the dough wetter unless you add more flour which would be completely fine to do.
- Water: If you would prefer a drier dough feel free to reduce the water amount. If you use the same amount of starter here, you can reduce the water to about 140 grams to get about 65% hydration. This will make it easier to shape the dough into strips.
- Seasoning: Depending on the salt content of the seasoning you choose, you can add another teaspoon for a saltier breadstick. Alternatively you can add more flavor by just adding a little more onion or garlic powder without increasing the amount of sodium.



Hi. Just made this recipe. It came out well but definitely there is a learning curve. Is the dough suppose to raise? Mine did not. It was not easy to roll to. Thanks for this I will try again.
Hi, Shweta. Thanks for trying this recipe. It’s very flexible and I wonder if you used the less-water option to make the dough more manageable. You really can’t get it wrong and the breadsticks will expand a little while they bake but there won’t be much change. Hope it works better for you the second time around. 🙂
Hi !
Nice to find this recipe. I had some bega starter left over from making pizzas on Saturday night, a few hours to play so I finely diced about two tablespoons of fresh rosemary and about a tablespoon of finely minced fresh garlic, a teaspoon of salt (no sugar) and my current favorite olive oil from Sicily, added to the dough
as I made it. Made the dough and left it pretty “wet” then let it rise for a couple of hours.
Stretched it and rolled it out VERY thin (as in Schiacciata a la Firenze) then cut it into long strips, laid them out on baking sheets and baked them at 415 Fahrenheit until golden and crisp. (about 25 minutes)
These Grissini turned out nice and crispy with that irresistable sourdough aroma from the bega which by the time I made the dough had been fermenting for about 72 hours.
Thank you!
Hi, David. A belated thank you for your nice feedback and I love the flavor combination you used for your grissini. Happy New Year! 🙂