Sourdough Pita Bread
Read my tips to get the perfect little pita pockets every time. These are fun to make!
It’s been a while since I’ve played with a traditional bread recipe and created a sourdough version of it but a memorable mezze platter that I haven’t been able to get out of my mind since July led me back on the experimentation track, this time with flatbread. While that dish was served with lavash (an unleavened bread), I turned to its yeasted cousin, pita bread, for a chance to try something new with sourdough.
Since pita bread is widely available you might wonder if it’s even worth making them at home. To this I say, “Yes, please try them.” They taste better and the pockets will be easier to manage. I’ve had my share of store-bought pita breads rip or just have no pocket at all. Plus, they’re surprisingly fun to make.
My recipe below was scaled to make eight pieces. This means I had eight chances to get the technique right. Admittedly, the first few were dense and heavy but after applying some tools of the sourdough trade I’ve learned over the years, my pitas puffed up beautifully, were light and airy and had the perfect little pockets.
(Keep reading for my tips.)
Sourdough Pita Bread Notes
For my fellow sourdough geeks, this recipe is 65% hydration. I performed three stretch-and-fold sessions (S/F) during bulk fermentation but since this is a low hydration recipe you should be able to knead the dough for 10-15 minutes immediately after mixing and skip the S/F entirely. Once the dough doubled, I refrigerated it overnight to develop more flavor (but you can bake the same day). Up to this point, the process is much the same as for a regular sourdough loaf.
The next day is when the pita magic happens. You divide, shape and roll the dough before baking on a pizza stone. If you visit my Instagram page, you’ll find my video showing the steps from start to finish. While none of the steps require much experience or skill, a few key steps will ensure your bread puffs up in the oven and makes a perfect little pocket.
Sourdough Pita Bread Tips
- Oven Temperature: You want a hot oven to ensure good oven spring when you put the pita dough in the oven. A ceramic baking stone is also preferred but a cast iron skillet or baking sheet would work, too.
- Roll the Dough Thinly: For evenly-baked and light pita rounds, roll the dough as thinly as possible, especially the edges. The rest period after shaping the dough into balls helps to relax the gluten so that when you roll them they don’t spring back as much. Flour and flip the dough as you roll them. For this recipe, each piece at roughly 110 grams will roll out to between six to seven inches.
- Mist the Dough: This is very important. I realized after not seeing my first few pitas puff up in the oven that the oven needed moisture. When I bake my traditional sourdough loaves I mist the tops of dough with water before putting them in the oven. I did the same with the pita dough and that solved the problem. The moisture on the surface keeps the pita bread from forming a crust too quickly, giving it time to puff up.
- Flavor: for the best results I recommend the overnight rest in the refrigerator so the dough has time to develop more flavor. Using part whole wheat flour will also make a big difference.
Sourdough Pita Bread
Read my tips to get the perfect little pita pockets every time. These are fun to make! (Visit my Instagram page for a video of the process.)
Ingredients
- 300 grams bread or all-purpose flour
- 100 grams whole wheat flour (or use all white flour)
- 228 grams water
- 180 grams active starter
- 6 grams kosher salt
- 20 grams olive oil
- 10 grams sugar
Instructions
Day 1: Mix and Bulk Fermentation
-
Mix all the ingredients in a bowl and cover. Perform three to four sets of stretch-and-folds every 30-45 minutes. Keep the dough covered and allow to finish bulk fermentation (rise to double or nearly double), about four hours. If the dough is cooler time will be longer and shorter if it's warmer. (See Note)
-
After the dough has doubled or nearly doubled, refrigerate the dough overnight. This will help to develop flavor.
Day 2: Shape and Bake
-
Preheat your oven to 450ºF with a ceramic baking stone.
-
Divide and Shape: (I have a video on Instagram demonstrating the shaping process.) Turn the dough out on a lightly floured surface and divide into eight wedges. Each piece will weigh between 100-110 grams. Pinch the edges of the wedge of dough together and form into a round on the counter or with the palms of your hands. As you shape the rest of the dough, keep the shaped rounds under a towel to keep them from drying out. Let rest, covered, for 20 minutes.
-
Roll and Bake: Roll each round as flat as possible, especially the edges. For this size dough your rolled dough will be about five to six inches in diameter. Flip one rolled dough onto a floured pizza peel and mist with water. Slide onto the baking stone in the oven and bake for roughly six minutes. The pita bread is done when it has puffed up and start to turn golden at the edges. Repeat with the remaining dough. (If you have a large pizza stone you can bake more than one at a time.)
Recipe Notes
Alternative to stretch and fold: You can knead the dough for 10-15 minutes on a floured surface immediately after mixing. Return to the bowl, cover and continue with bulk fermentation.
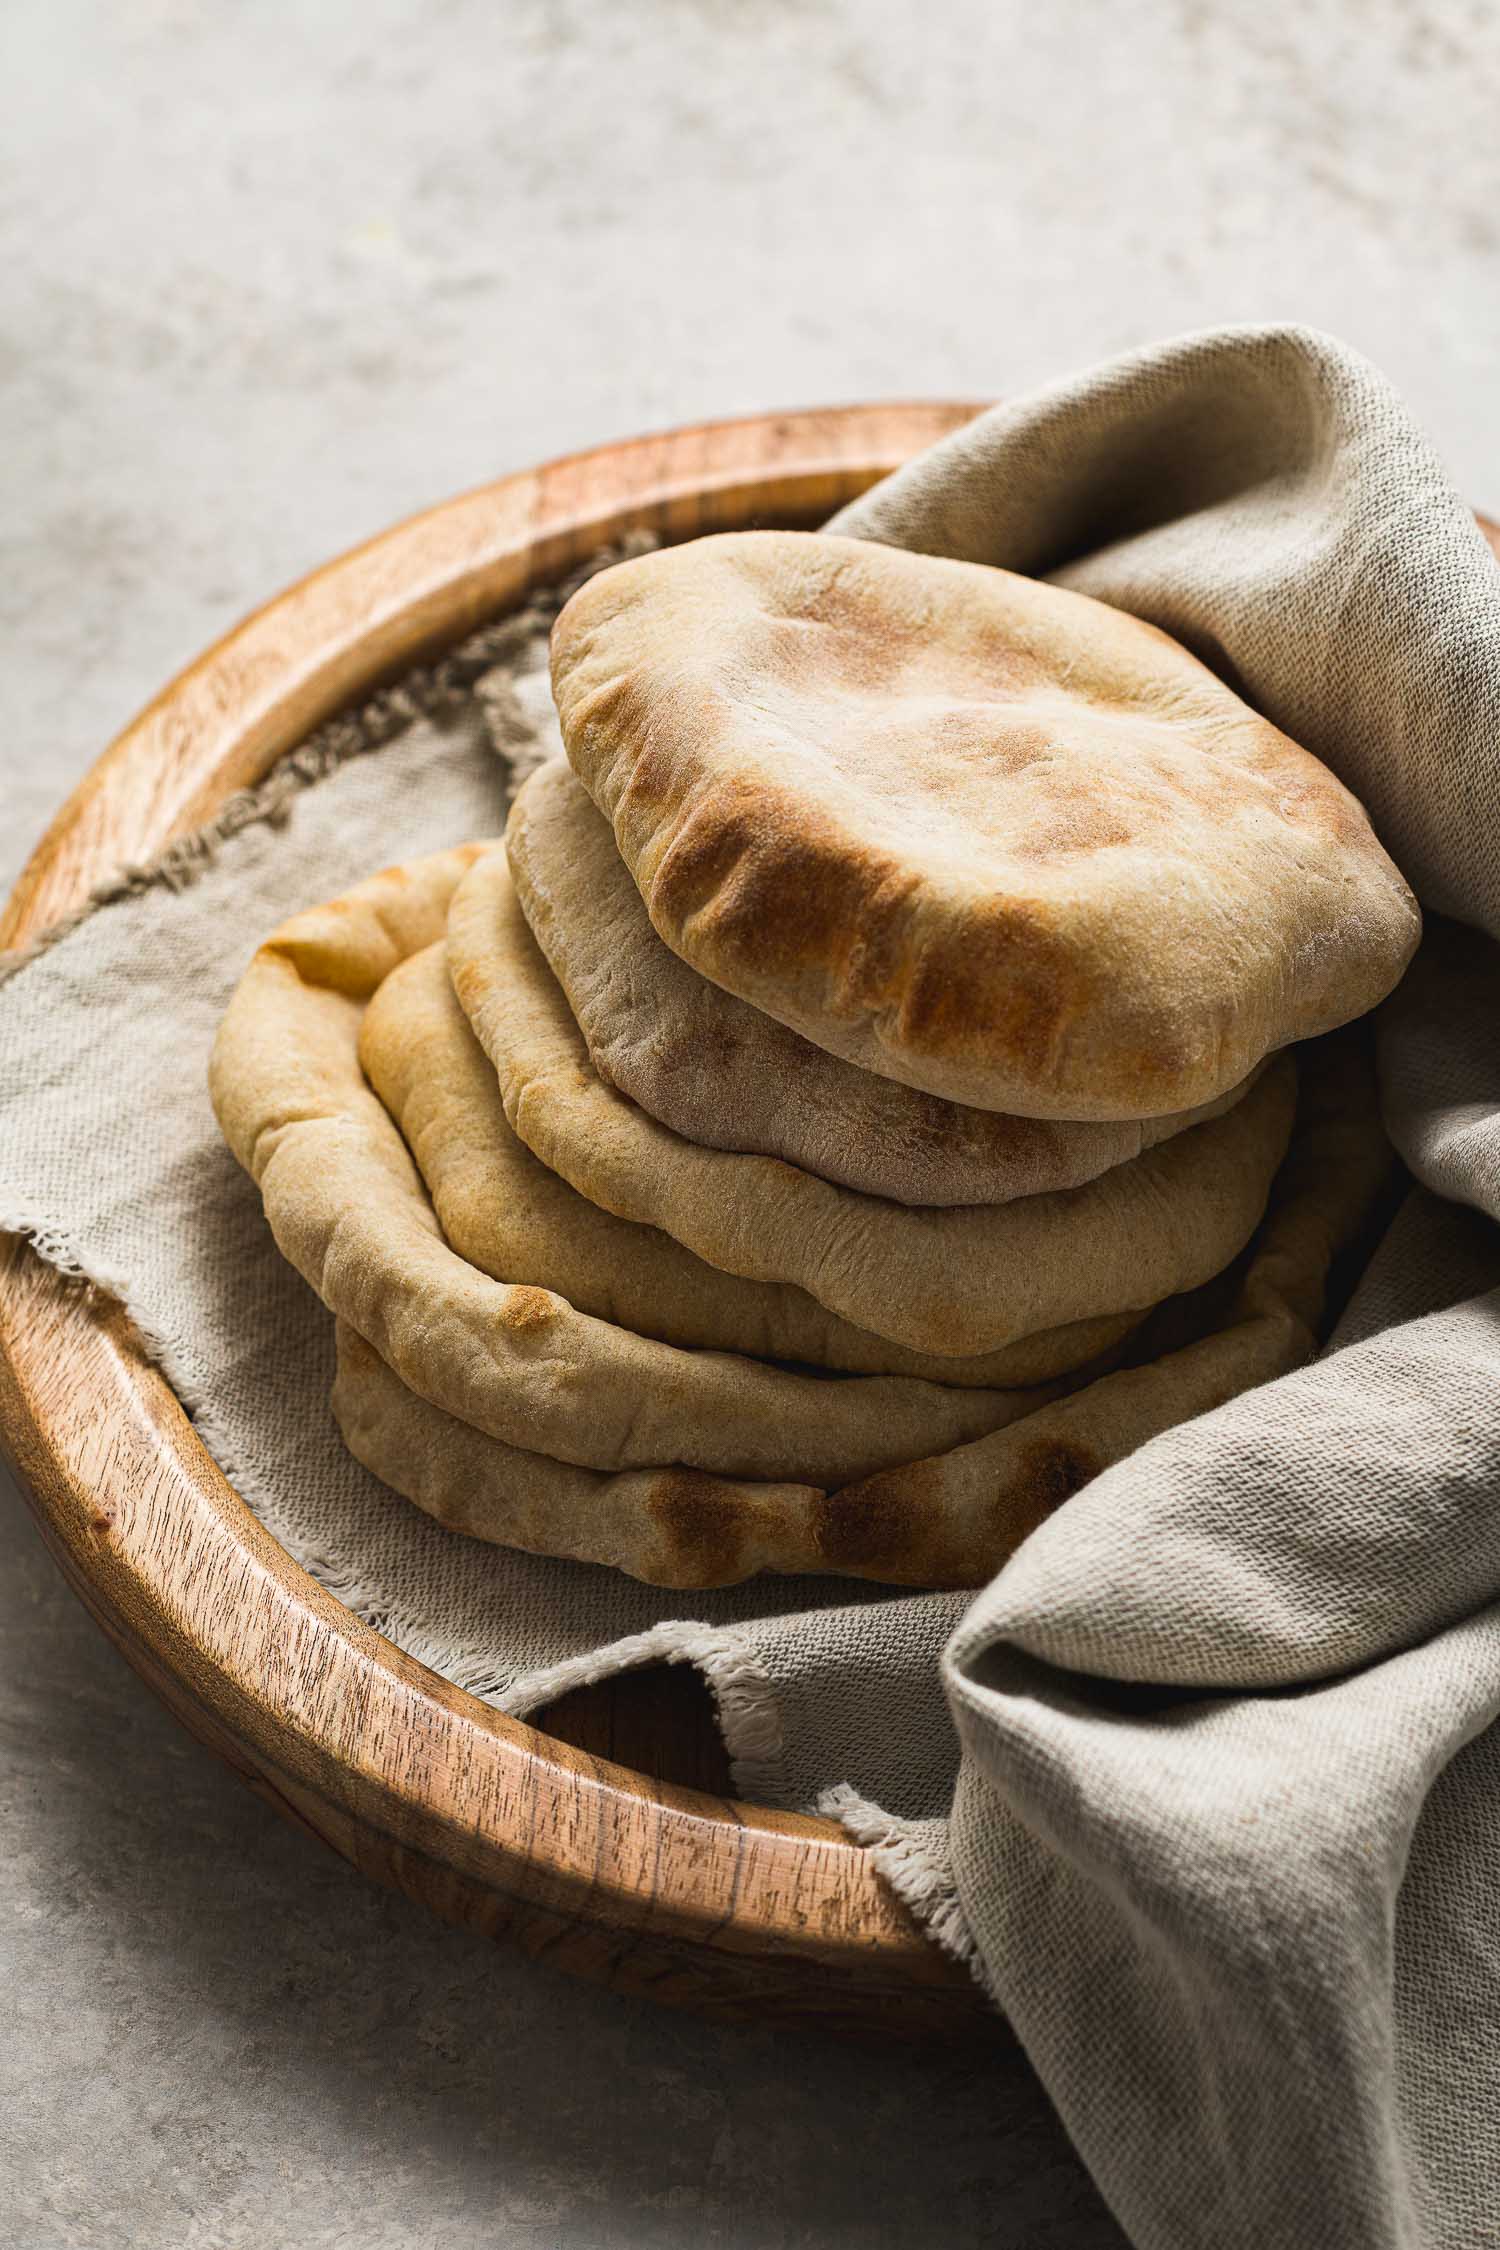
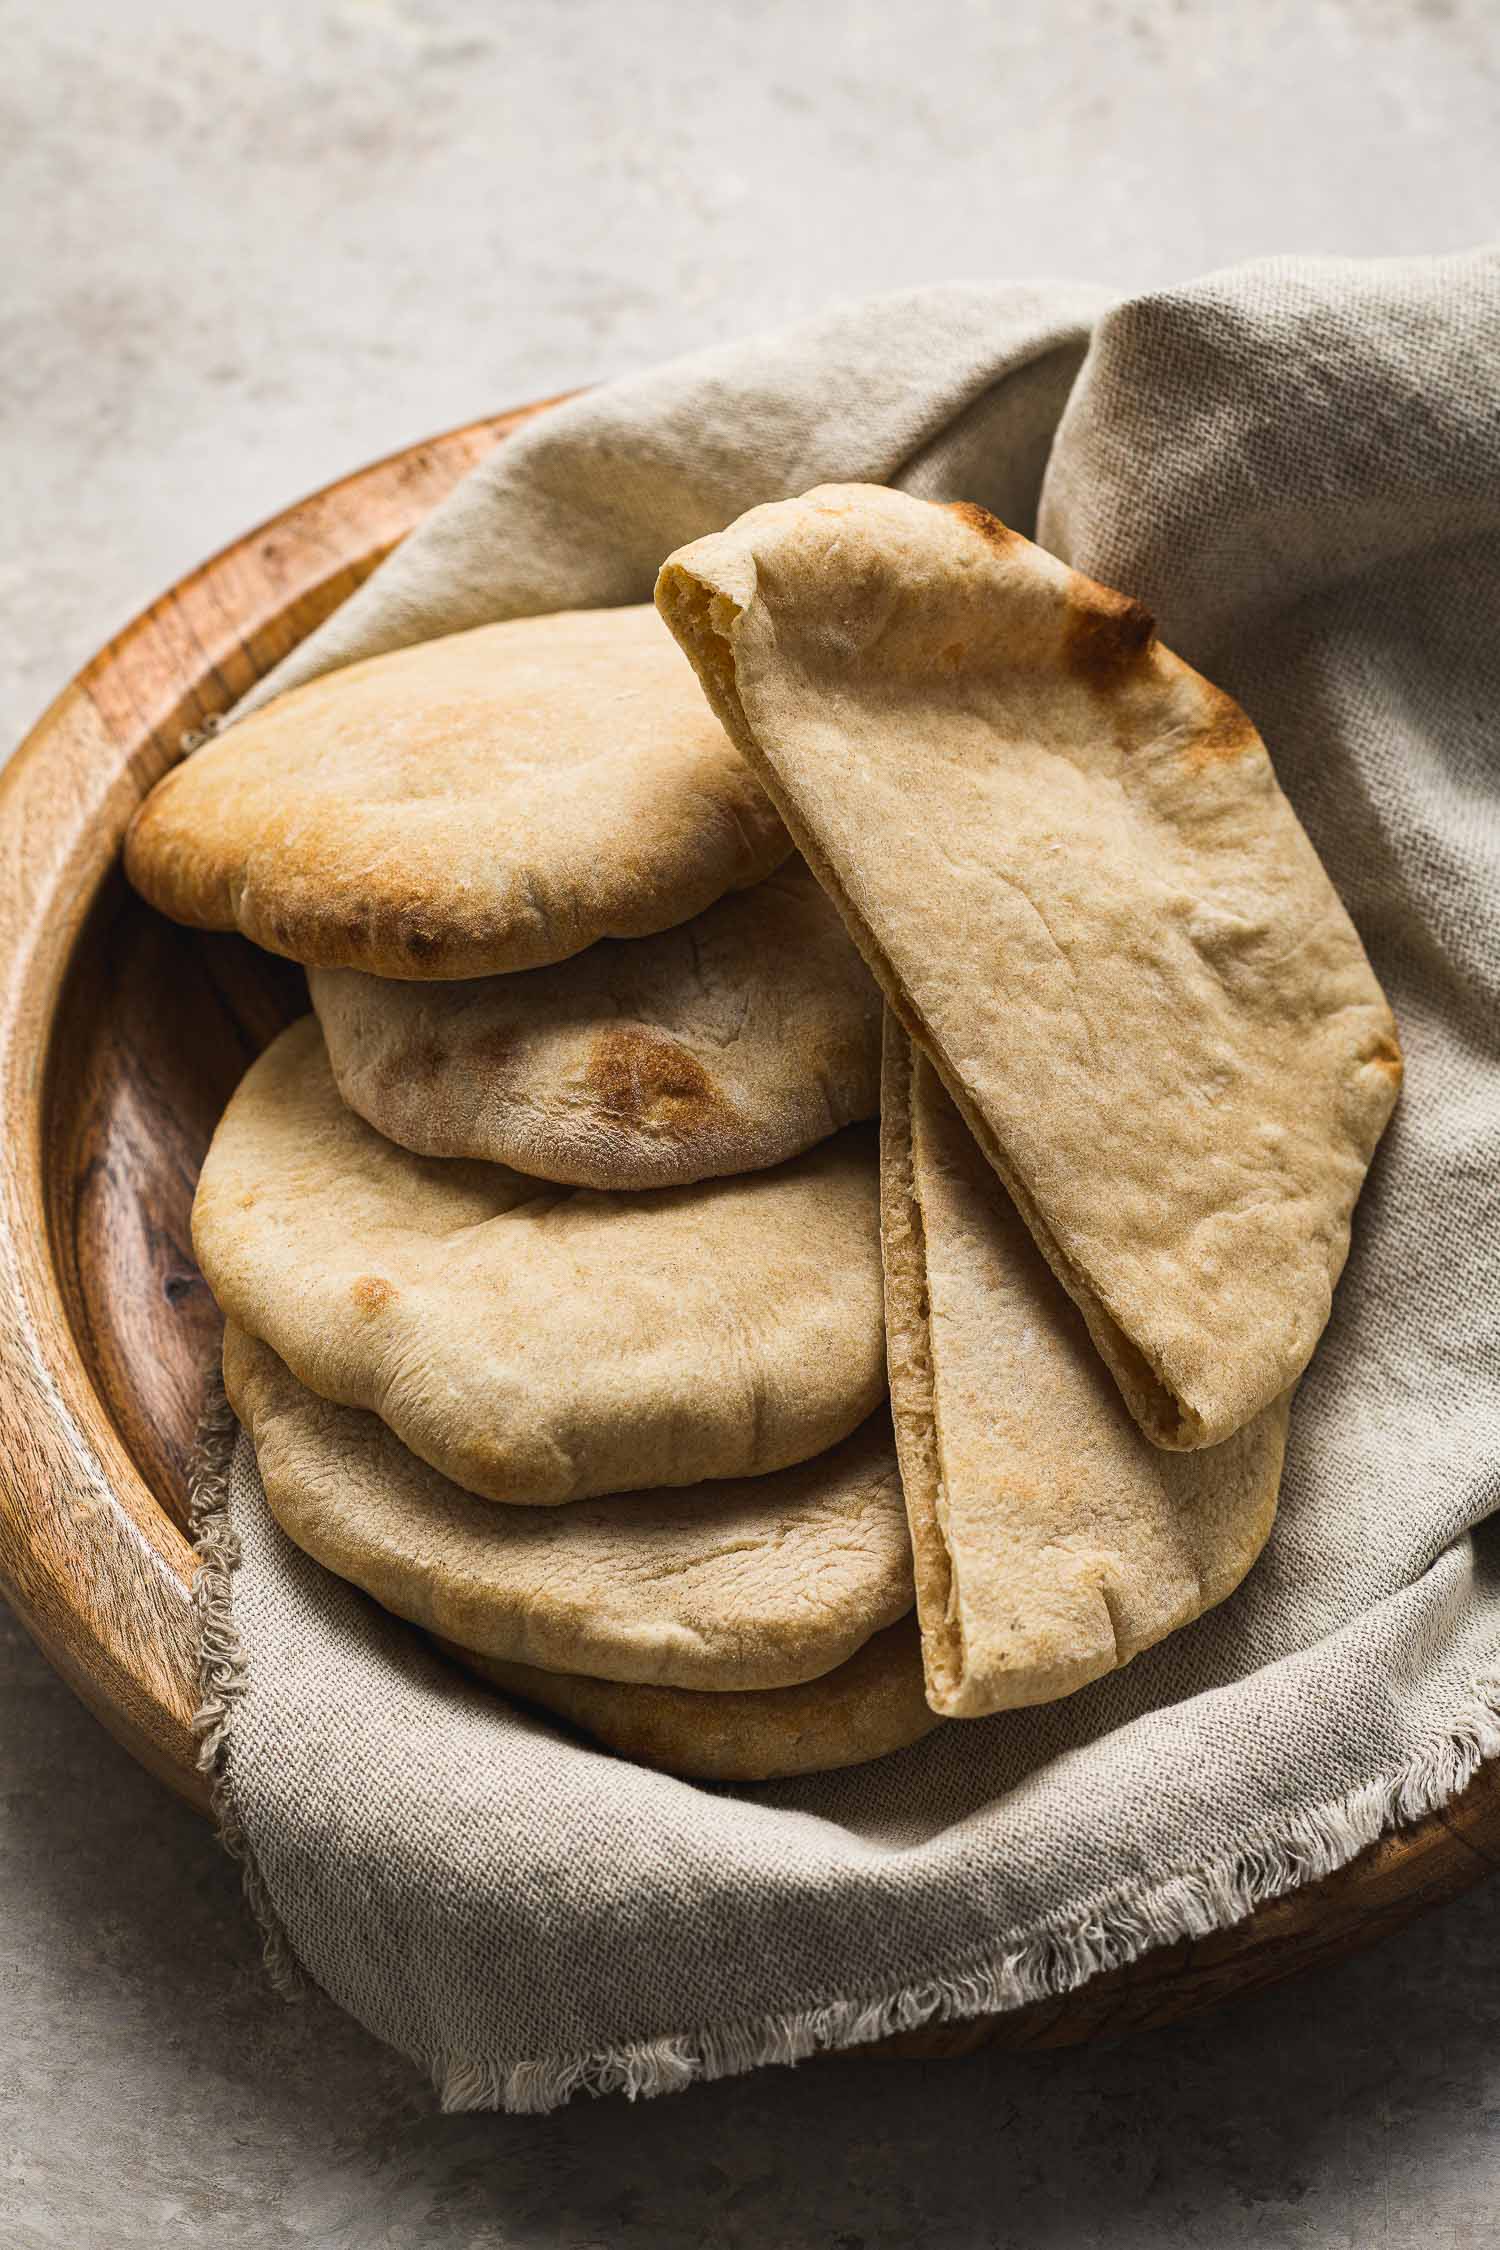
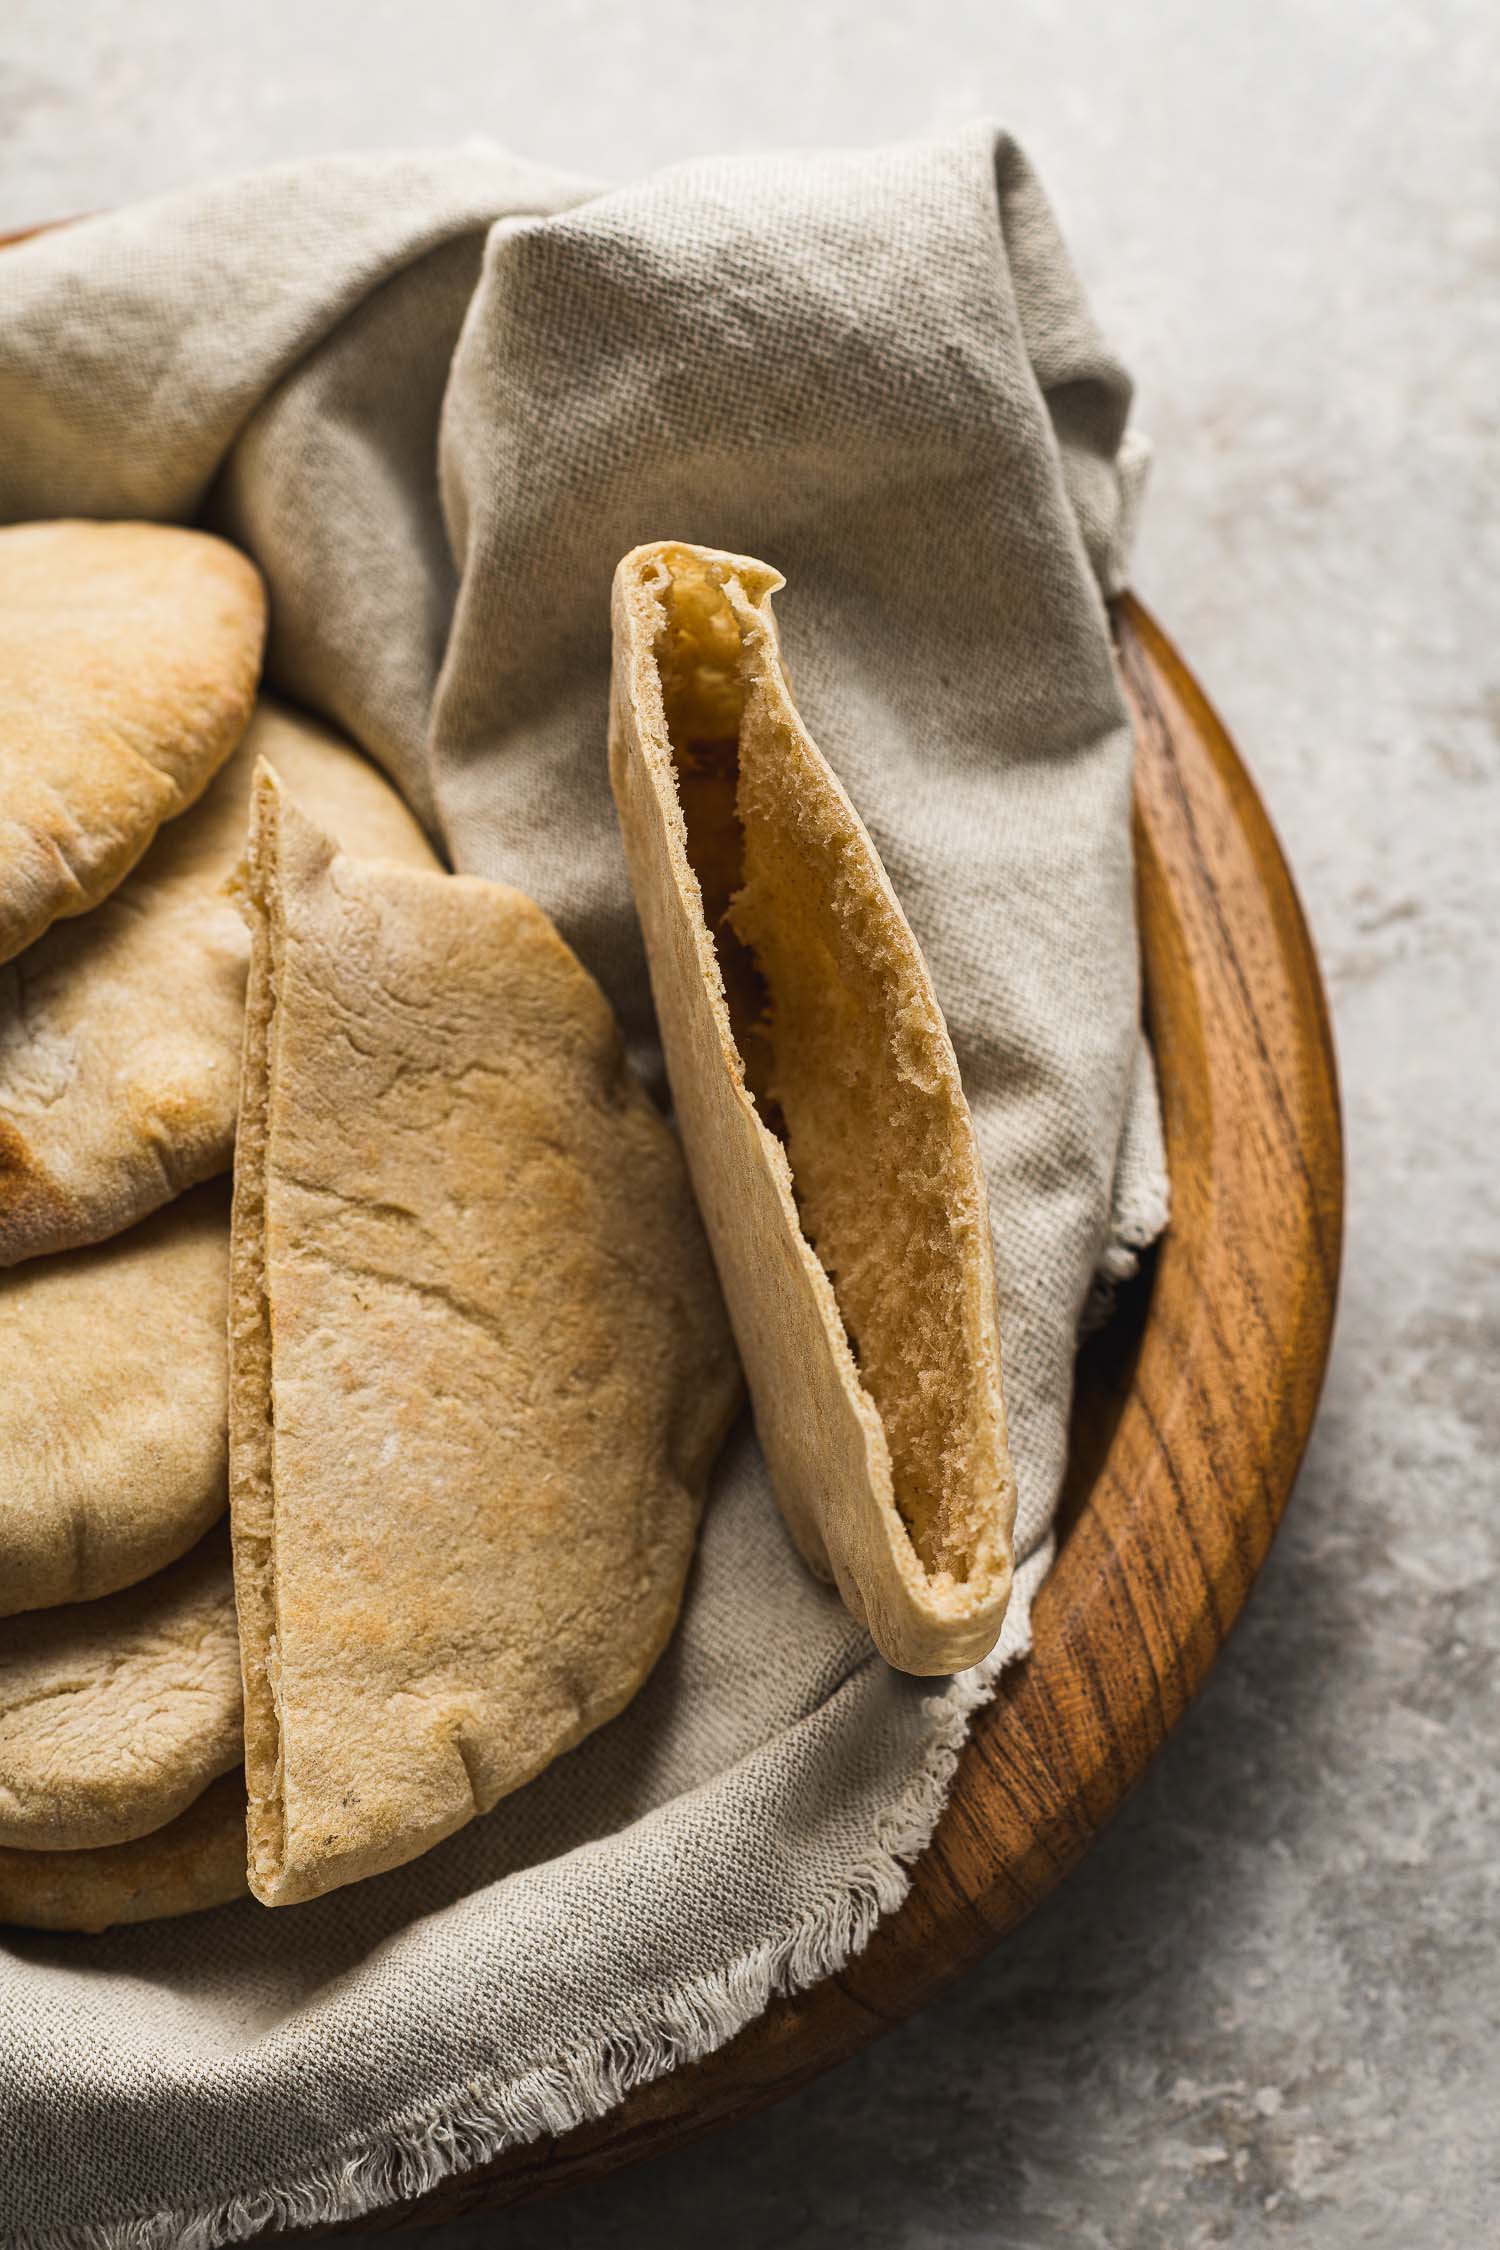




They certainly look perfect. Better even than any pita I ate in Greece. GREG
these look wonderful. i am not a bread baker (overnight no knead dough is my best bet) but i bet these taste great.
I’m sure you can do this, Sherry. I started with no-knead bread too. 🙂
Instead of using skillet or pizza stone i covered the oven rack with aluminum foil. Worked great and bread came out perfect.. it’s a great recipe and will definitely make again.