How to Dry Sourdough Starter
Think of dried sourdough starter as insurance in case of mishaps and also for sharing with friends. The process is easy.
The first sourdough starter I ever used was one gifted to me by a friend many years ago. It was a starter with a pedigree dating back to the gold rush but its long life was cut short by my neglect. This was before I was bitten by the sourdough bug.
A few years later, with newfound zeal for everything sourdough but embarrassed by my poor stewardship, I decided to make my own sourdough starter rather than ask for more. My process is here and I should have followed it with instructions to dry my homemade wild yeast. Lucky for me, it was one of the first things I learned to do once I realized that bread baking would be more than a passing interest. My husband once accidentally dropped my jar of fresh starter. Another time, a friend who was housesitting for us decided that the mysterious-looking glop in the back of the refrigerator needed to be thrown away. My fault. I should have labeled the jar.
Dried starter is also a convenient way to share with non-local friends. Or insurance against using all of your starter for a bake, forgetting to set aside some of the mother. The list goes on.
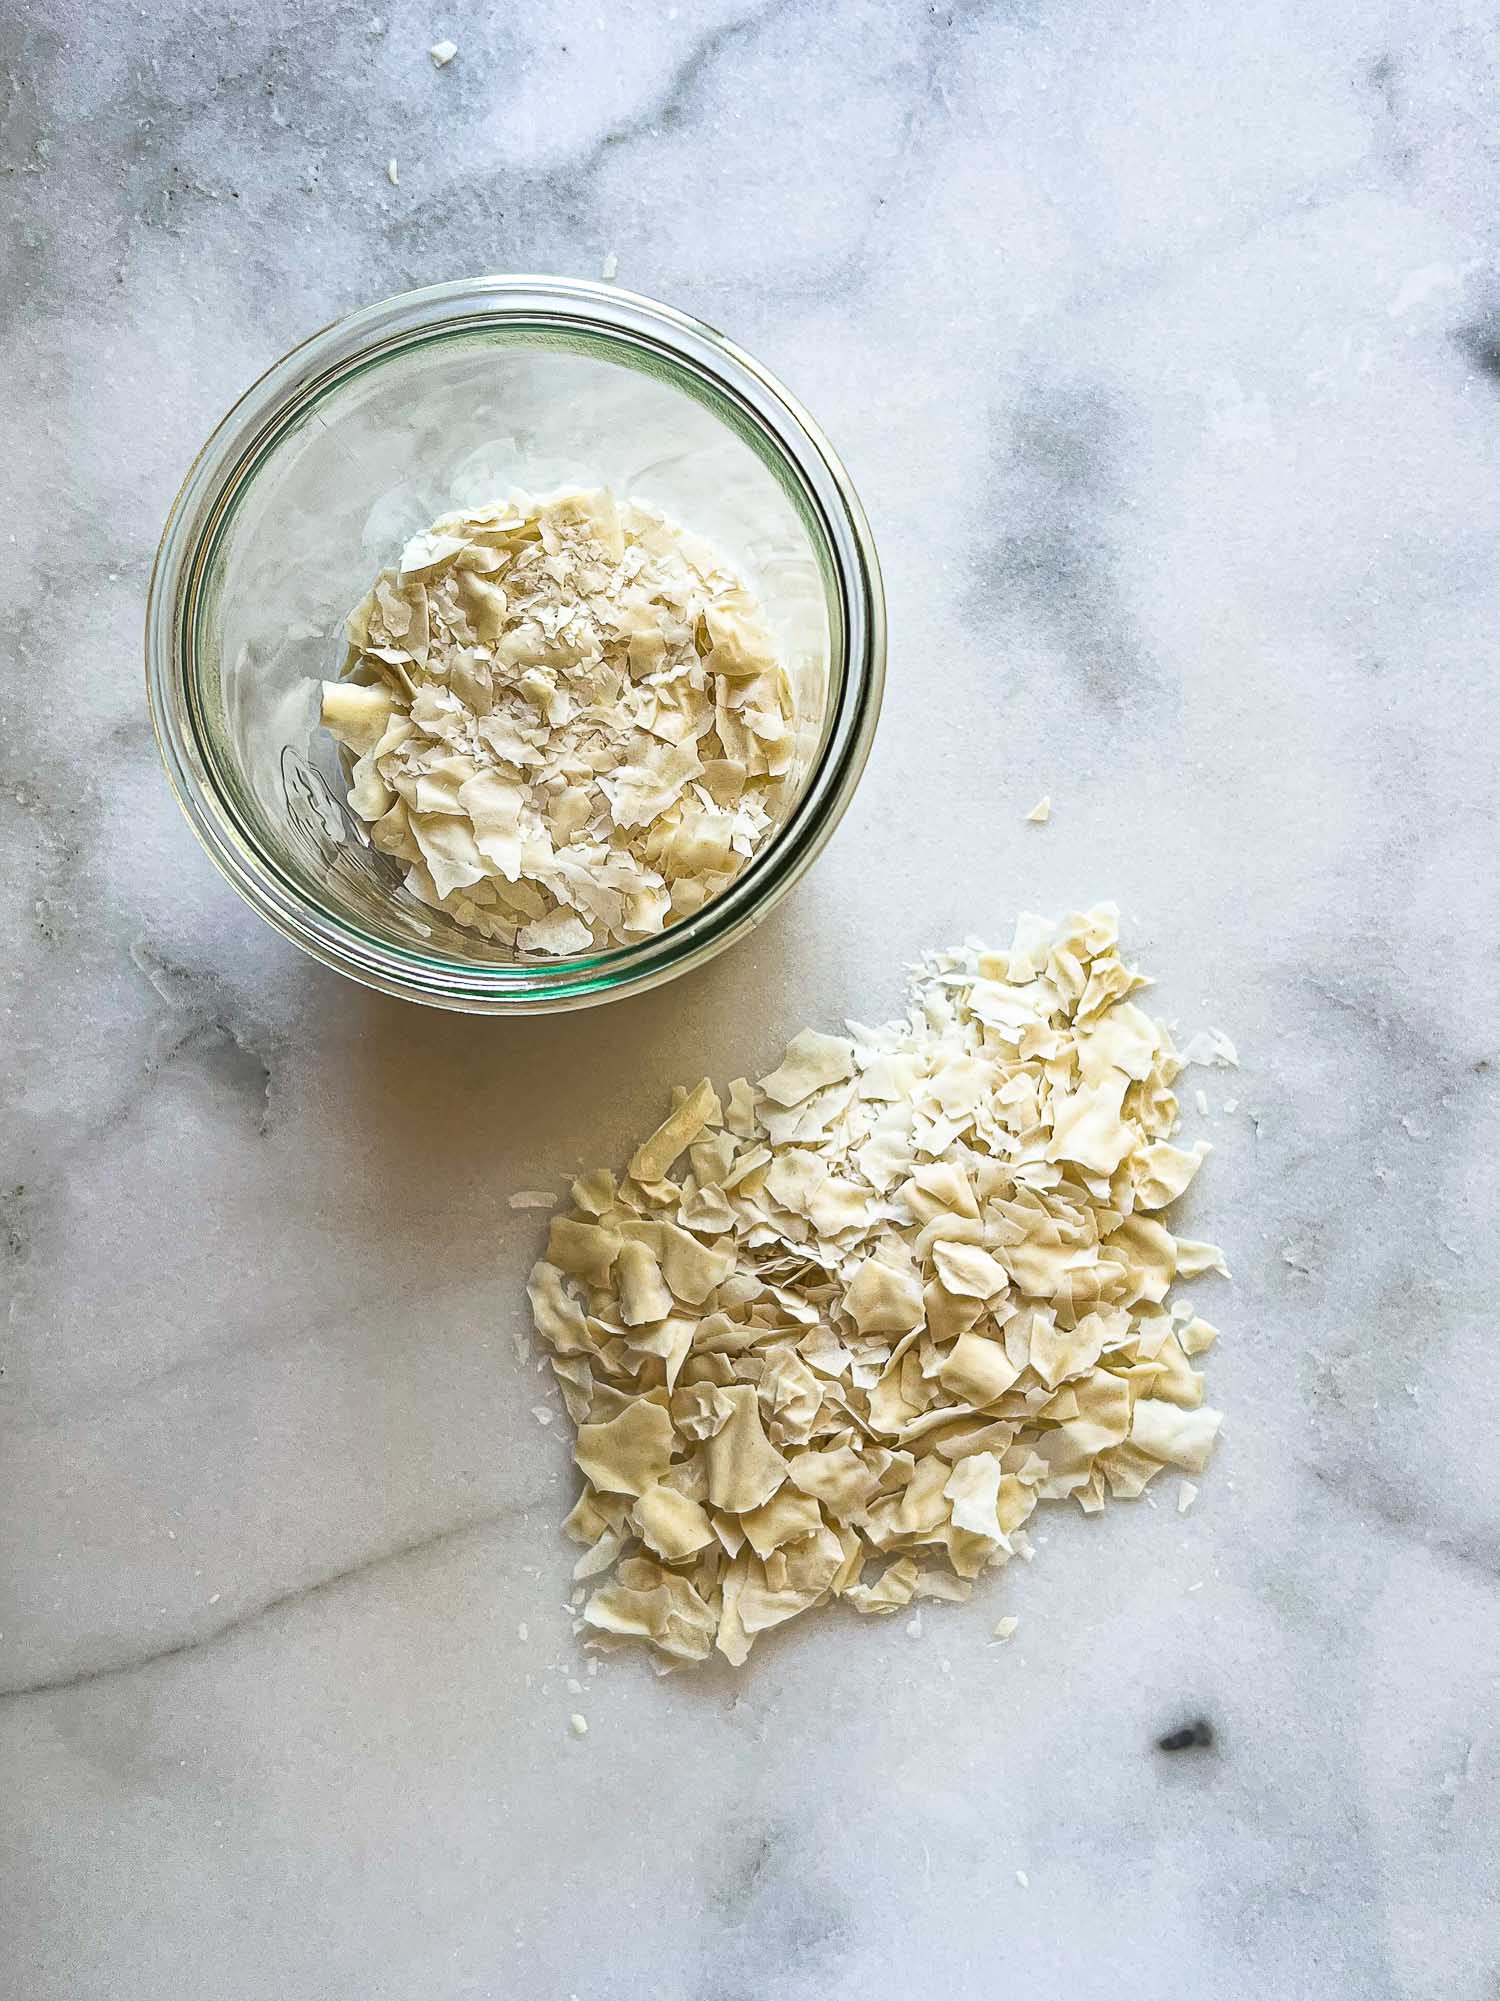
All this is to say that it’s a good idea to have backup. It’s very easy, too. Just take freshly-fed, active starter, spread a thin layer over parchment paper, wait for it to dry (no heat involved), break into small pieces, store. That’s it. You’ll never have to worry about losing your beloved “John Dough” or “Clint Yeastwood” or “Breadley Cooper” to an accident (my sourdough starters have decidedly more boring names, Ida and Herta).
Next up: How to Rehydrate your Sourdough Starter.

How to Dry Sourdough Starter
Think of dried sourdough starter as insurance in case of mishaps and also for sharing with friends. The process is easy.
Ingredients
- 50-100 grams sourdough starter at peak rise
Instructions
-
Using a silicon spatula, brush your fresh sourdough starter all along the surface of a piece of parchment paper. The goal is to brush as thin a layer as possible onto the parchment to ensure that the starter dries evenly and with as few thick clumps as possible. Depending on the amount of starter you dry, you may need more than one sheet of parchment paper.
-
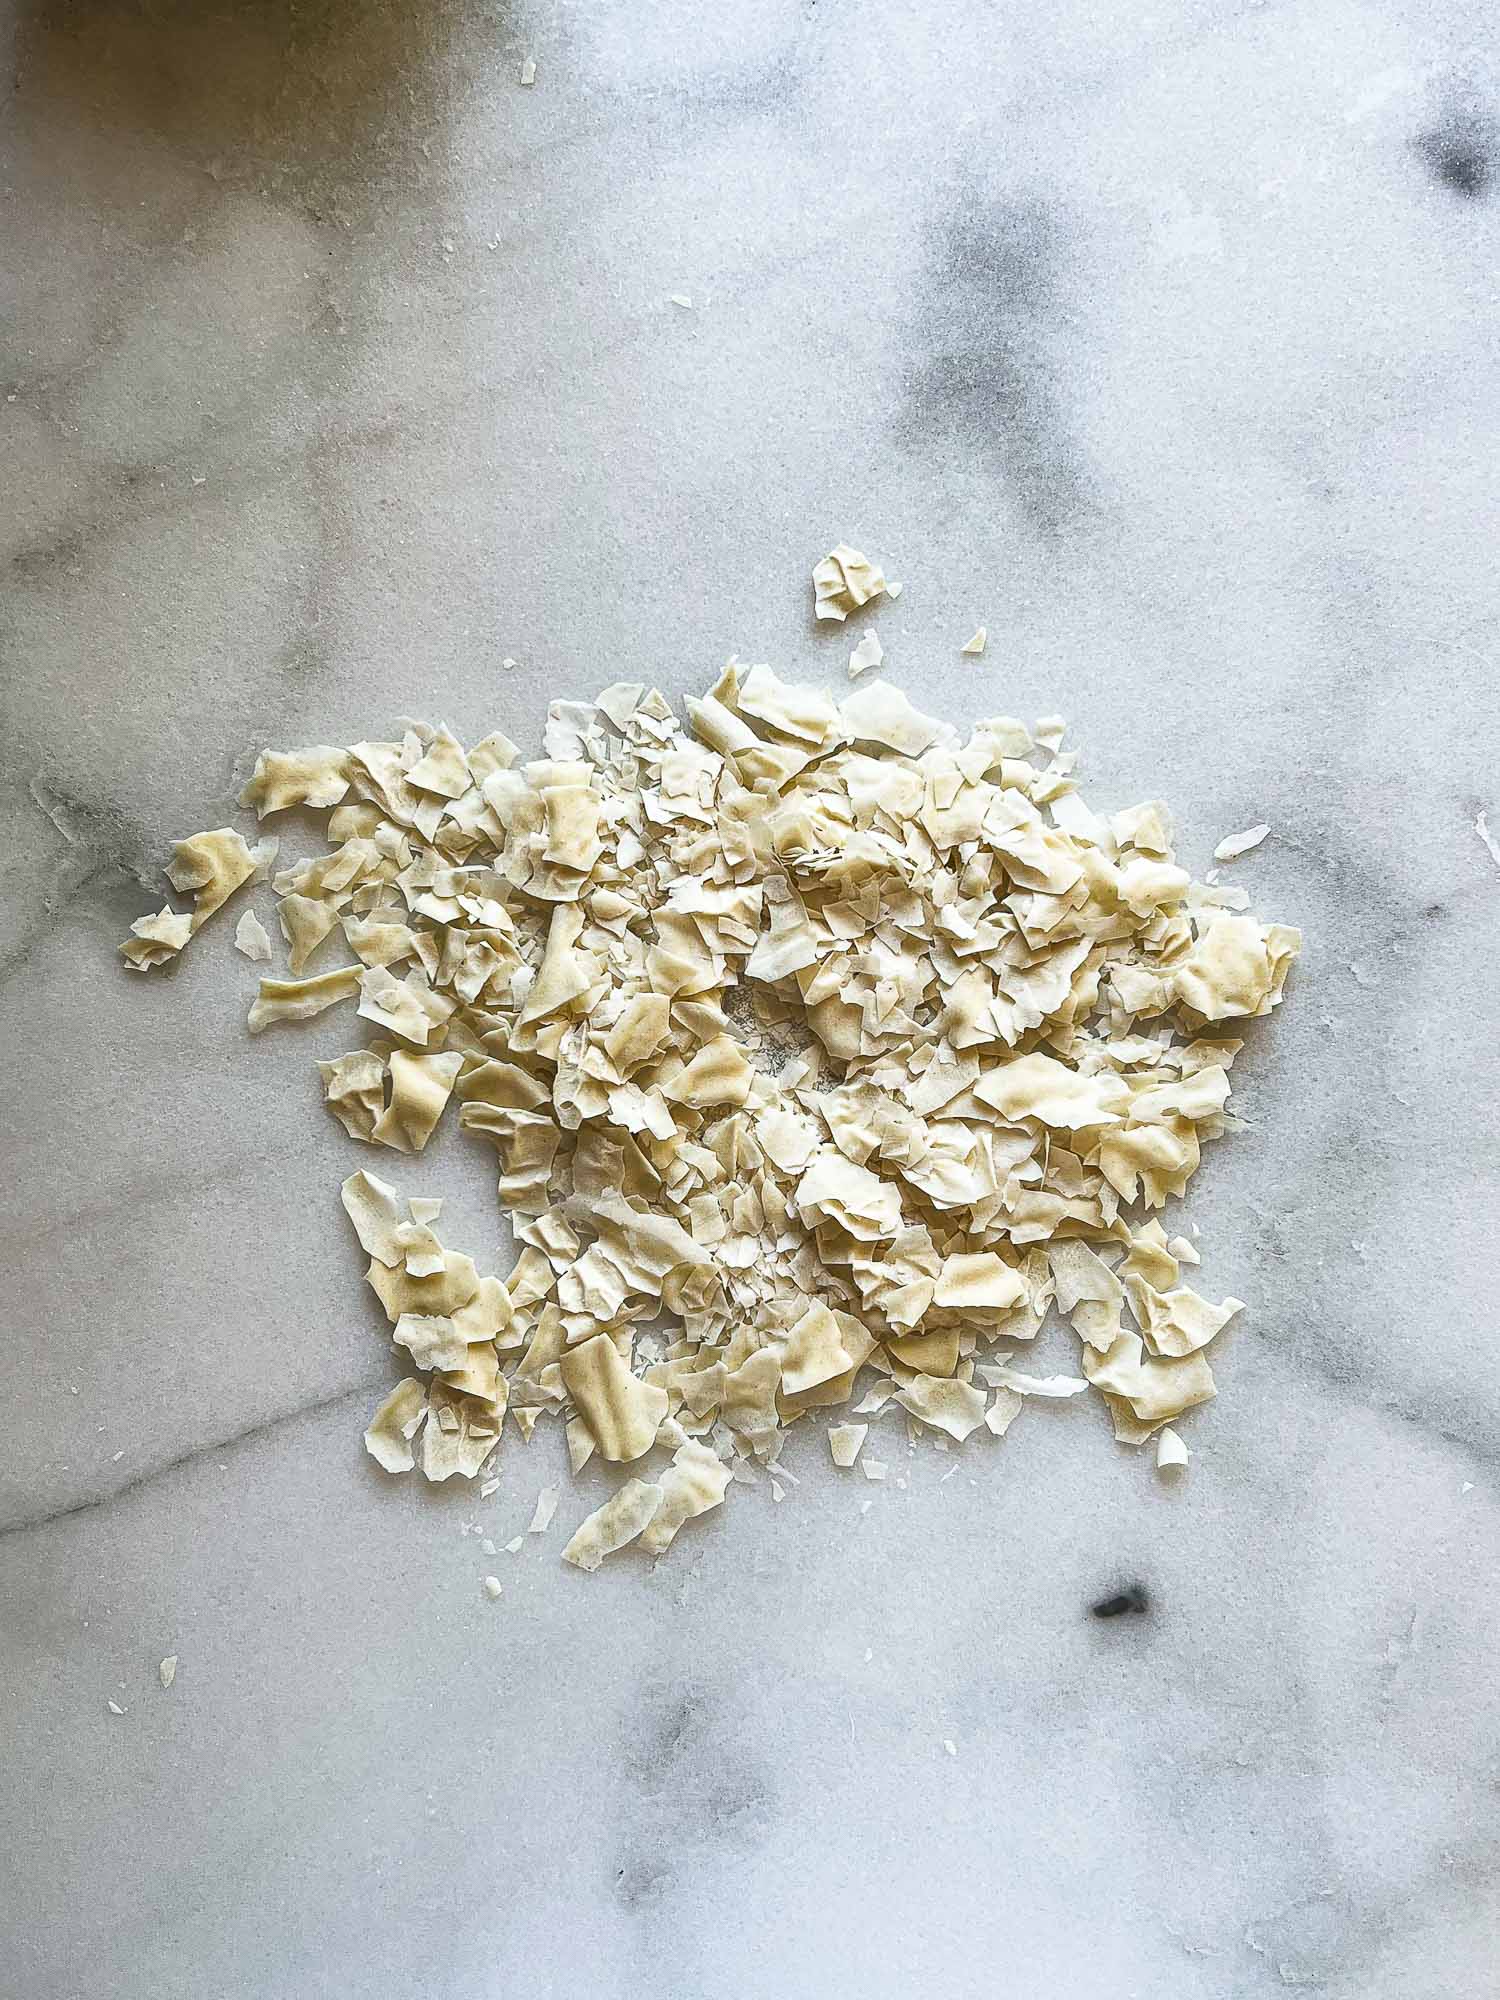
Lay the parchment on a baking sheet (or tray) and leave to dry on the counter. This will take anywhere from one to two days. Fully dried starter will be crispy like chips. Break into little pieces, transfer to a jar or plastic storage bag and store in a cool, dark, dry place. Dried starter will keep indefinitely.

i do admire bread bakers. it seems to be such a passion for them. And drying your own starter – wow! such dedication. I will have to stick to my no-knead overnight bread :=)
But you’re a bread baker, too. 🙂 Isn’t it the best feeling when you take that freshly baked loaf out of the oven? It never gets old. 🙂