Sourdough Ciabatta Rolls
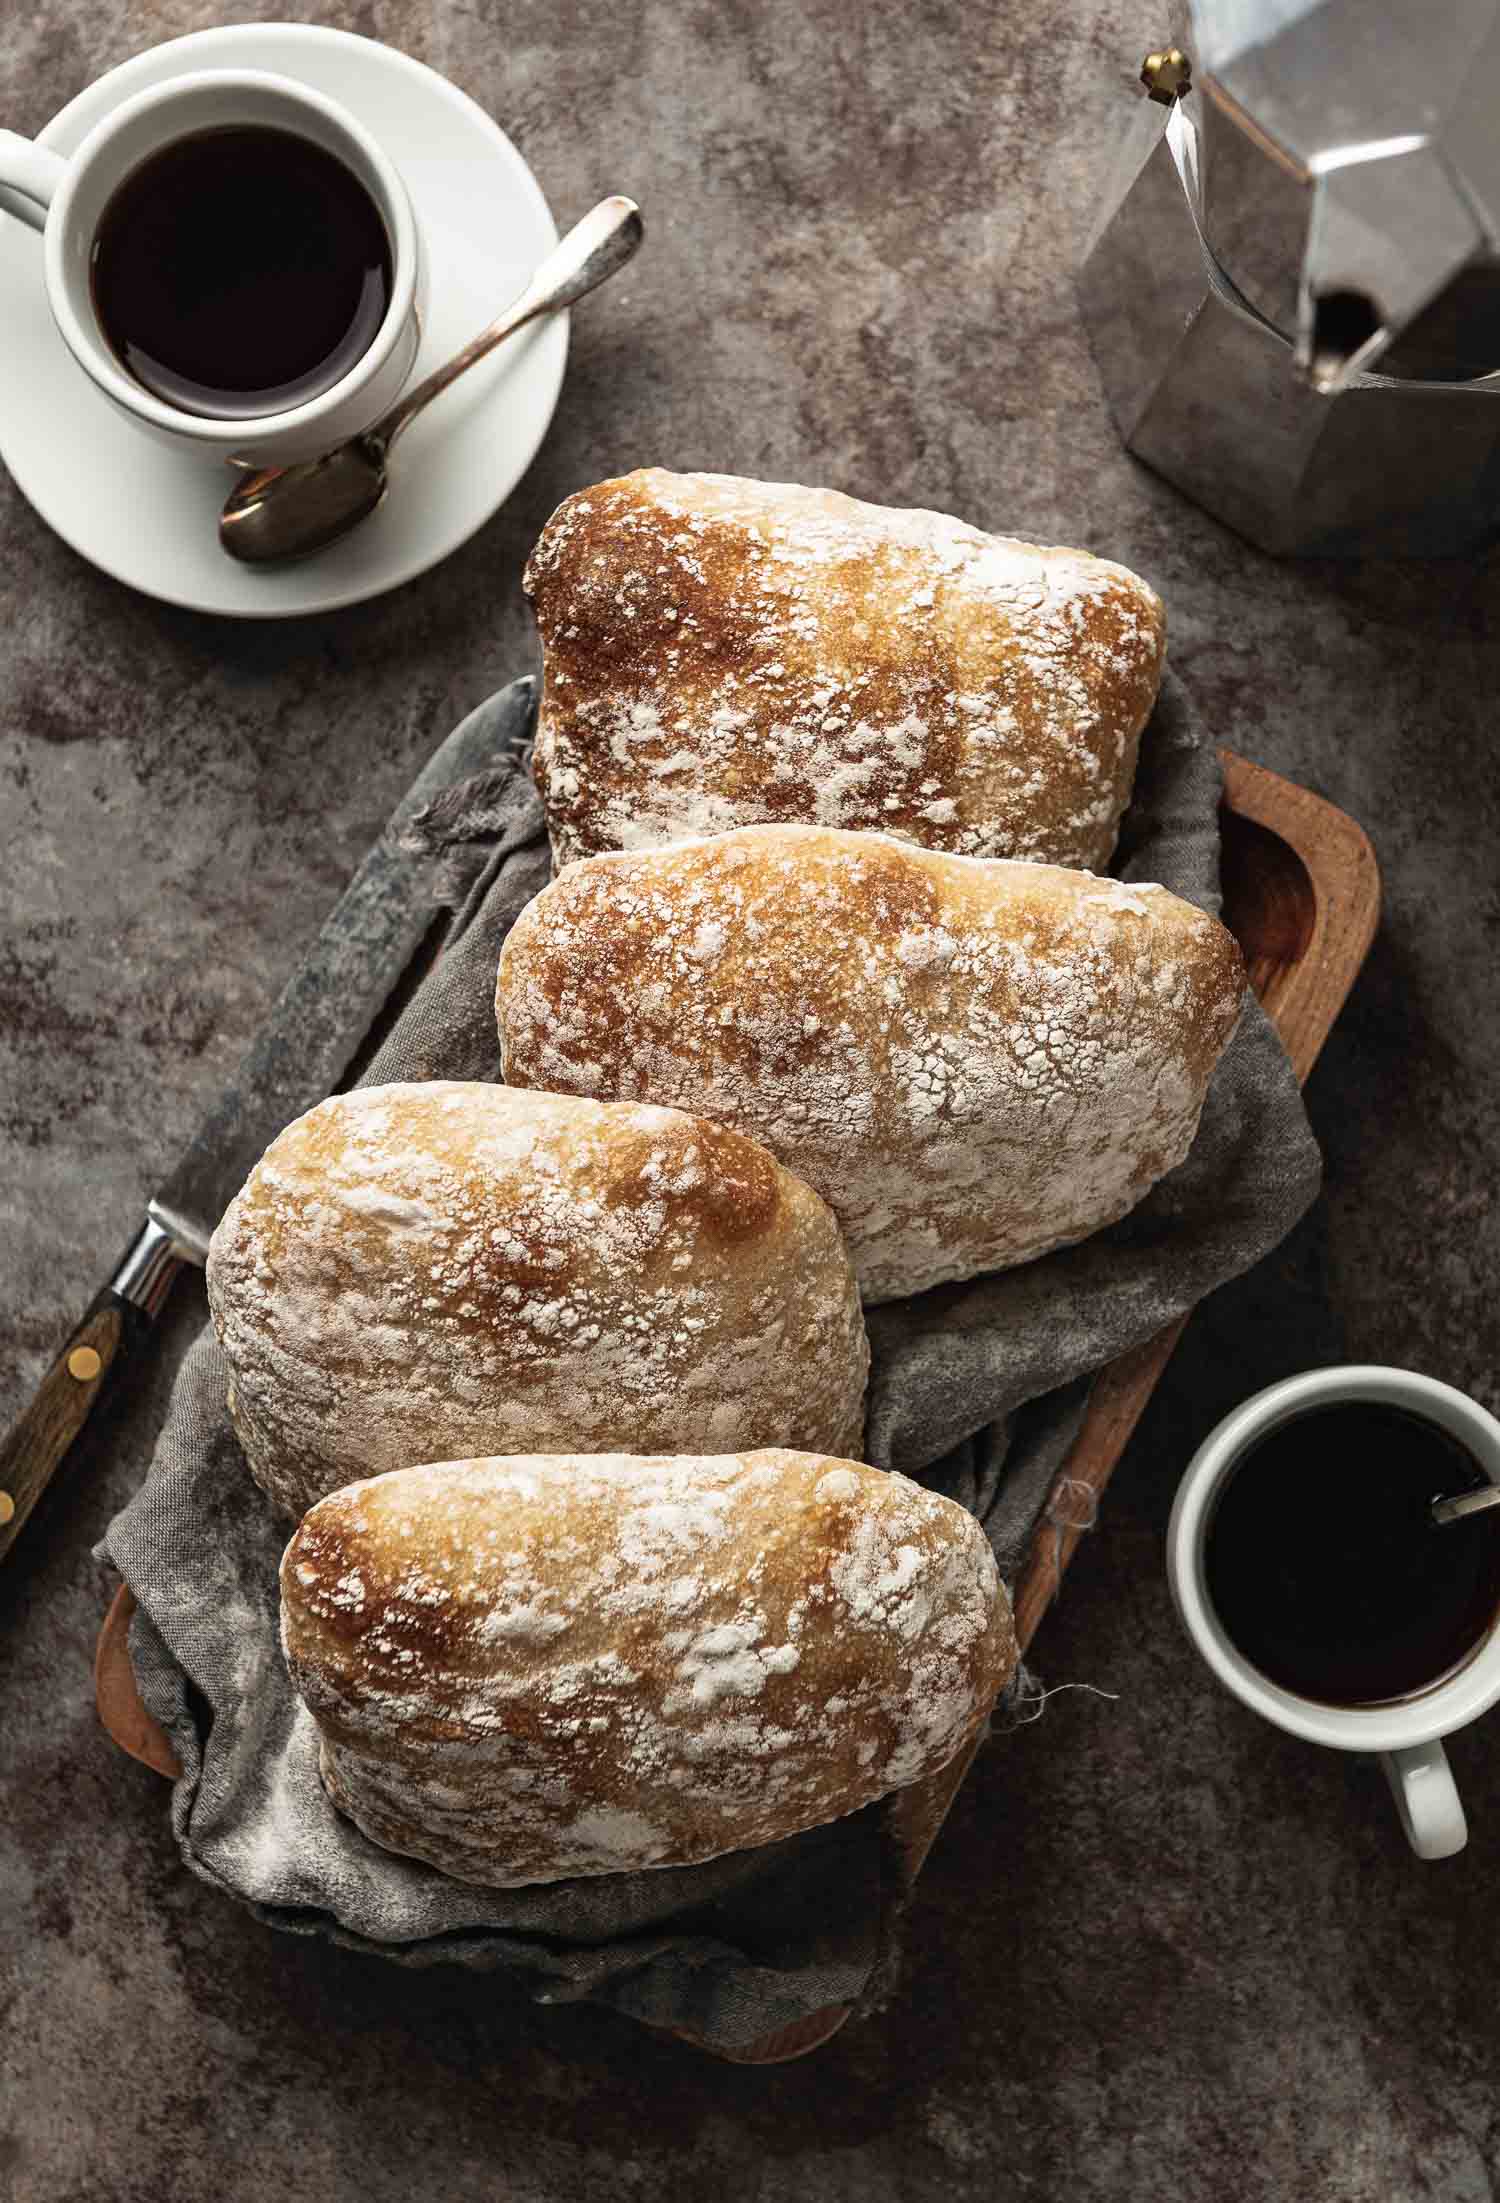
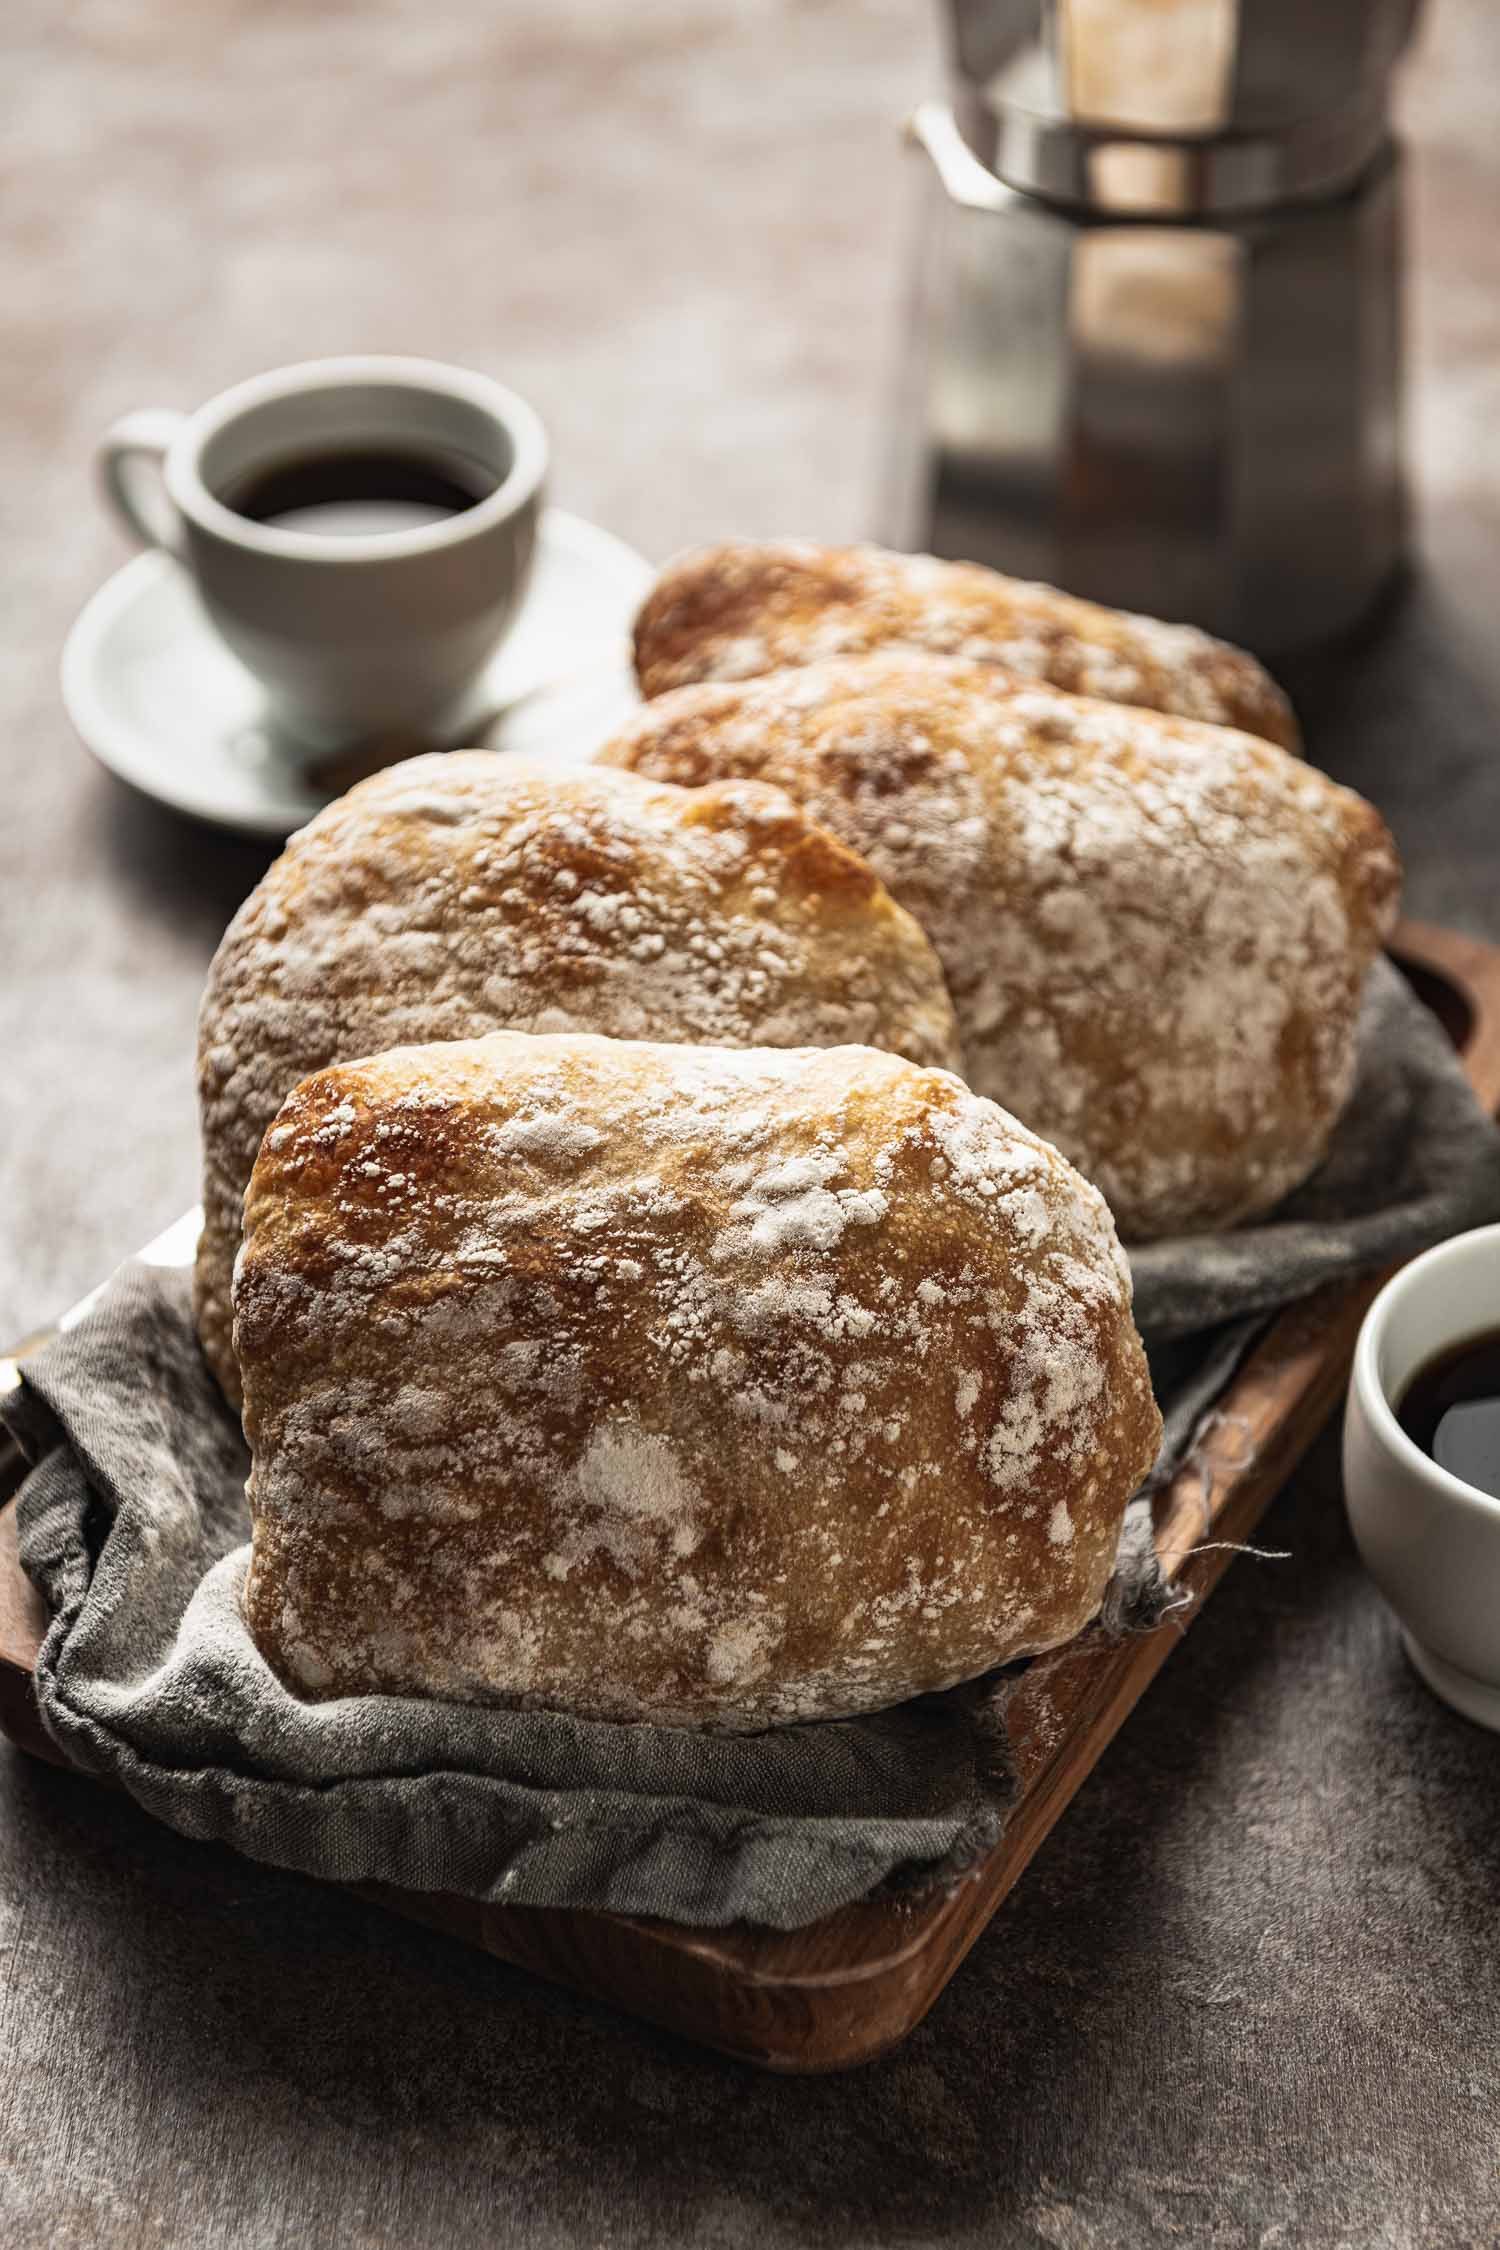
These sourdough ciabatta rolls are light, airy, versatile and addictive. They’re perfect slathered in butter, for dipping and of course sandwiches.
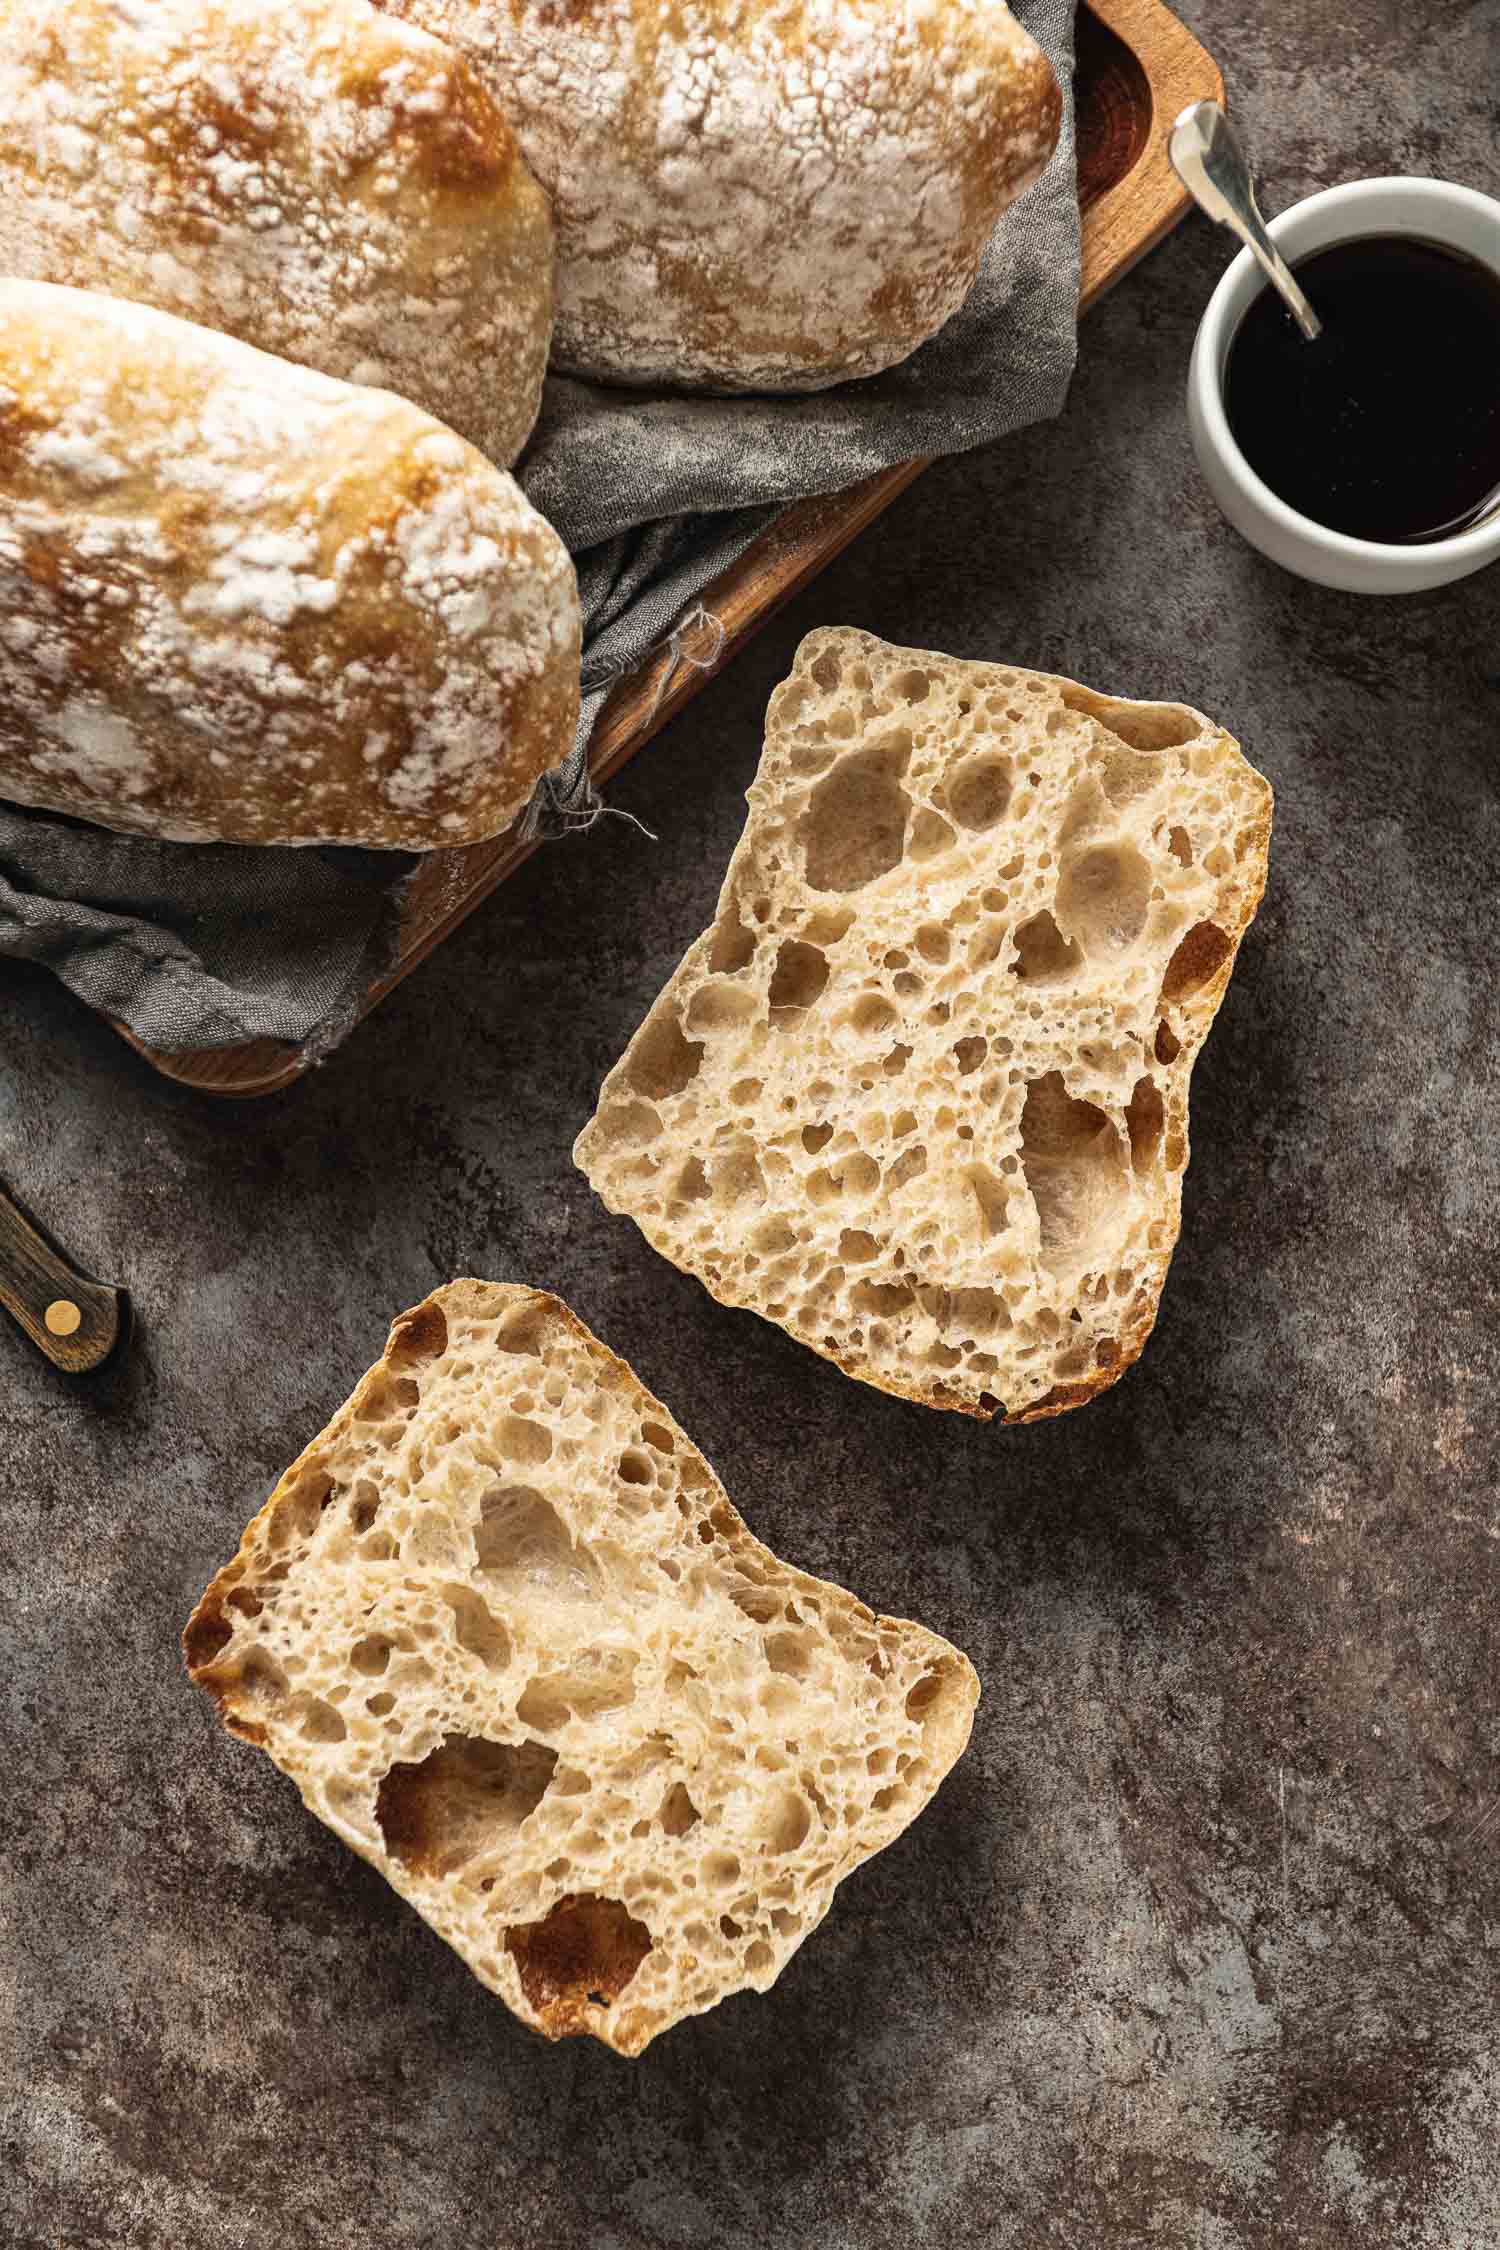
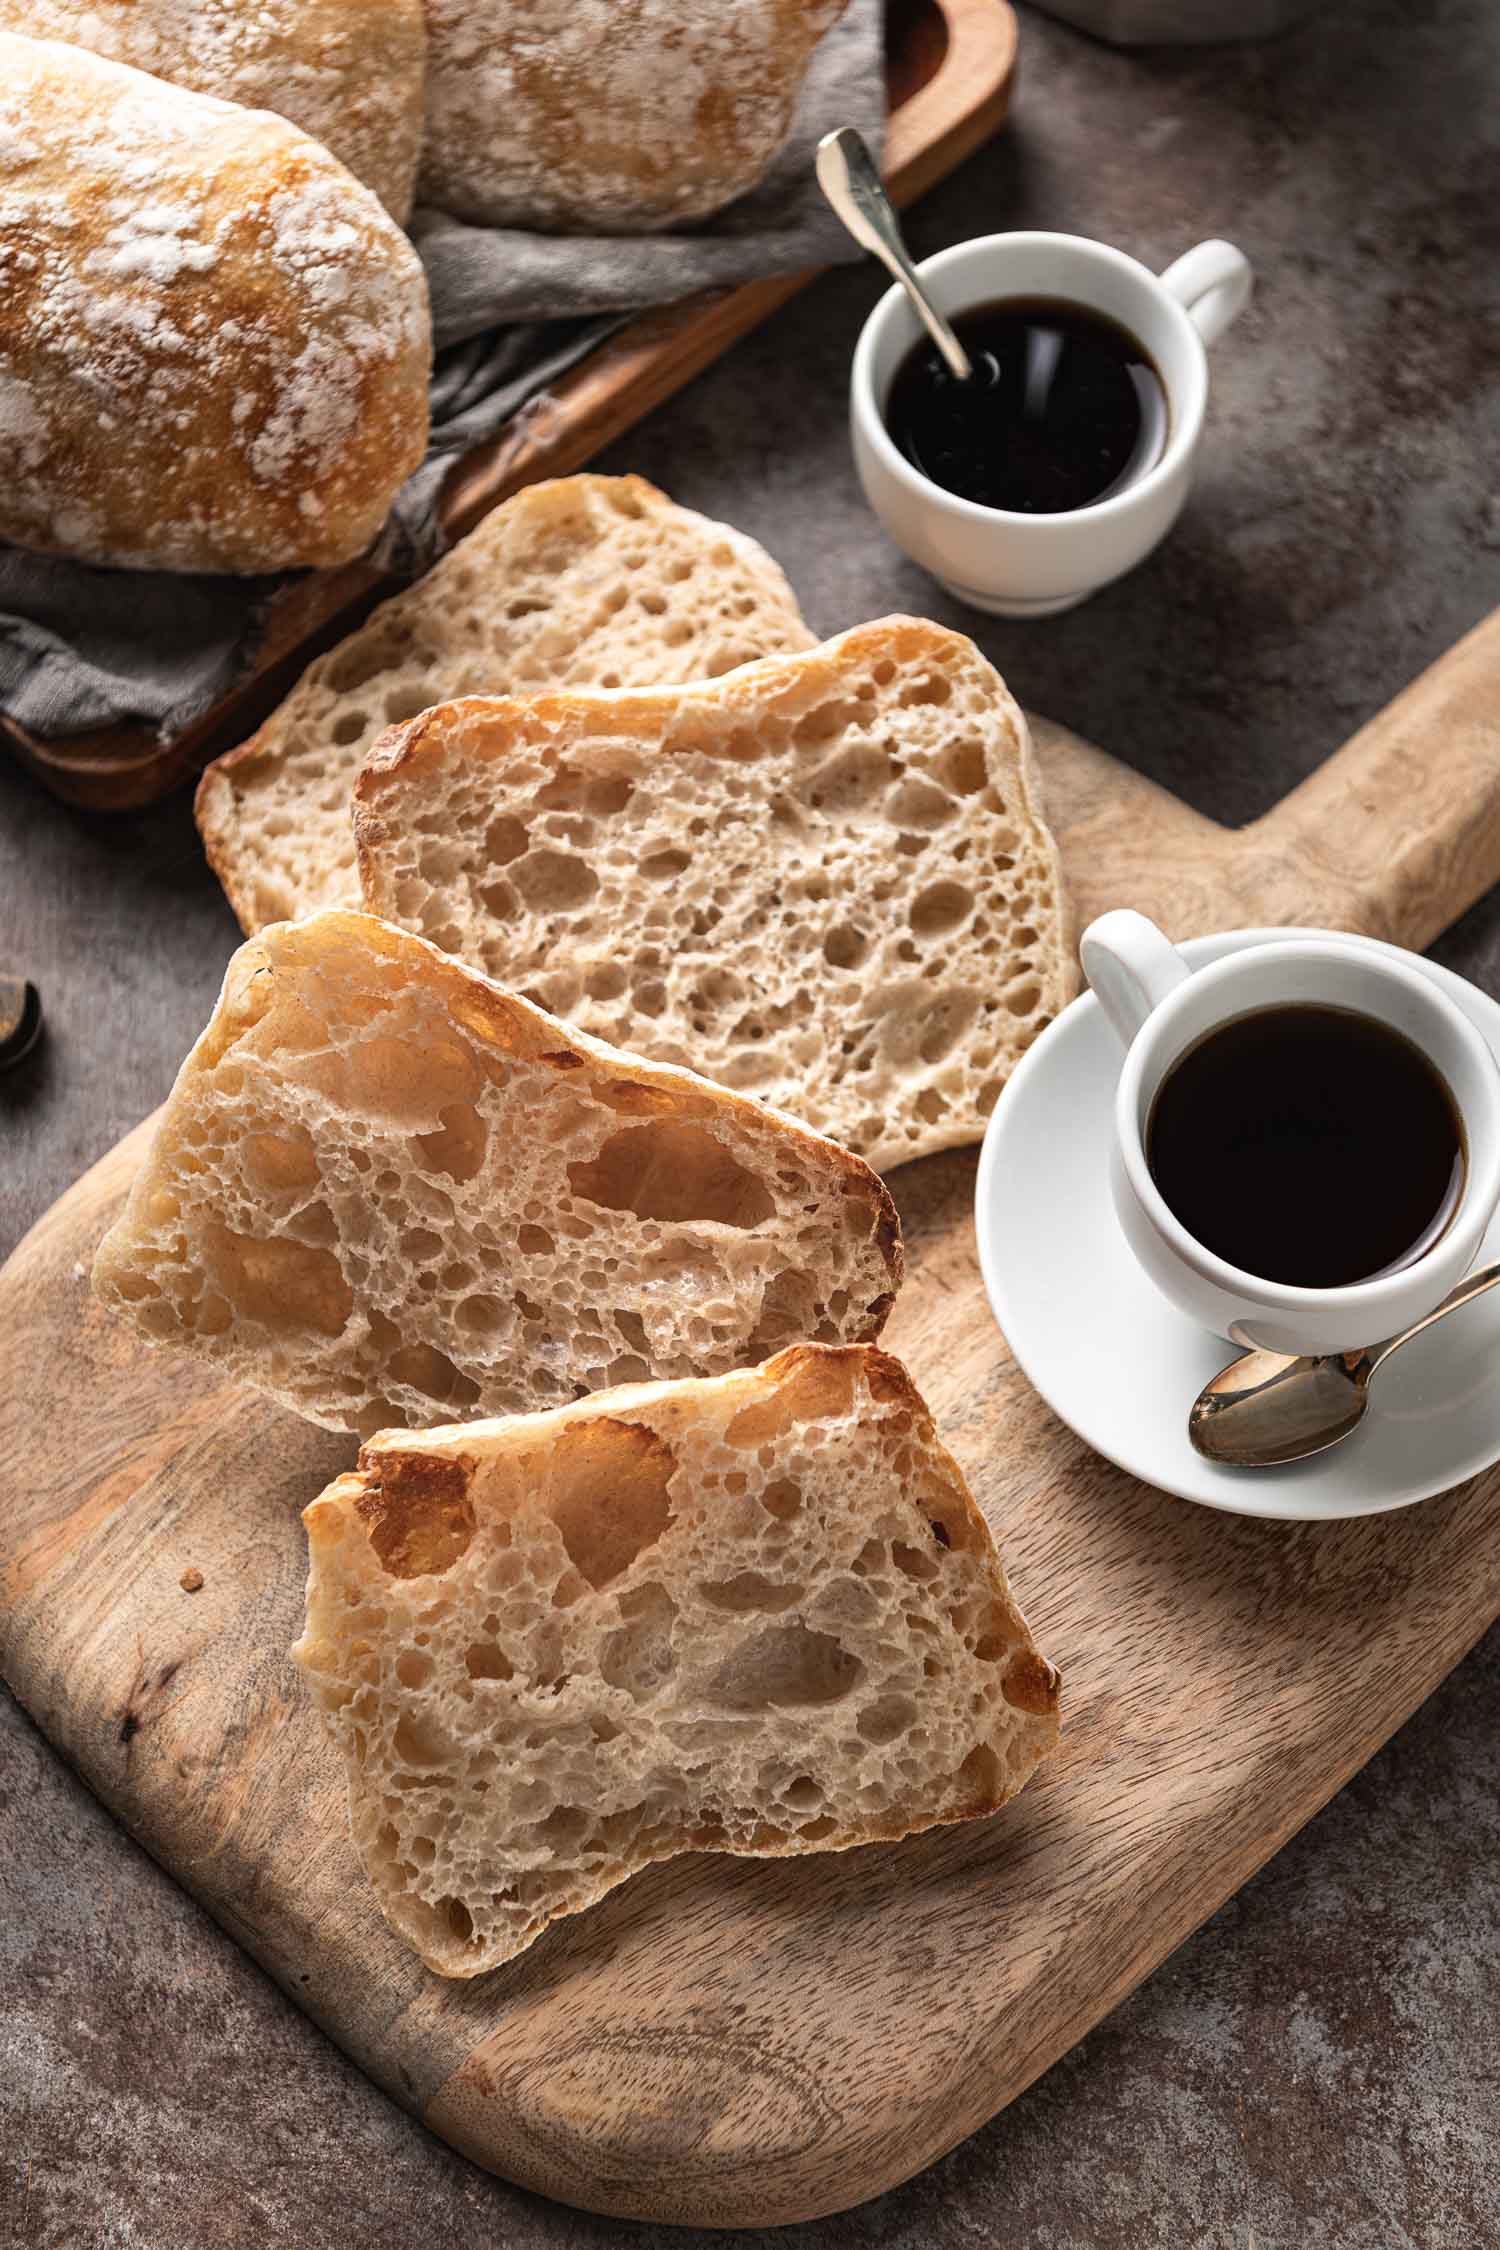
Fourth time’s a charm? For sourdough ciabatta it is, at least the way I managed my experiments. Beginner’s luck, a first batch of nearly perfect ciabatta deceived me into thinking the process ran along the easy side of the difficulty scale. And it is…once I figured out the method that works best for achieving a powdery, thin golden crust and a light, airy crumb, hallmarks of a good ciabatta.
What is Ciabatta?
Originating in Italy and named “slipper” because of its elongated flat shape (a traditional ciabatta is long and rectangular), ciabatta is a yeasted white bread, developed by a Venetian baker in the 1980s and is a popular option for sandwiches, particularly panini. The recipe I share here uses my sourdough (wild yeast) starter instead of commercial yeast and rather than the traditional slipper shape, I’ve made single-serving rolls.
After years focusing on boules or batards, round and oval rustic loaves which I baked in a Dutch oven I’ve recently decided to broaden my sourdough horizons–mainly because I’ve finally upgraded from a 20-year old small, round pizza stone to a larger, rectangular, bread-friendly one–by venturing into baguettes and ciabattas which call for a different shaping technique than I’ve been used to and open baking (no covered baking vessel). Of the two, ciabatta requires less shaping know-how but ciabatta presented its own challenges.
How to Make Sourdough Ciabatta
I initially dismissed ciabatta as being easy because the process doesn’t call for skill in shaping dough. There’s no scoring involved so it seemed much less challenging than my baguette attempts. What ciabatta does call for are high-hydration dough and delicate handling.
High-Hydration Dough: Bread dough that contains 80% or more water as a percentage of the total flour in the recipe is considered high-hydration dough. This can be a challenge for less experienced bread bakers because the dough tends to be sticky and harder to manage during the early stages of fermentation but it’s part of what helps to get a light-airy crumb, combined with proper fermentation.
If you’ve tried my other sourdough recipes in this blog this one won’t be much different. My go-to hydration is usually 80%; I just bumped it up slightly for ciabatta to 87%. During the bulk fermentation stage the dough gains structure and becomes less sticky so the process is not as daunting as it may sound.
Delicate Handling of the Dough: One thing I like about the ciabatta process is that, unlike a baguette, it doesn’t require any shaping skill or experience. The dough is fermented, divided and left to proof a final time before it’s baked. The trick is in preserving the air bubbles produced during fermentation and final proof because that’s what will give you a ciabatta full of air bubbles. This means handling the dough as little as possible.
The Ciabatta Dough: This recipe for ciabatta dough is the same as for my other basic sourdough loaves. Traditionally, all white flour is used for ciabatta but it I like to mix in at least a small percentage of whole grain flour in my bakes for more flavor. For the batch of ciabatta rolls pictured here, my dough contained roughly 10% whole rye flour and it didn’t hurt the crumb. Feel free to use all white flour if that is what you prefer or mix in a small percentage of rye or whole wheat flour like I’ve done here.
The Ciabatta Process: The mixing and fermentation process is also the same as for other sourdough breads. My best tip here is to not allow the dough to rise fully during bulk fermentation because ciabatta dough benefits from a final rise after it’s been divided. I suggest a 50% rise (instead of allowing it to double) then refrigerating the dough overnight before dividing, final proof and baking the next day.
The recipe below calls for an autolyse period, adding the salt and starter in stages rather than mixing the dough all at once. This is not necessary–most times I mix the flour, water, starter and salt all at once–but I found the extra steps to be helpful in this recipe.
Oil or No Oil? Traditional ciabatta recipes don’t include fat, just flour, water, yeast and salt. I added oil to my early bakes and found omitting the olive oil helped me get a better crumb.
The Equipment: (All of these items are optional but I explain why I like them.)
- Bread Couche: This is not necessary but it helps. A bread couche is a heavy duty, stiff linen fabric used for baguettes but it comes in handy for ciabatta too. Allowing the ciabatta dough to final proof in a couche helps to keep their shape.
- Parchment Paper: Alternatively or along with a couche, parchment paper makes transferring ciabatta dough to the oven much easier. Instead of a couche, lay each of the divided pieces of ciabatta dough on a piece of parchment paper during the final proof or before transferring them dough to the oven. During final proof just cover the dough with a kitchen towel.
- Baking Stone vs Baking Sheet: A ceramic baking stone (or baking steel) is not necessary but I did get better results compared to using a baking sheet. If you don’t have a baking stone don’t worry about it. You might just get a darker, thicker bottom crust using a regular baking sheet but your ciabatta will still be very nice.
- Lava Rocks: I’m new to open baking but in the short time I’ve used a ceramic stone to bake sourdough bread, I’ve found lava rocks quite helpful. The presence of steam in the early stage of baking helps with oven spring and delays the formation of a crust. You can incorporate steam by just pouring hot water in a pan while you bake your bread but lava rocks help to generate and maintain steam in the oven.
Final Note: Don’t be intimidated by ciabatta. Even my bakes that didn’t produce the lightest, airiest crumb still made very good bread. We’ve been enjoying lots of sandwiches and have made delicious croutons out of the leftovers. Your bakes won’t go to waste but I bet you’ll enjoy the process.
Sourdough Ciabatta Rolls
These sourdough ciabatta rolls are light, airy, versatile and addictive. They're perfect slathered in butter, for dipping and of course sandwiches.
Ingredients
- 330 grams bread flour
- 282 grams warm water
- 70 grams active starter (See note)
- 7 grams kosher salt
Instructions
-
Day 1, Autolyse: Mix the flour and water in a bowl, cover and autolyse for a minimum of thirty minutes. (Autolyse can be stretched to a few hours; my target is one hour.) Tip: note the temperature of the dough at each step of the process to help gauge bulk fermentation time.
-
Add Starter: Add the starter to the autolysed dough and mix well using your hands until the starter has been well incorporated. Cover and wait thirty minutes. Note dough temperature
-
Add Salt: Sprinkle the salt over the dough and mix well with your hands again until it's evenly distributed throughout the dough. Cover and let sit another thirty minutes.
-
Stretch and Fold: (It's best to do this with wet hands.) Perform one set of stretch and fold by taking one portion of the dough and folding it over itself, repeating four times to make one set. The dough will likely be loose because of the high hydration and more so if the dough is on the warmer side (mid-70ºs F and above). Cover and let sit for thirty minutes. (If the dough falls flat sooner than the thirty minute mark, feel free to go on to the next step.) Note the temperature of the dough.
-
Coil Fold: (It's best to do this with wet hands.) Carefully lift the center of the dough and tuck the loose end under itself. Flip the dough 180º and repeat. Repeat the coil fold, lifting the dough from the middle and tucking one side of the long end under itself, repeating on the other side. These four coil folds make up one set. Cover and let the dough sit again for another thirty minutes and perform three more sets of coil folds ever thirty minutes. Again, if your dough is running warmer and it falls flat before thirty minutes, proceed with the next set of coil folds. With each set of coil folds your dough should gain structure and become smoother. If after four sets of coil folds your dough is still lacking structure, add another coil fold.
-
Bulk Fermentation: After the coil folds, leave the dough to continue bulk fermentation until it has grown roughly 50-60% (See Note). Bulk fermentation starts when you add the starter to your dough. For this batch, the average dough temperature was 76ºF so my total fermentation time was about six hours. Your total fermentation time could be shorter if your dough temperature is warmer and longer if it's cooler.
-
Cold Retard: Once bulk fermentation is complete, keep the dough in the bowl, covered and store in the refrigerator overnight.
-
Day 2, Divide and Final Proof: Turn the dough out on a generously floured surface and generously flour the top. Gently stretch the dough by taking a lifting from each corner and pulling it to roughly a 13" by 7" rectangle (be careful not to deflate the dough too much). Use a floured bench scraper to gently coax the dough into a rectangular shape then divide the dough into six roughly equal pieces using a bench scraper. If you have a couche, carefully transfer each piece of dough to a floured couch and cover. If not, you can cover the divided pieces of dough with a cloth towel and allow to proof for about one hour or until the dough has risen and bubbly on top. Some time into the final proof preheat your oven to 450ºF. If you plan to use a baking stone, allow it to preheat in the oven. Also, for steam, if you use lava rocks, let them preheat with the stone. Lastly, have some hot water ready to use for steam while baking.
-
Bake the Ciabatta: When you're ready to bake the ciabatta, transfer each piece of dough onto small rectangles of parchment paper. This will make it easier to lay then on the baking stone or baking sheet if that's what you are using. Arrange the ciabatta rectangles on the baking stone or baking sheet. Pour about one cup of hot water onto a baking sheet (with or without lava rocks) for steam. Lower the heat to 425ºF and bake for nine minutes with steam. After nine minutes, remove the pan with hot water and continue to bake the ciabatta for another four to five minutes or until the rolls are lightly golden and fell hollow when you tap them. Cool on a wire rack and enjoy.
Recipe Notes
Starter: I used rye starter here which resulted in 9.5% whole grain of the total flour in the dough. A small percentage whole grain will add flavor and will not hurt the crumb. Feel free to use whole wheat flour or straight white flour.
Bulk Fermentation: The idea for a 50-60% rise in the dough (instead of allowing it to fully ferment and double) is to allow for a final proof the next day without risking overfermentation. Especially if the dough is on the warmer side, it will continue to rise in the refrigerator before it cools down completely.



Leave a Reply