Sourdough Dutch Crunch Bread (Tiger Bread)
This is a sourdough version of one of my favorite childhood breads–Dutch crunch rolls. They’re perfect for sandwiches and a real San Francisco treat.
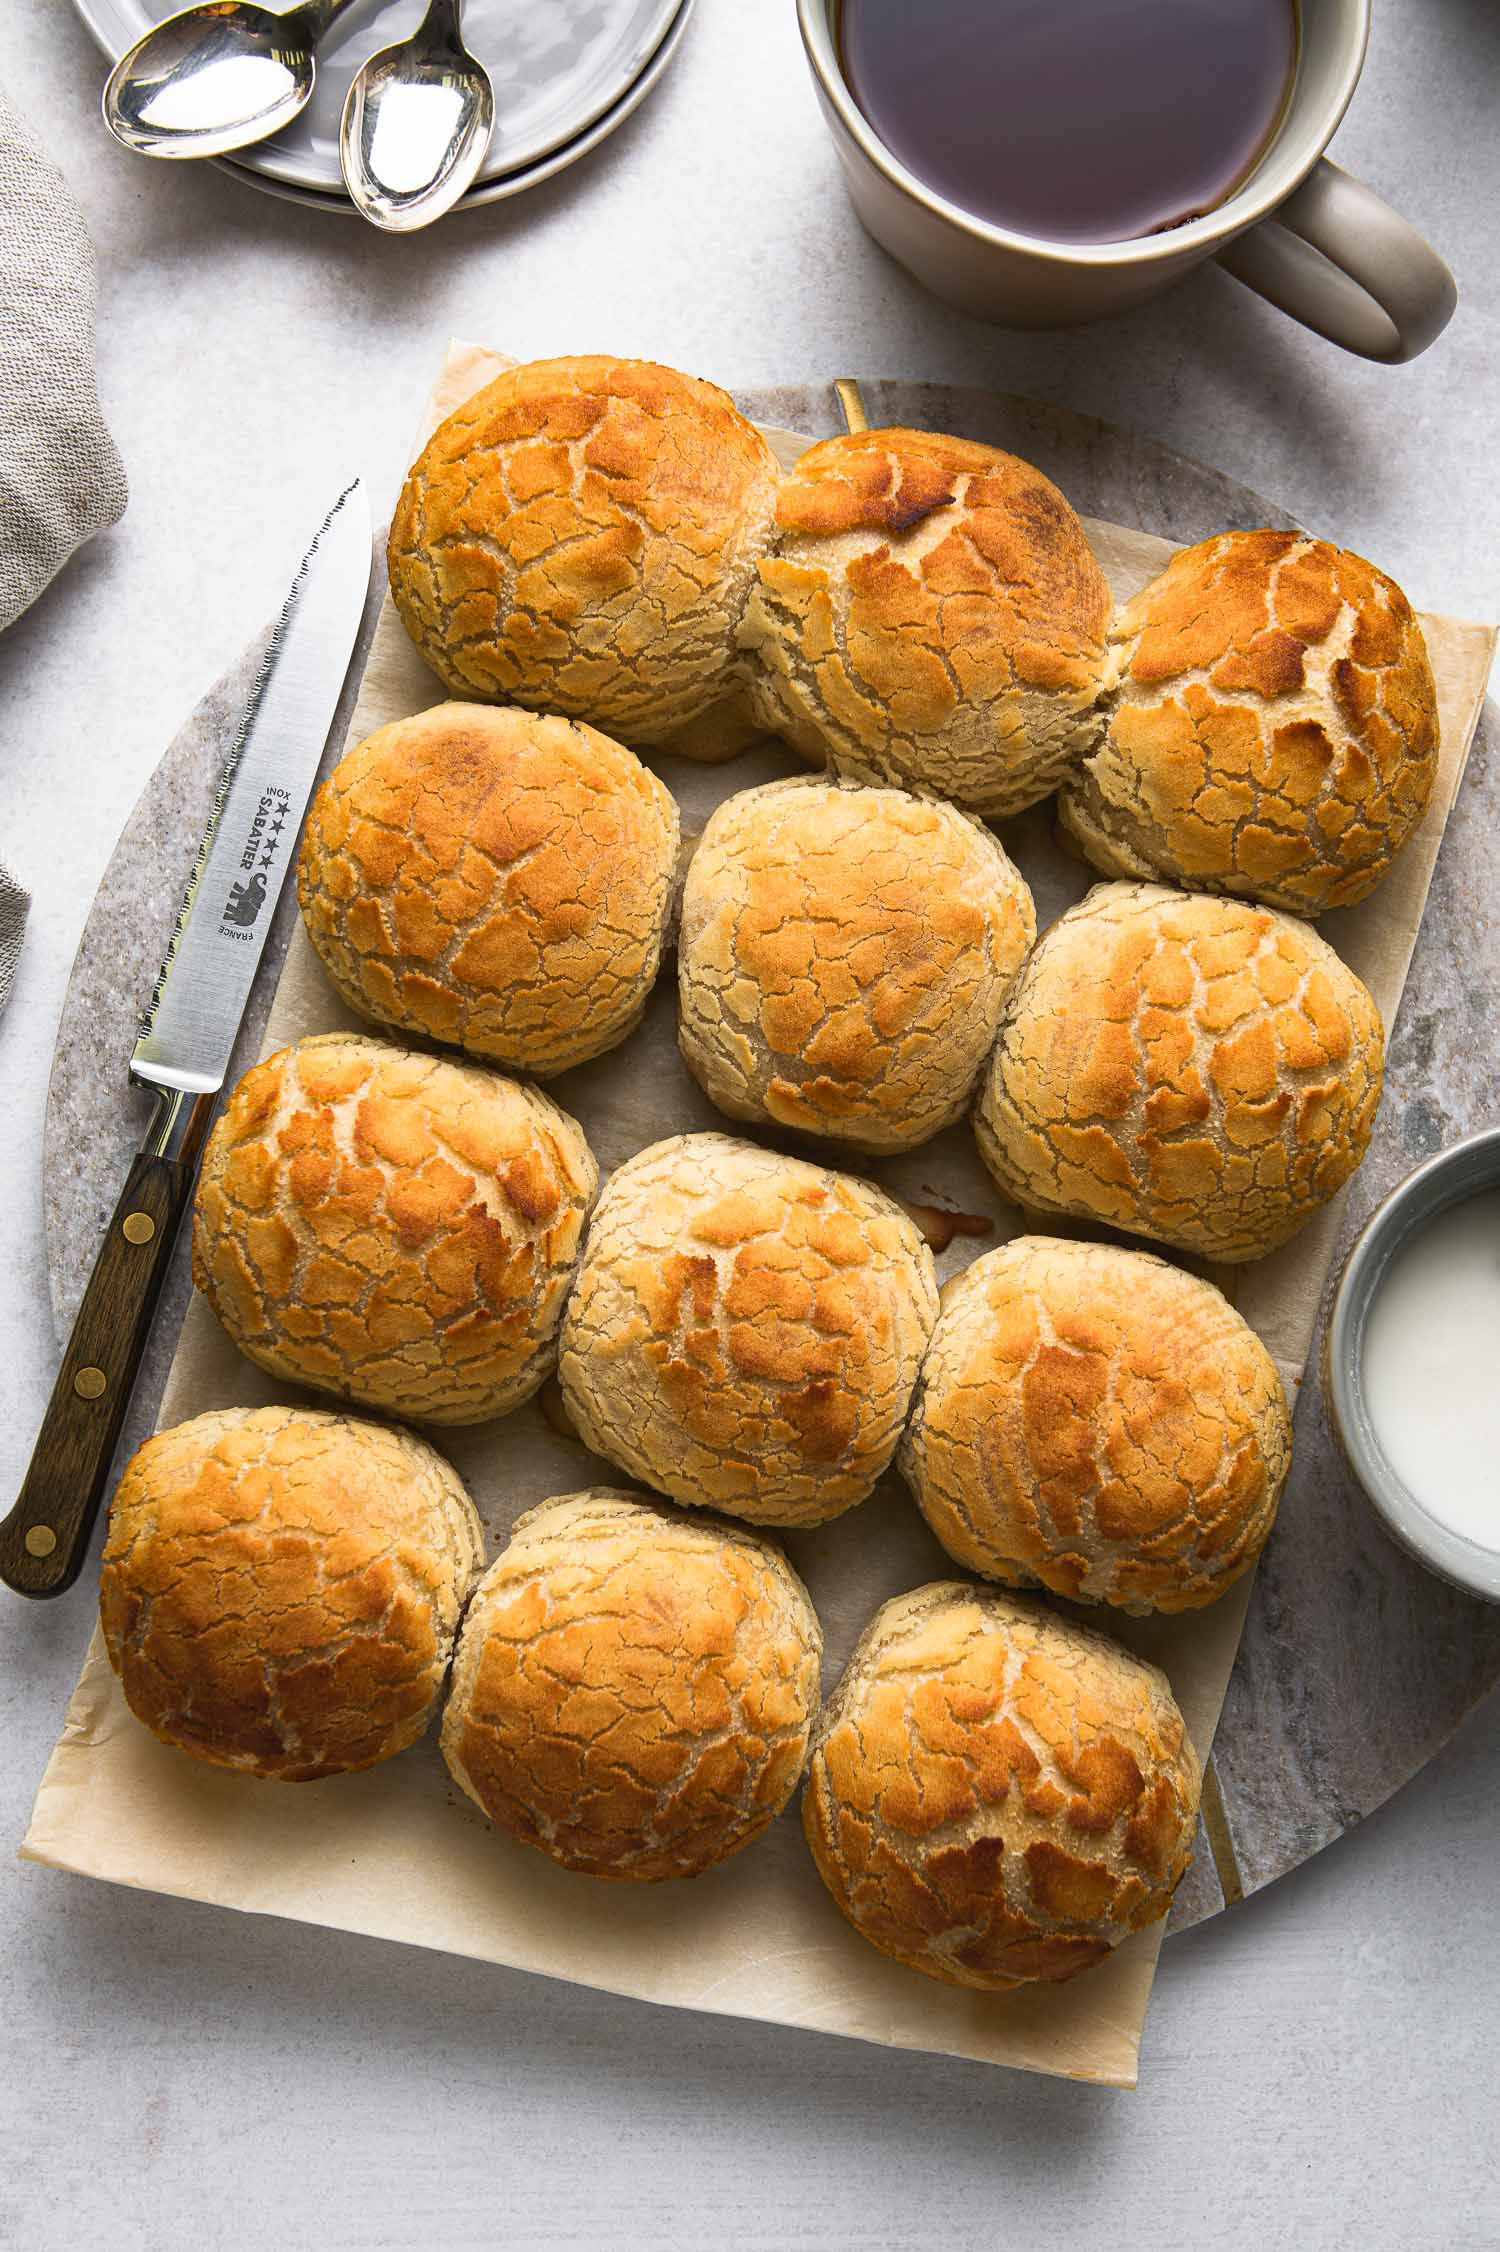
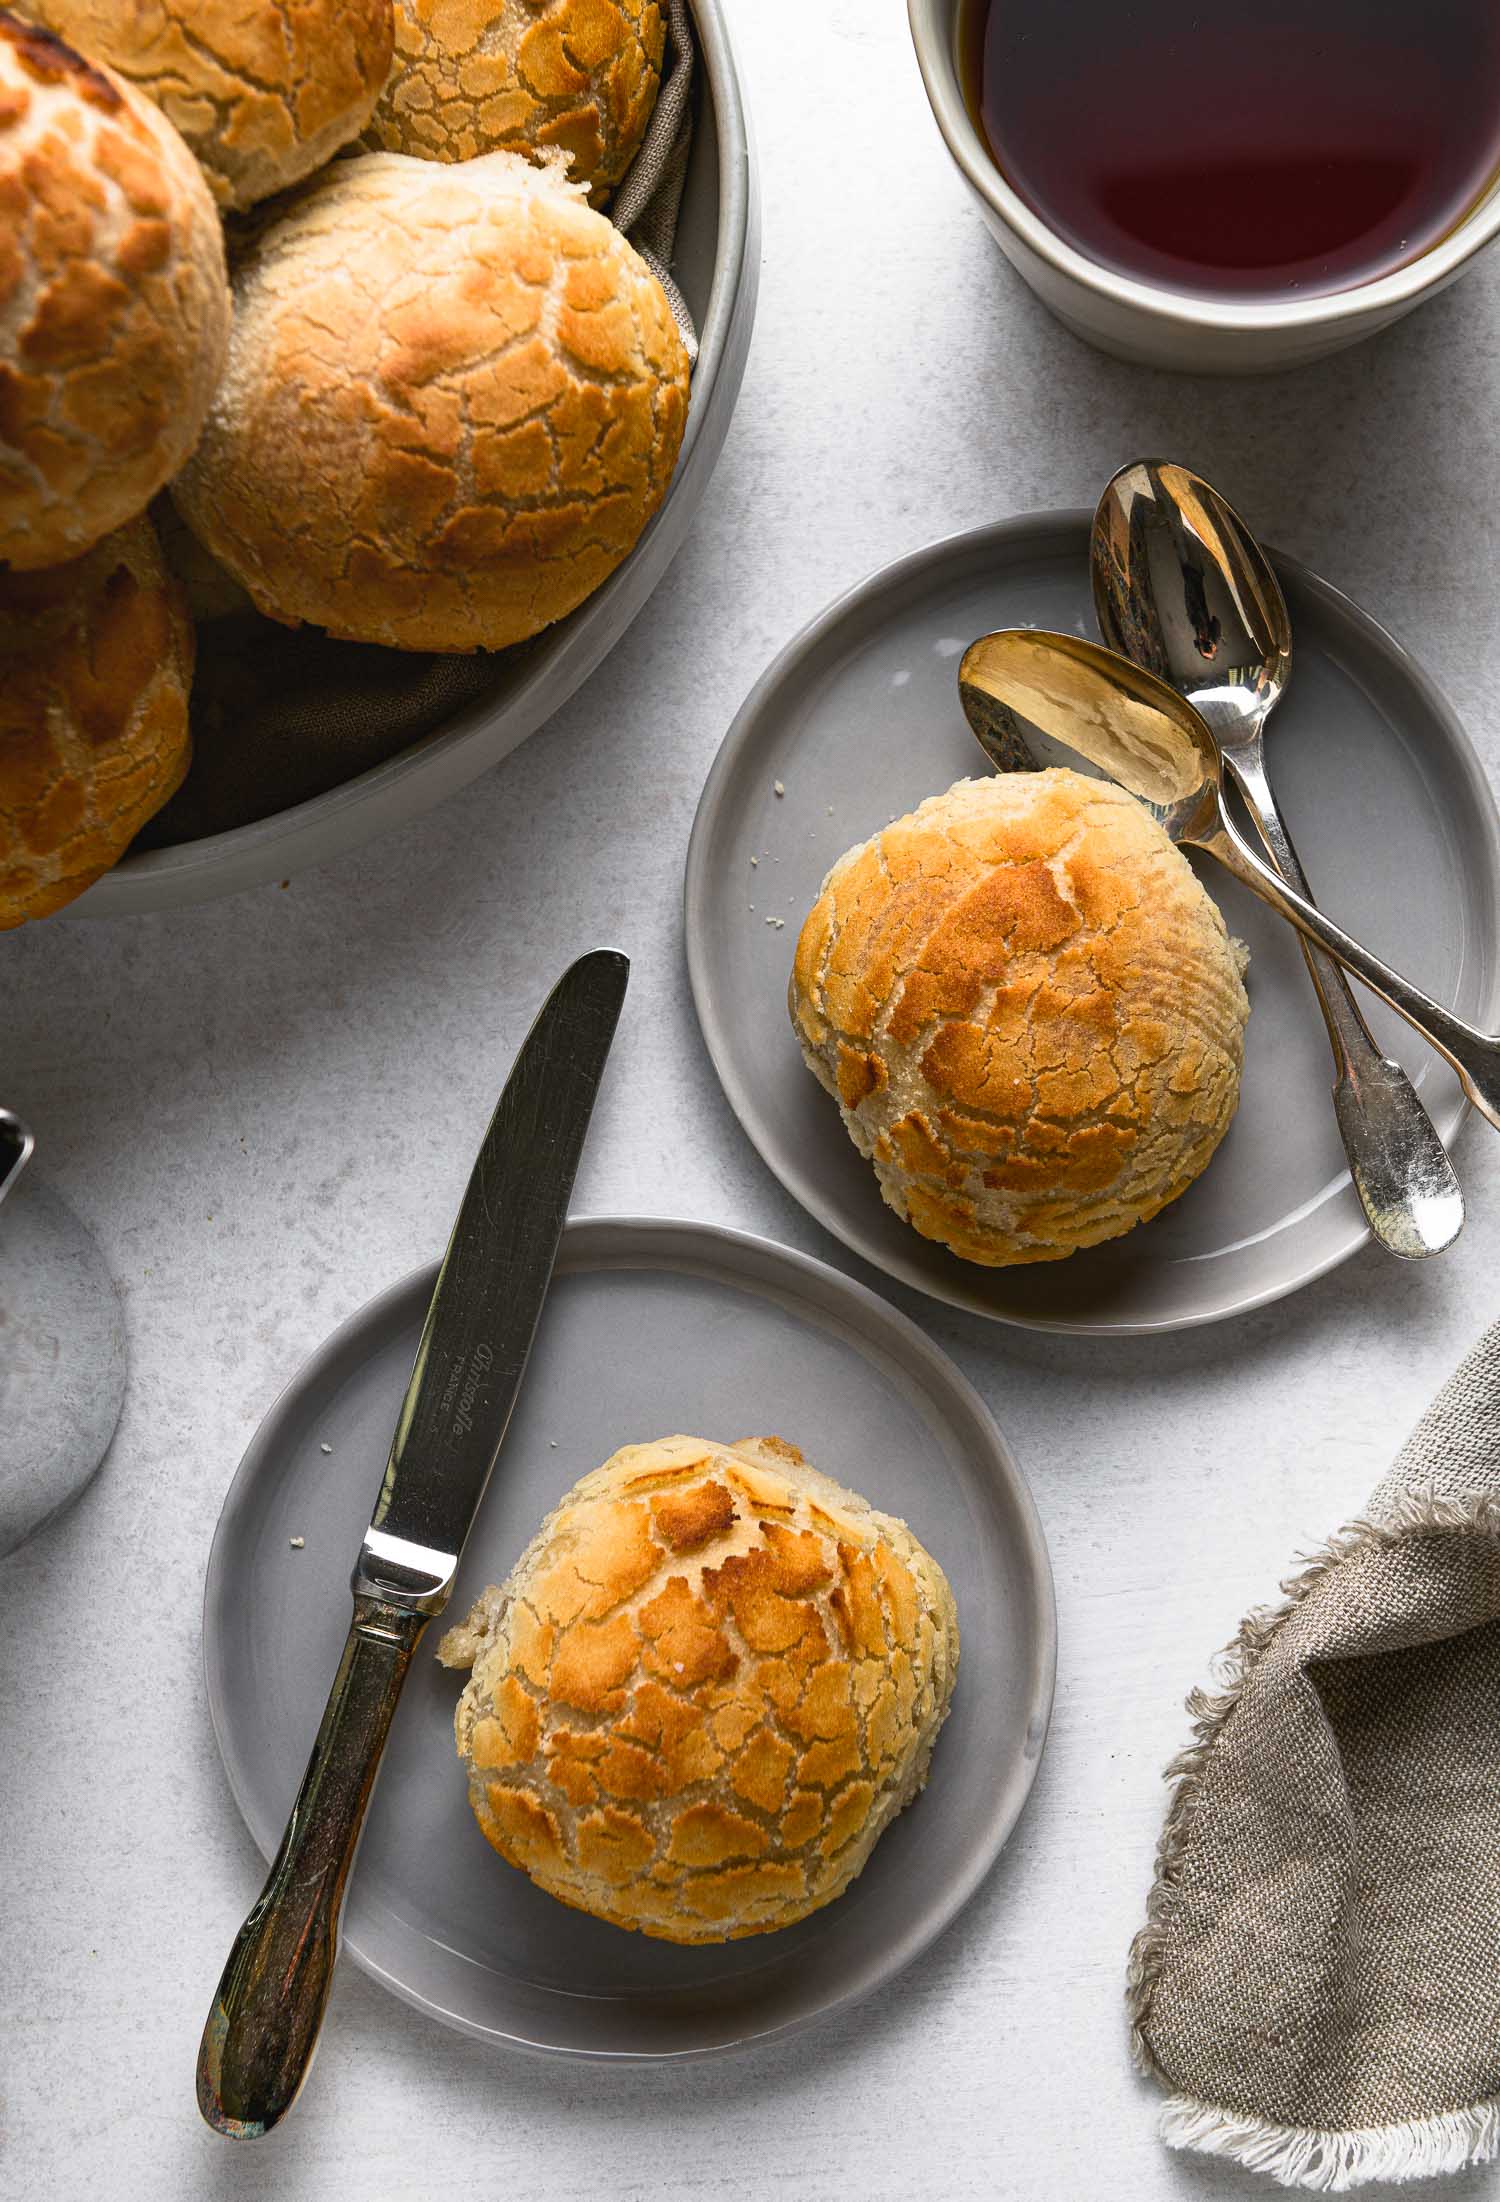
Having grown up in San Francisco and having spent most of my life in the Bay Area I didn’t realize until much later that these rolls with the pretty crackly tops aren’t widely known outside of this neck of the woods. Around here we call them Dutch crunch bread, an homage to their place of origin, The Netherlands, where they’re called tijgerbrood or tiger bread for their distinctive pattern.
They’re commonly sold as rolls and they were my favorite sandwich option at the local deli’s bread lineup, often passing up on the sliced sourdough just to experience the pleasant crunch of the mildly sweet, crackly crust.
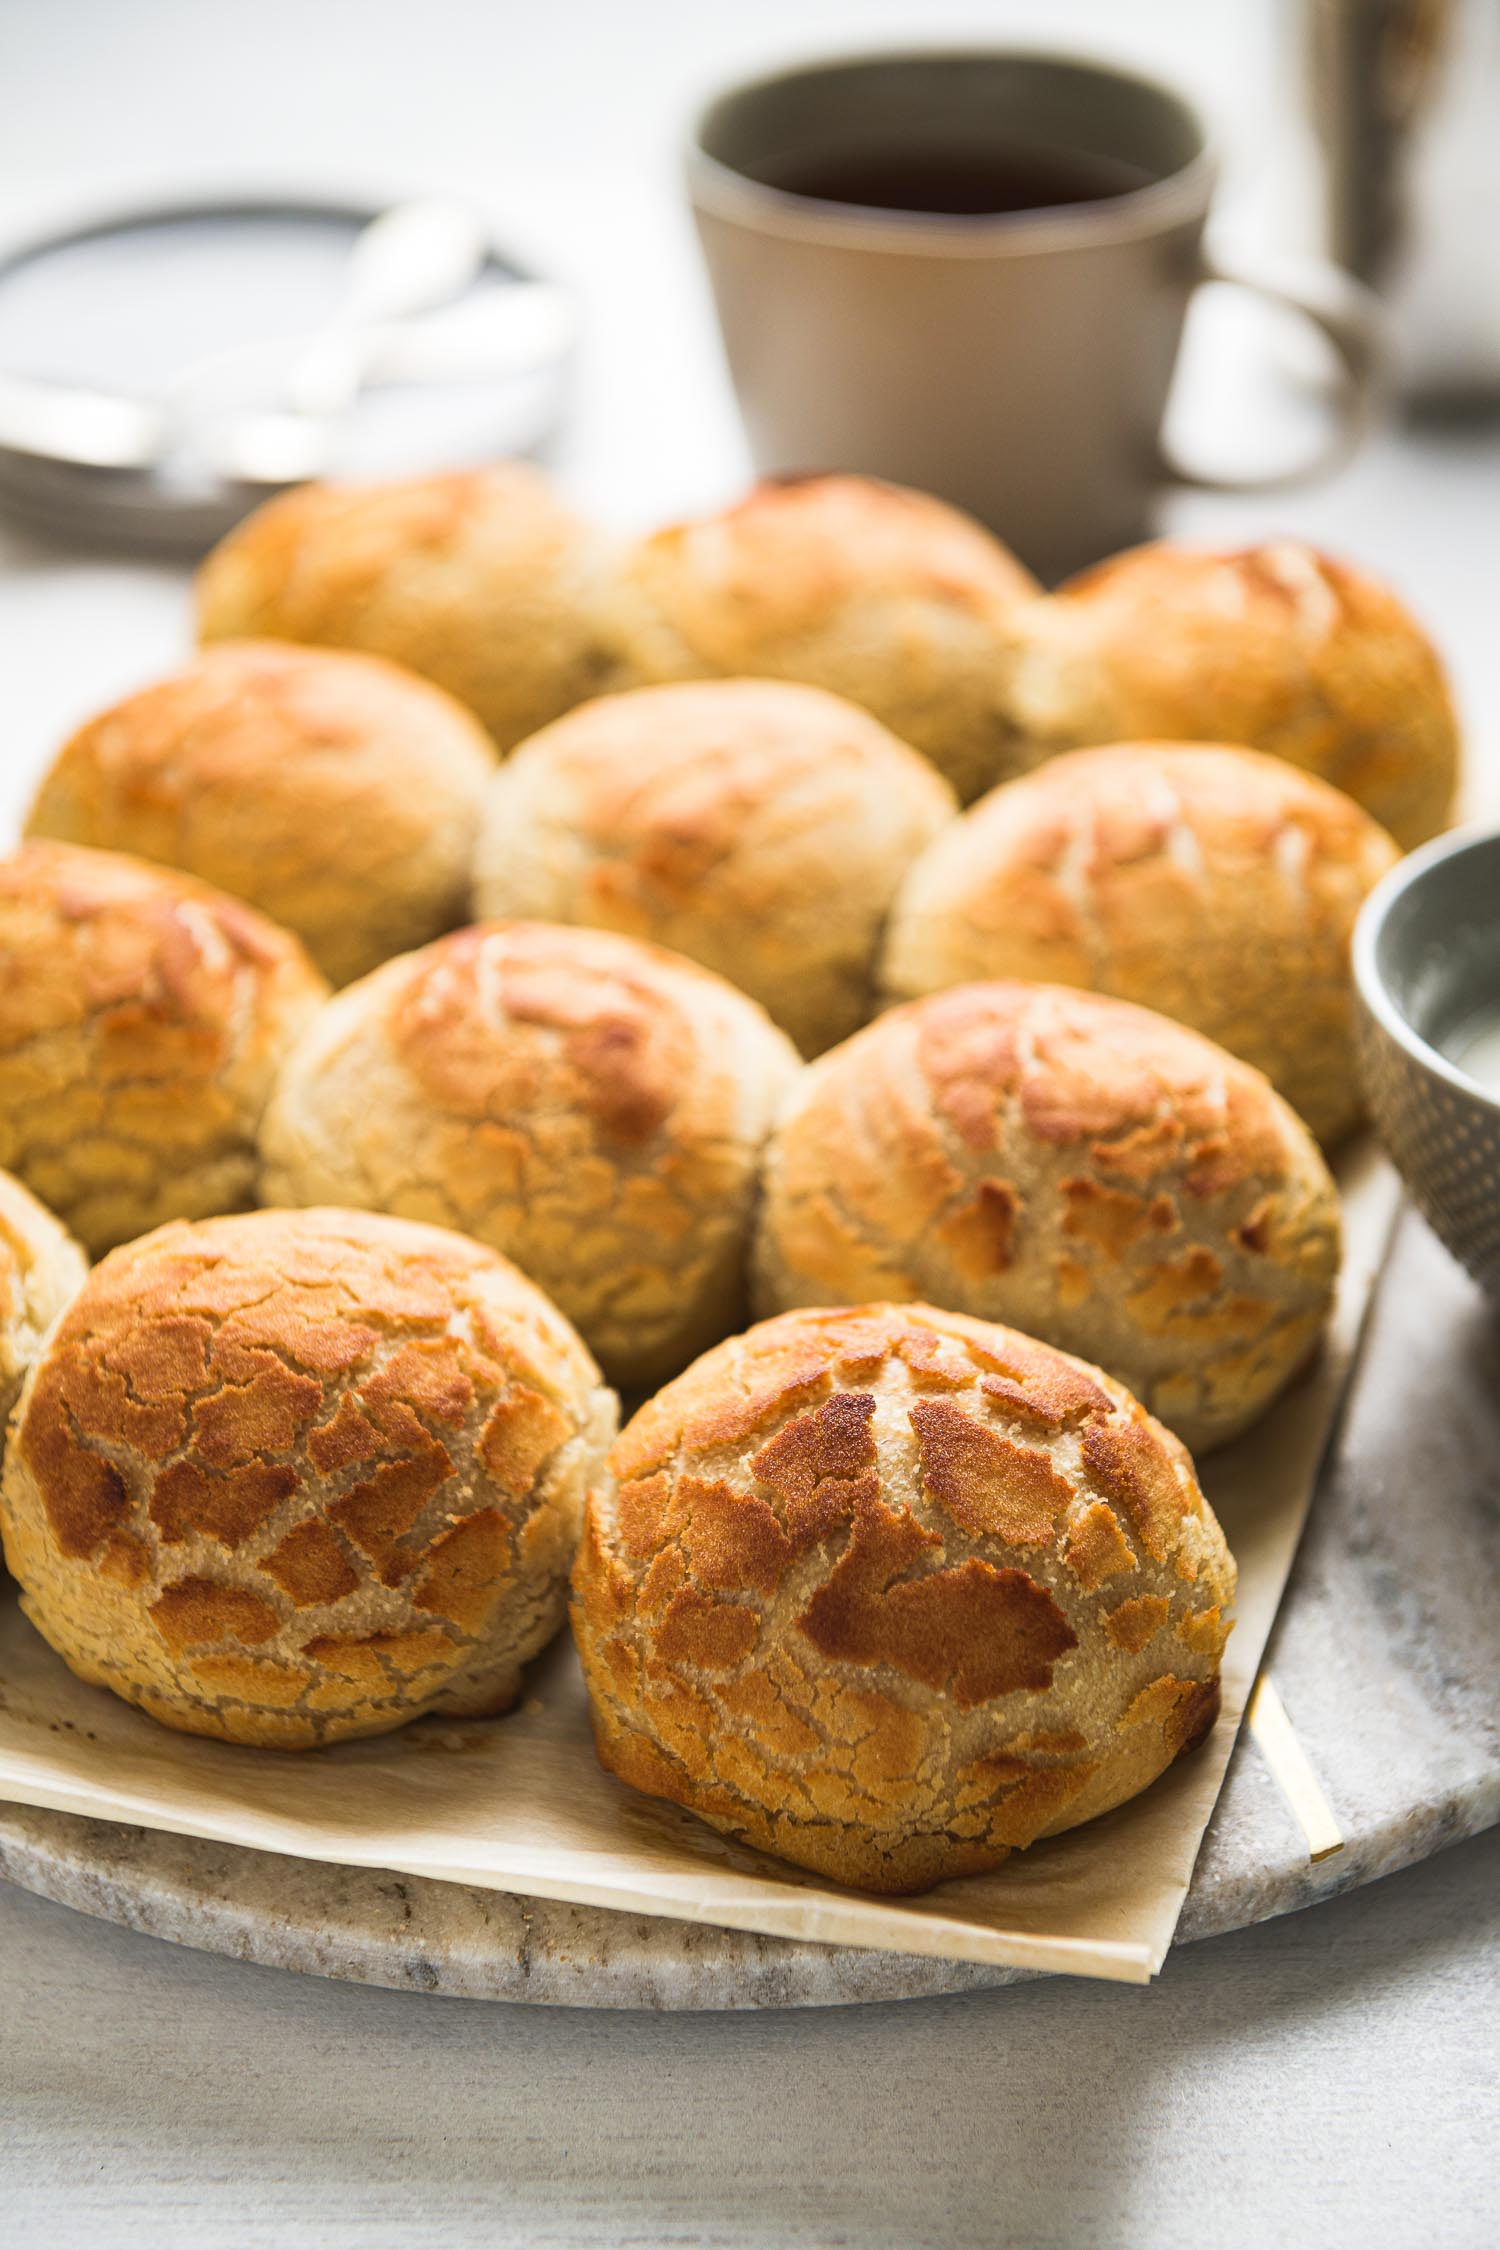
But as much as I liked them, Dutch crunch bread was absent from my life for many years–I moved out of the Bay Area briefly and promptly forgot about them until recently when the bread bin at my neighborhood market beckoned to me and I spotted them. Naturally, my first thought was to bake my own, converting them to sourdough of course.
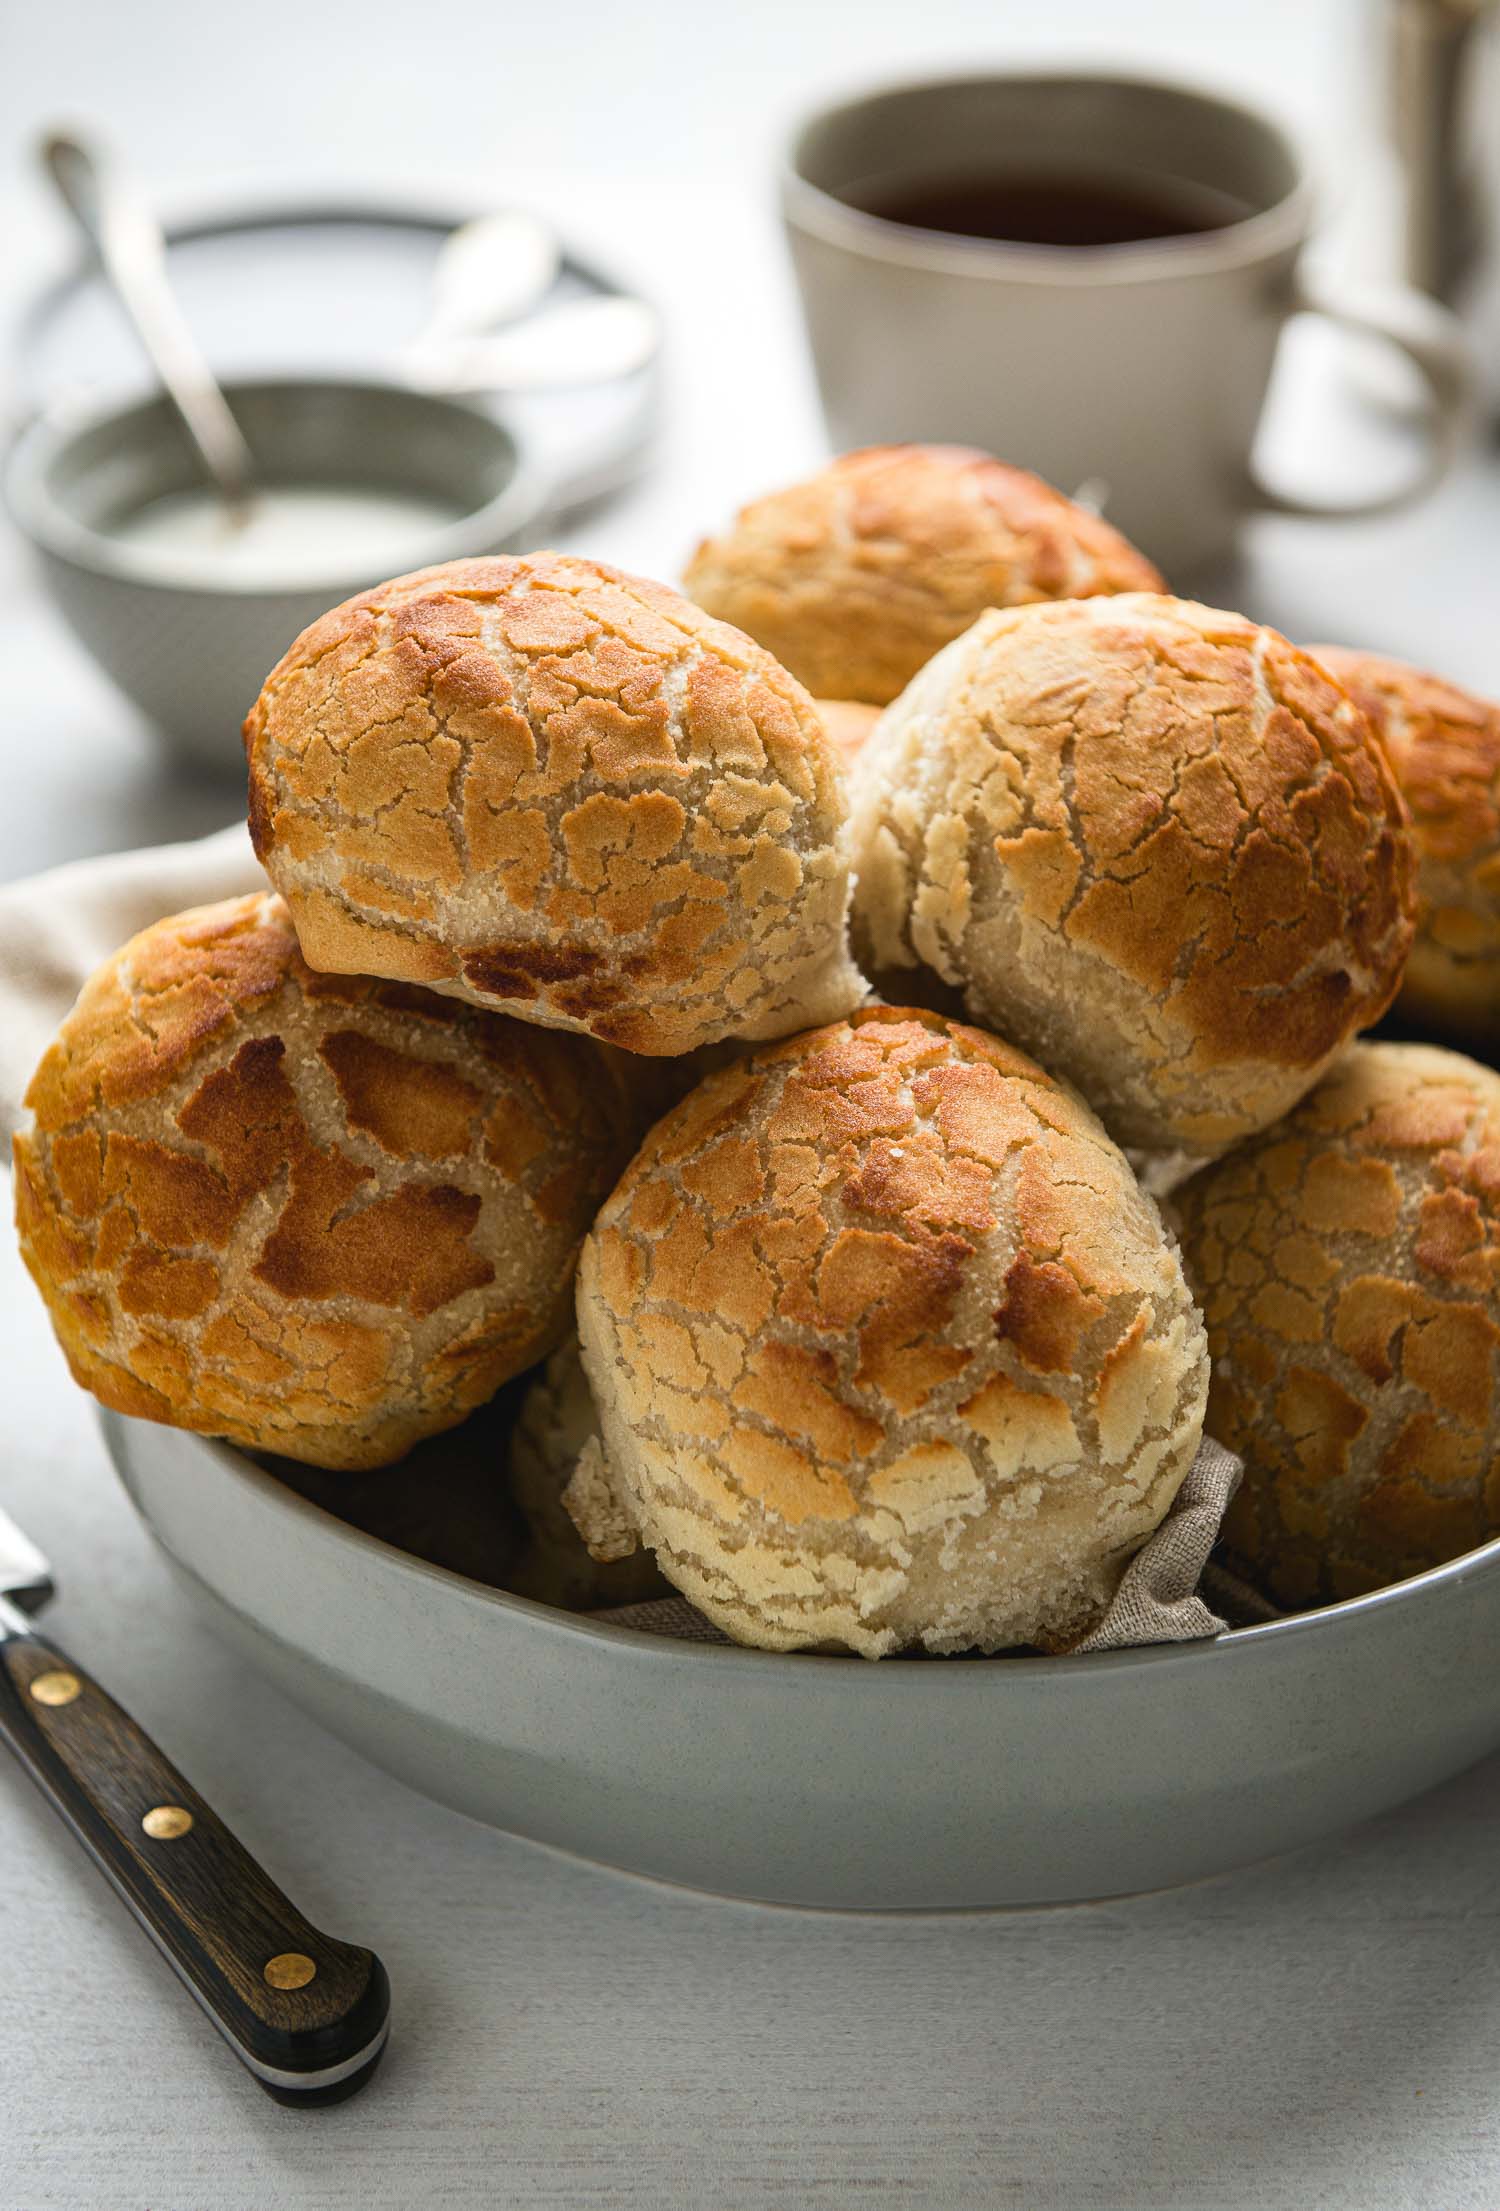
Converting Dutch Crunch Bread to Sourdough
If you’re new to sourdough baking you’ll be pleased to know that making sourdough Dutch crunch bread is just as easy as preparing it with commercial yeast. The ingredients are mixed all at once followed by a few stretch and folds, overnight refrigeration, shape, second rise and bake. Apart from forming the rolls there’s very little hands on time and the process is split over two days. More importantly, after preparing two batches of these rolls and comparing them to a store-bought sample, my sourdough versions were easily tastier. I was surprised myself. And you can freeze them. They really are wonderful for sandwiches.
One thing to note is that you don’t completely eliminate the need for commercial yeast. While the bread dough is naturally leavened, the rice flour topping that is responsible for the crackly exterior does require commercial yeast.
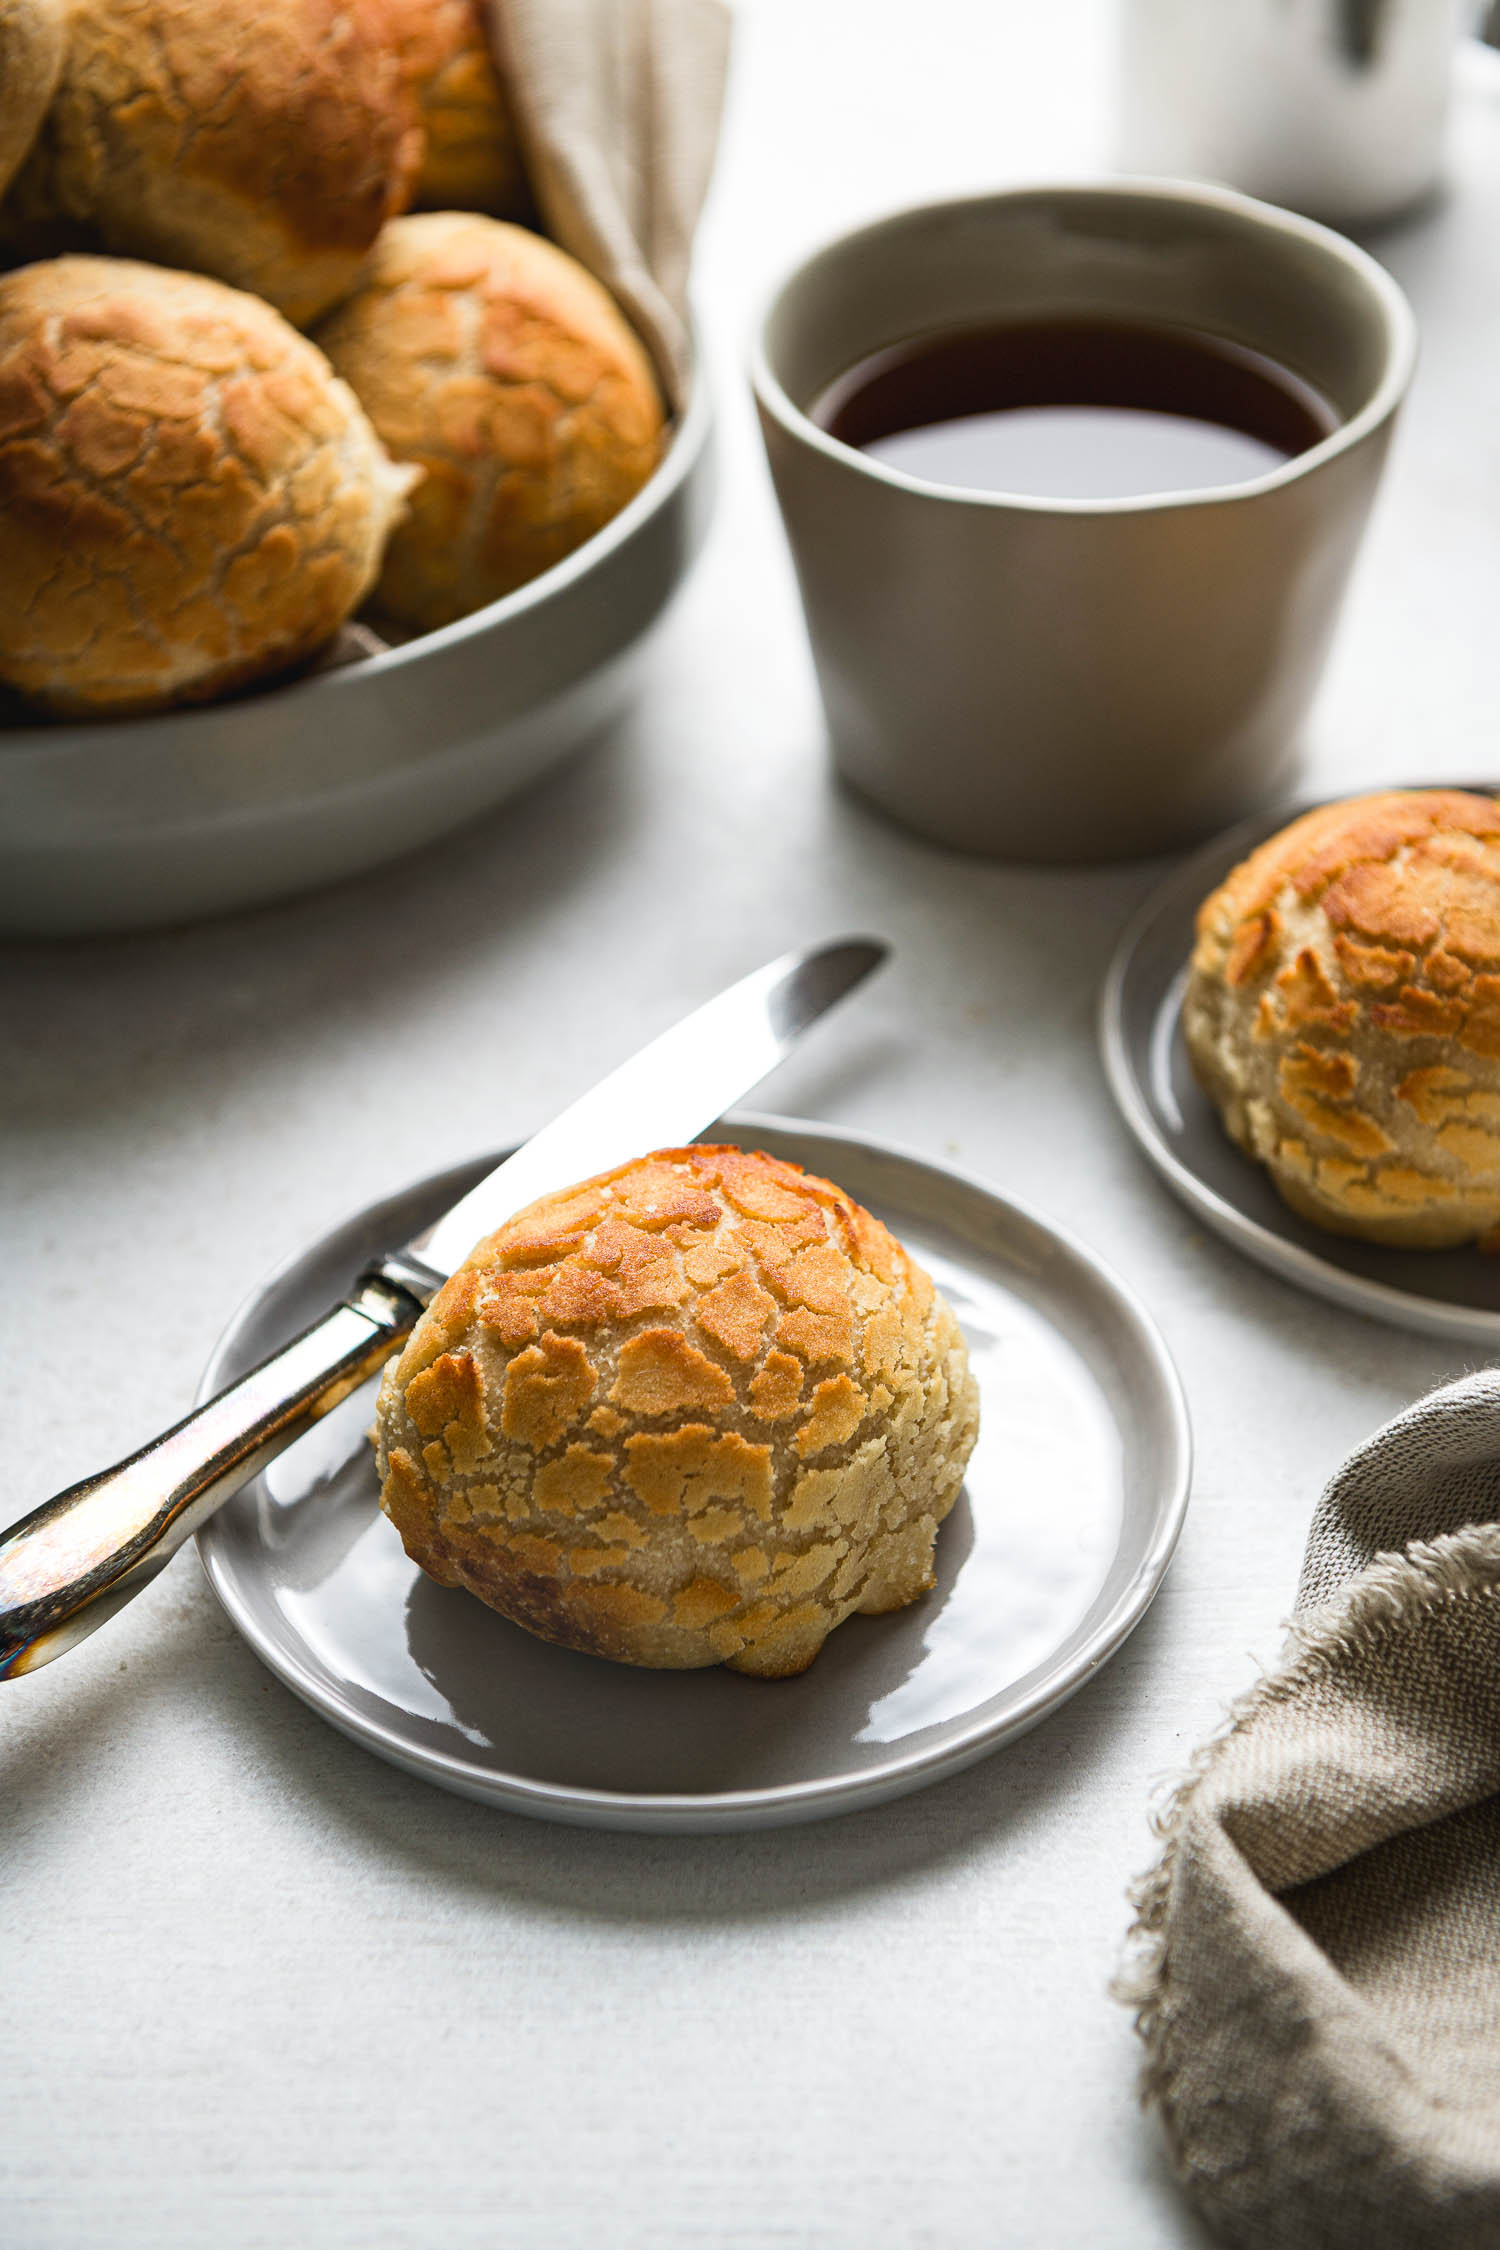
Sourdough Dutch Crunch Notes
- For the rice flour topping, tradition calls for using sesame oil but my recipe here omits it. Feel free to replace half of the oil amount with sesame oil.
- The rice flour paste proportions I used were borrowed from Foodgeek’s video here and it works very well. You may not need all of the paste and my tip is to be very generous when applying it to the rolls for more pronounced cracks on the surface.
- The liquid component of this recipe calls for milk and both dairy and nondairy options work well.
- This recipe calls for bread roll sized balls at roughly 85 grams each but feel free to make larger sandwich rolls.
- This dough can be made to suit your schedule. It doesn’t require the same amount of close observation as a regular sourdough loaf. I’ve split the process over two days but you can prepare this in one day if you wish or keep the dough refrigerated for two days and bake on the third day.
- I’ve saved a video in my Instagram highlights showing how to shape the rolls. Please click here.
Sourdough Dutch Crunch Bread
This is a sourdough version of one of my favorite childhood breads–Dutch crunch rolls. They're perfect for sandwiches and a real San Francisco treat.
Ingredients
Dutch Crunch Rolls
- 500 grams bread flour
- 50 grams whole wheat flour
- 345 grams dairy or nondairy warm milk (95ºF)
- 120 grams active starter
- 12 grams kosher salt
Rice Flour Topping
- 7 grams active dry yeast
- 100 grams lukewarm water
- 105 grams white rice flour
- 15 grams brown sugar
- 28 grams vegetable oil (or half sesame oil)
- 4 grams kosher salt
Instructions
-
Day 1, Prepare the Dough: In a bowl combine the bread flour, whole wheat flour, milk, starter and salt. Mix well to evenly incorporate the starter. I recommend starting with the milk, starter and salt and stirring them together before adding the flour. Cover with plastic wrap and set aside for thirty minutes.
-
Stretch and Fold: Perform four stretch and fold sessions in 30 minute intervals, keeping the dough covered with plastic wrap in between. One stretch and fold session is pulling one portion of the dough and fold it over itself, working around the dough, usually, four to six pulls each session.
-
Bulk Fermentation: Bulk fermentation time starts when the starter is added to the dough and will continue after the stretch and fold sessions. Afte the fourth stretch and fold, leave the dough to continue to rise until doubled or nearly doubled. Depending on the dough/room temperature, this could take three to six hours. With a temps in the mid-70s total bulk would be around five hours.
-
Overnight Rest: After bulk fermentation, refrigate the dough (still in the mixing bowl) overnight. This will help with flavor development. (If you can't bake the following day, it's okay to leave the dough refrigerated for two nights.)
-
Day 2, Shape: (Shaping video is saved in my Instagram highlights. Link in Notes section of this blog post.) Take the dough out of the refrigerator and divide into twelve rolls. This recipe makes 12 88-gram balls (feel free to make larger rolls). To shape into a ball, take the edges of your portioned pieces and pinch them together and roll on the counter or by using your two hands. I'll link a video of my Instagram highlights that demonstrates the shaping process. Set the shaped balls on a parchment-lined baking sheet (quarter sheet size or half sheet size), cover with a towel and let rise for another 90 minutes.
-
Prepare the Topping: Preheat your oven to 400ºF. While you wait, prepare the topping. Combine all the topping ingredients but the water. You want a mixture that won't be too thick or too loose so add enough water to create a paste that flows like lava (like macaron or pancake batter). Let the topping sit to give the yeast time to activate while the oven preheats.
-
Bake: When ready to bake, place one or two tablespoons of topping on the dough balls. Spread with a pastry brush to make sure the tops and sides are well coated with the topping. Transfer to the oven and bake for 20-22 minutes or until the tops are golden and crackly. When done baking, transfer to a rack to cool. These rolls can be stored in the refrigerator or frozen to be consumed later.



I definitely need to give this a go!
Hope you like it if you try it!
Is there a way to substitute the active dry yeast for starter or something not bakers yeast?
Hi, Cara. I haven’t tried using starter for the topping so I’m not sure if it would work.