Bibingka (Filipino Coconut-Rice Cake)
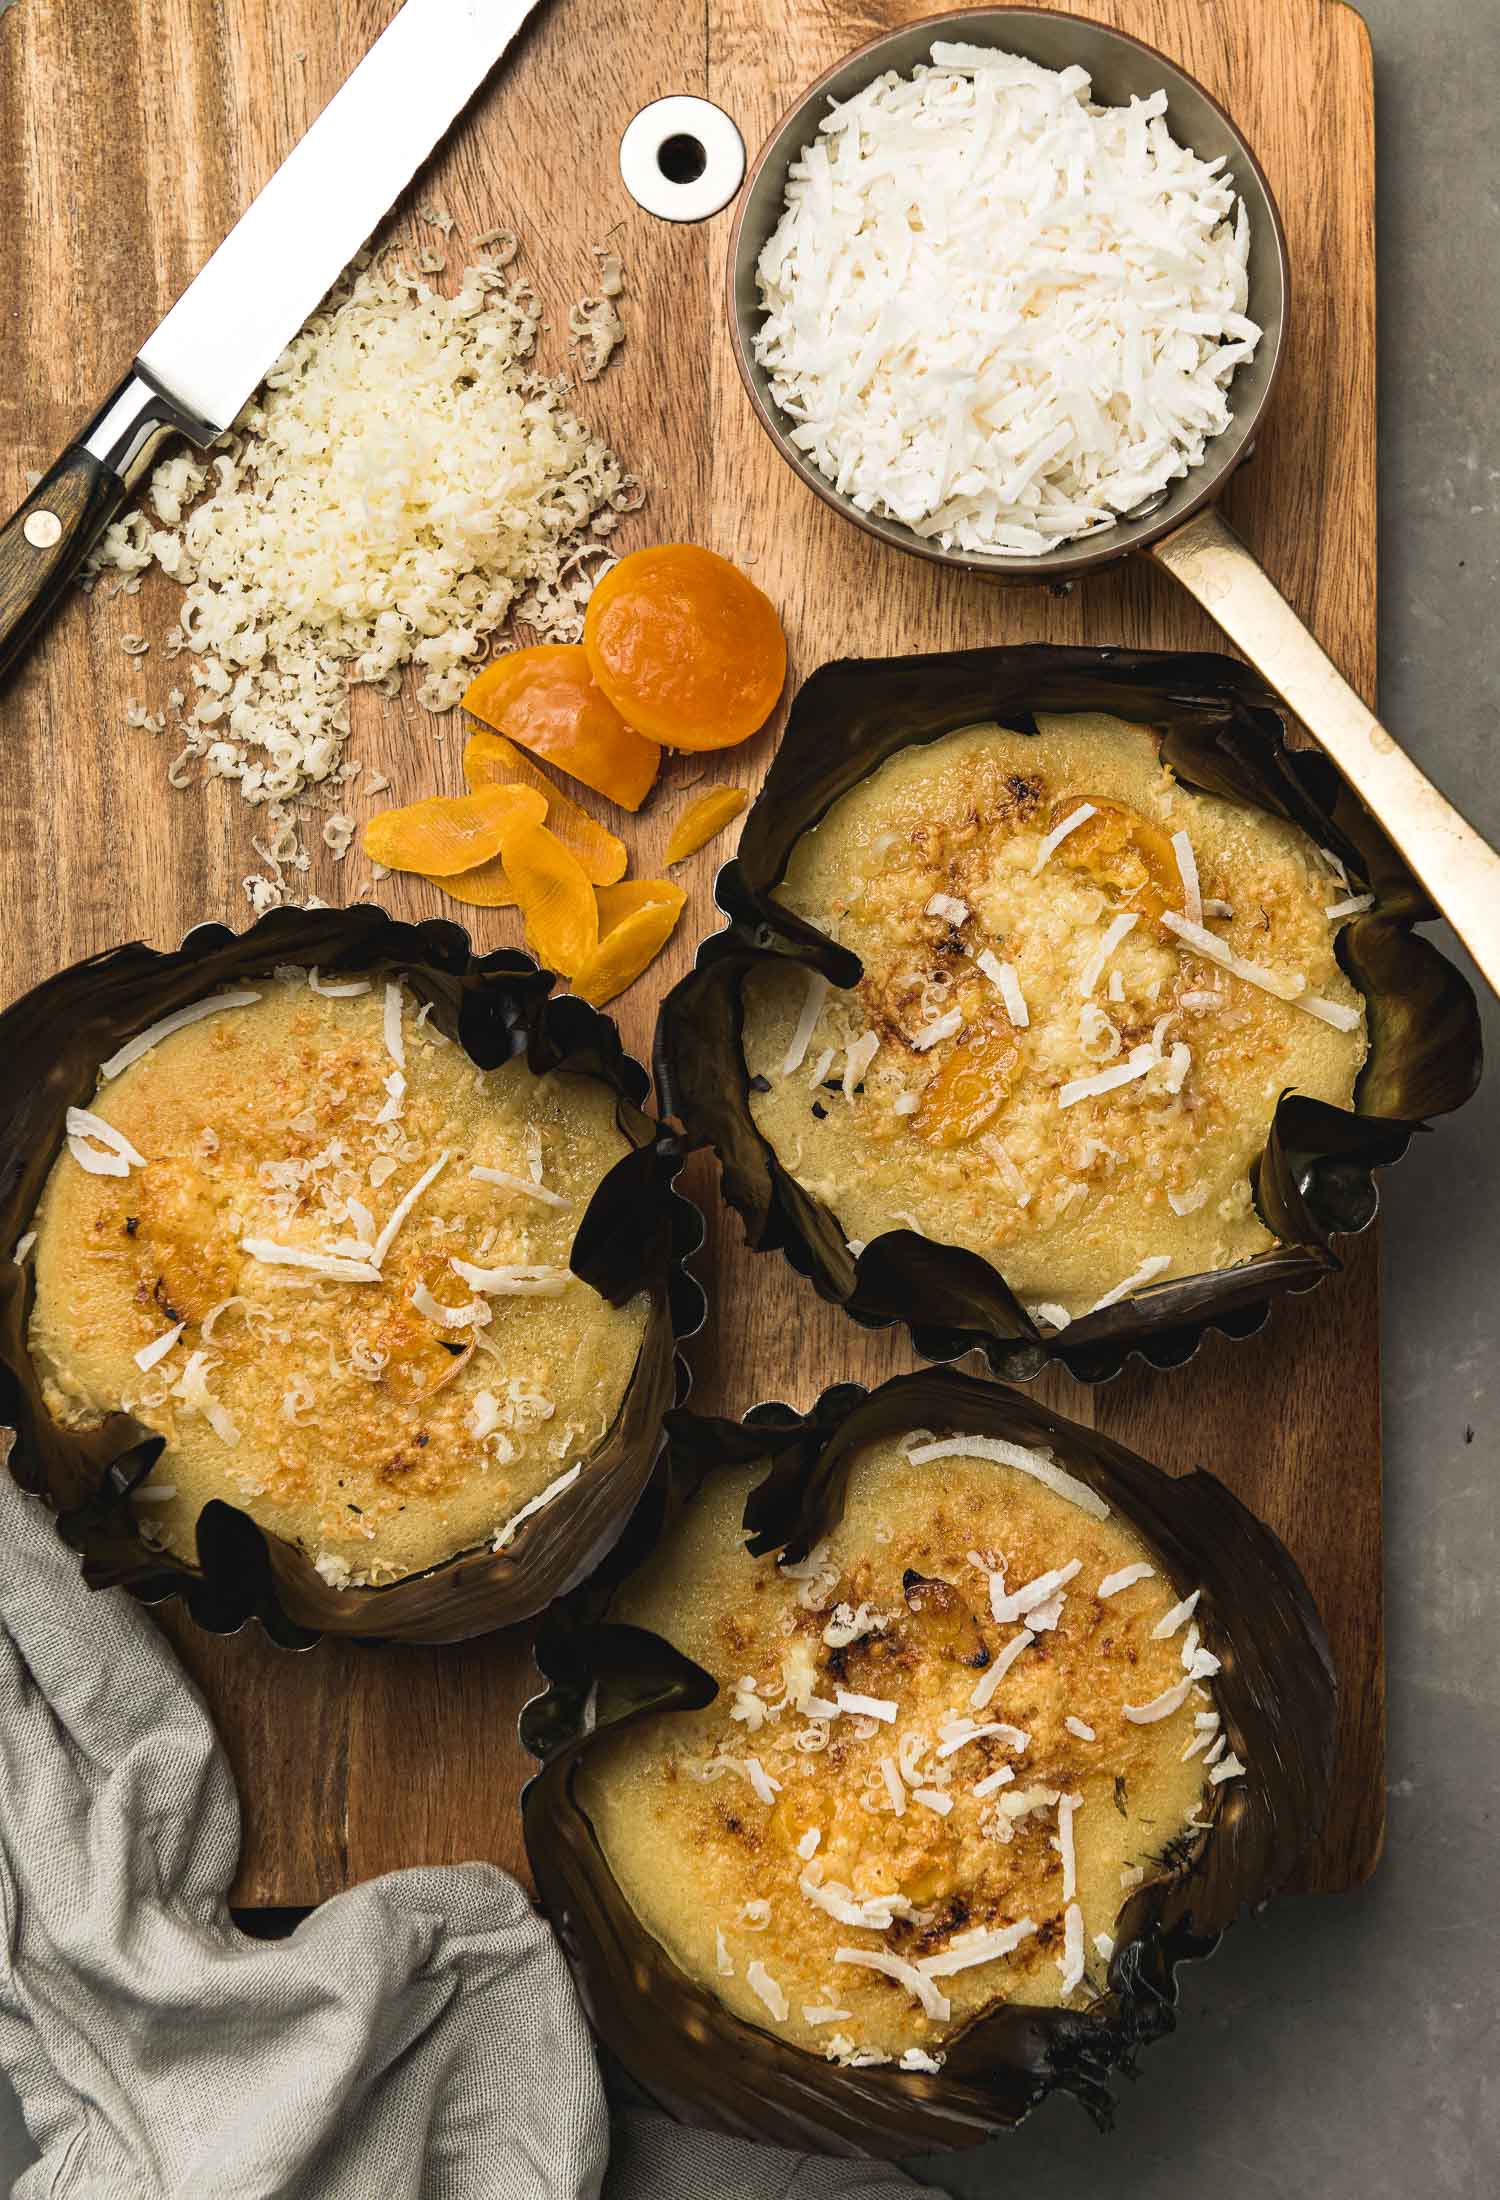
This bibingka recipe yields a lighter, airier cake but with all the buttery, coconuty goodness of the original–fit for celebrating ten years of blogging!
It hardly seems right to be celebrating something in light of what’s going on in the world right now. Since my last post just three days ago things have escalated quickly. And I don’t know if it’s a good or bad thing that I don’t even need to explain…this pandemic is happening to all of us.
The plight of some is worse than others–being infected by the virus, working on the frontlines or losing a job–but we’re all in this together. There’s no denying the scary part of this but in the acts of solidarity I’ve experienced here and there, I see sweetness and hope, too.
We will get through this. ( I realize I’m probably saying this more to myself than to you.)
Until then, we shall hunker down and do the best we can to keep ourselves and our loved ones safe. I continue to bake, crossing items off the list of baking projects I’ve been meaning to tackle for a long time.
And going back to celebrations…this blog is ten years old today. Ten! Can you believe it? On March 17, 2010 I published my first post. I had delayed for two years, thinking I had no business managing a website until I discovered this thing called WordPress so I set up an account and here we are.
Hundreds of recipes later, after embarking on some personal baking/cooking challenges I decided to return to my roots a few years ago and share more of the traditional Filipino foods I grew up eating. So what better recipe to share today than a classic Filipino cake typically served during a time for celebration.
What is Bibingka
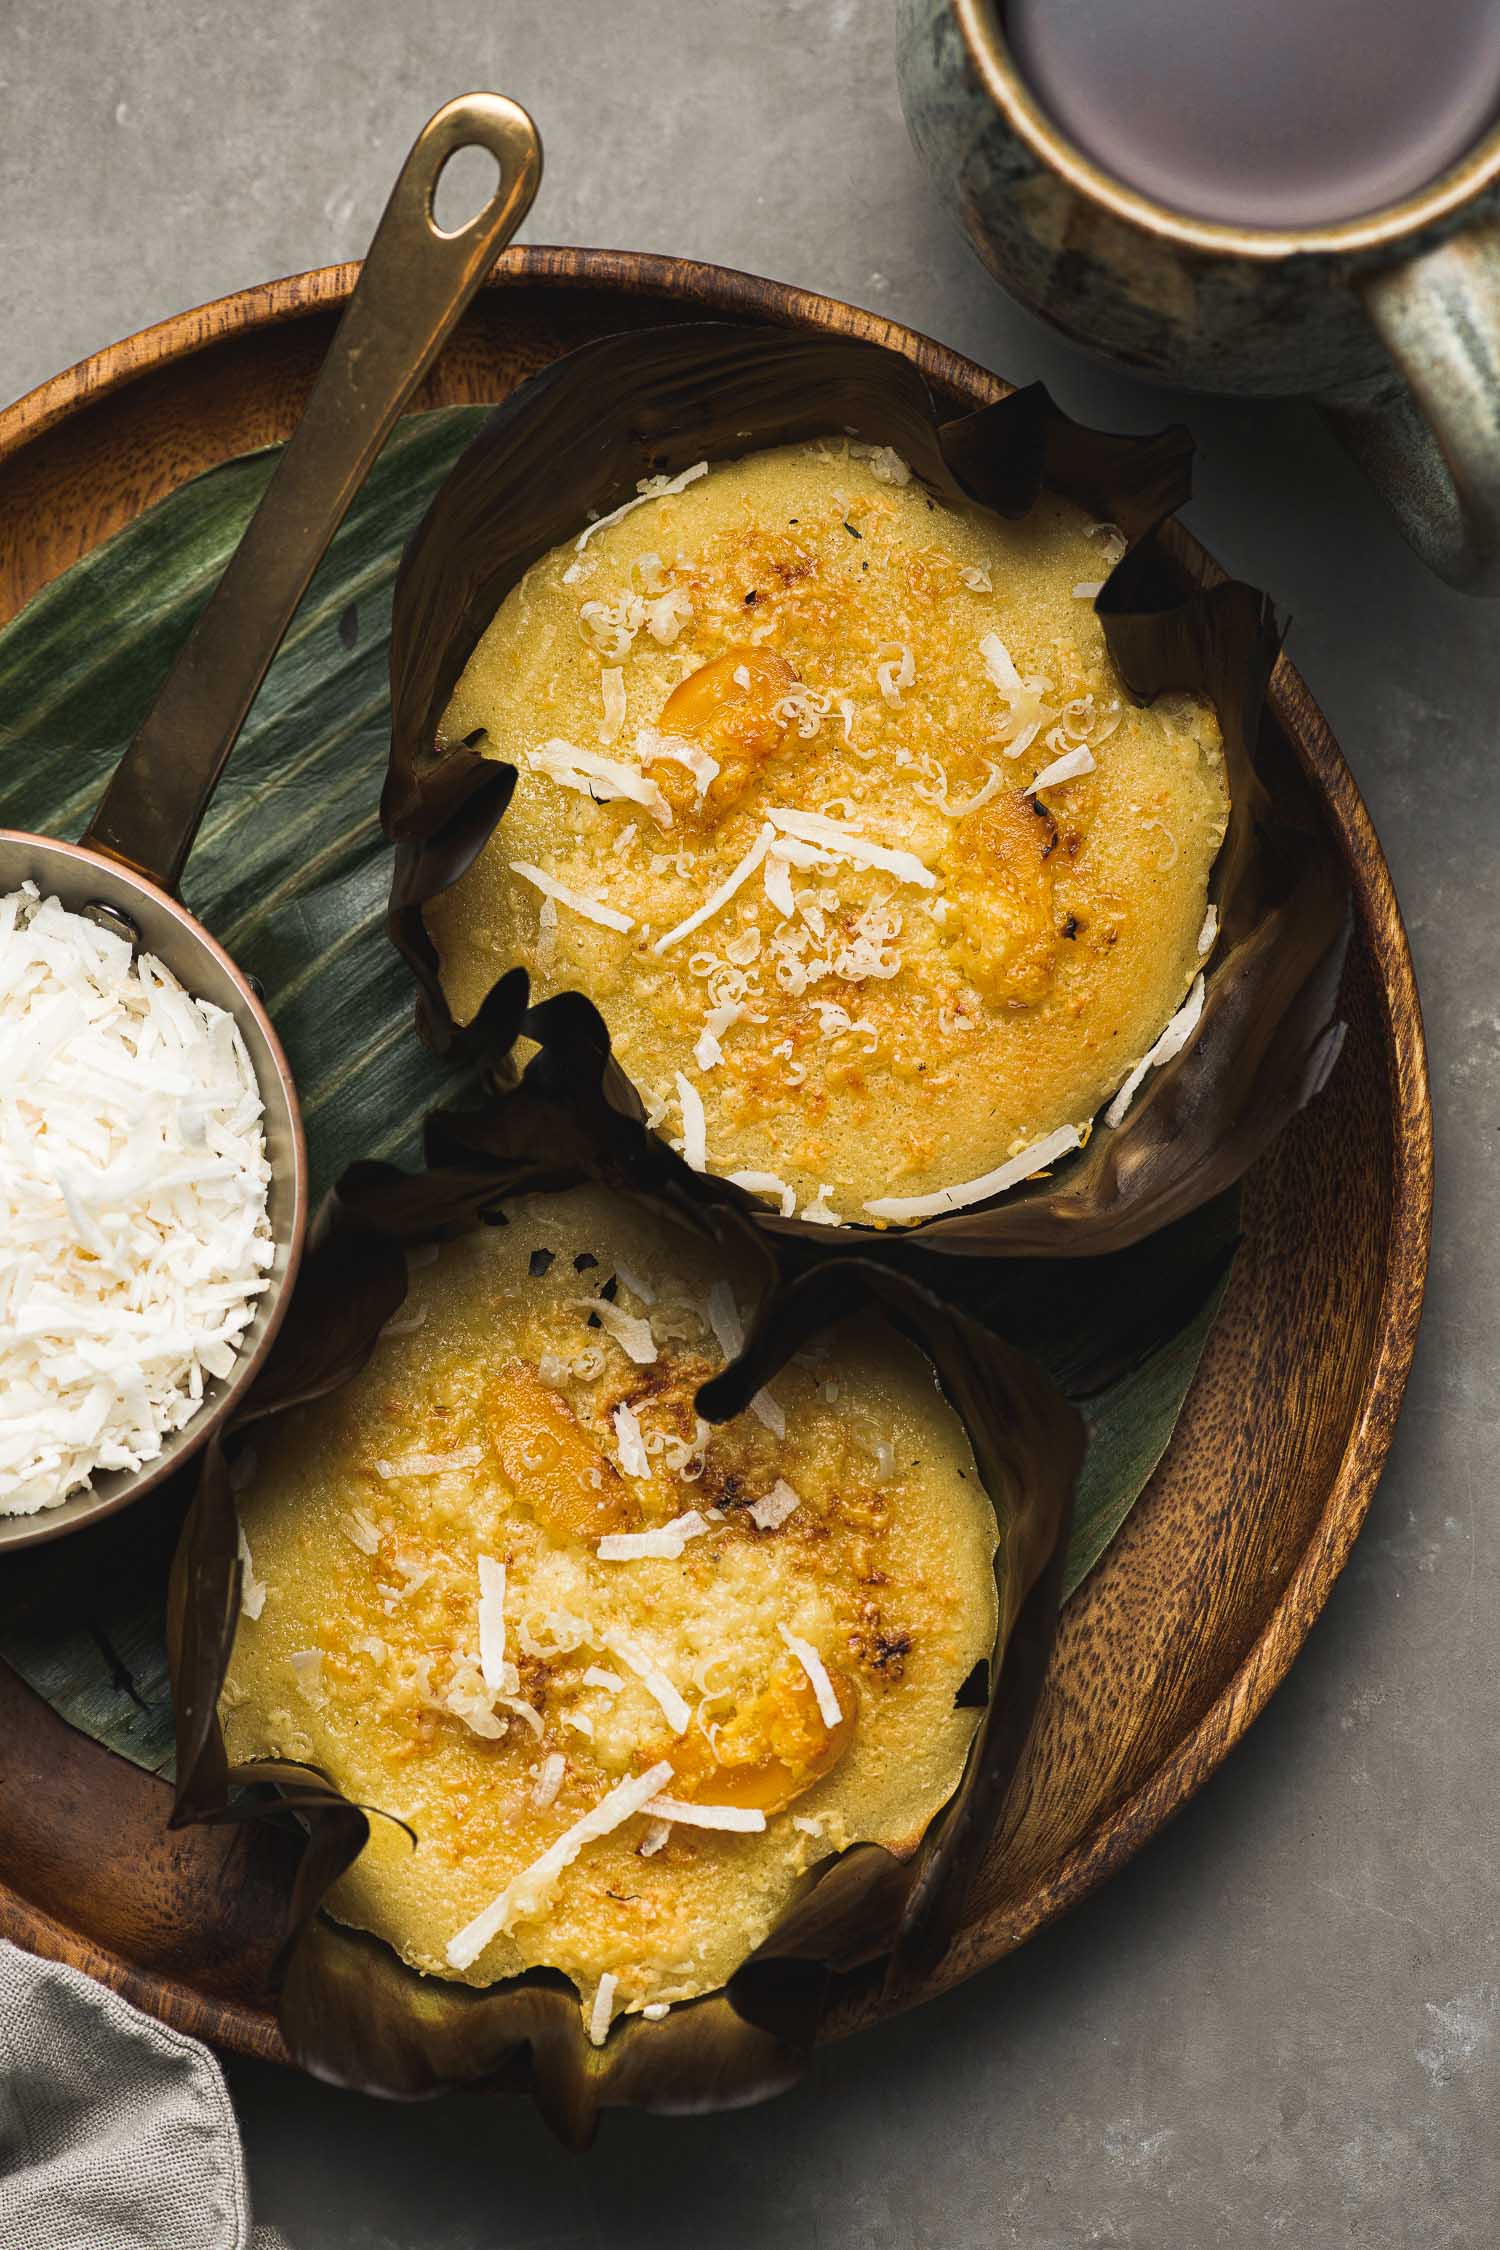
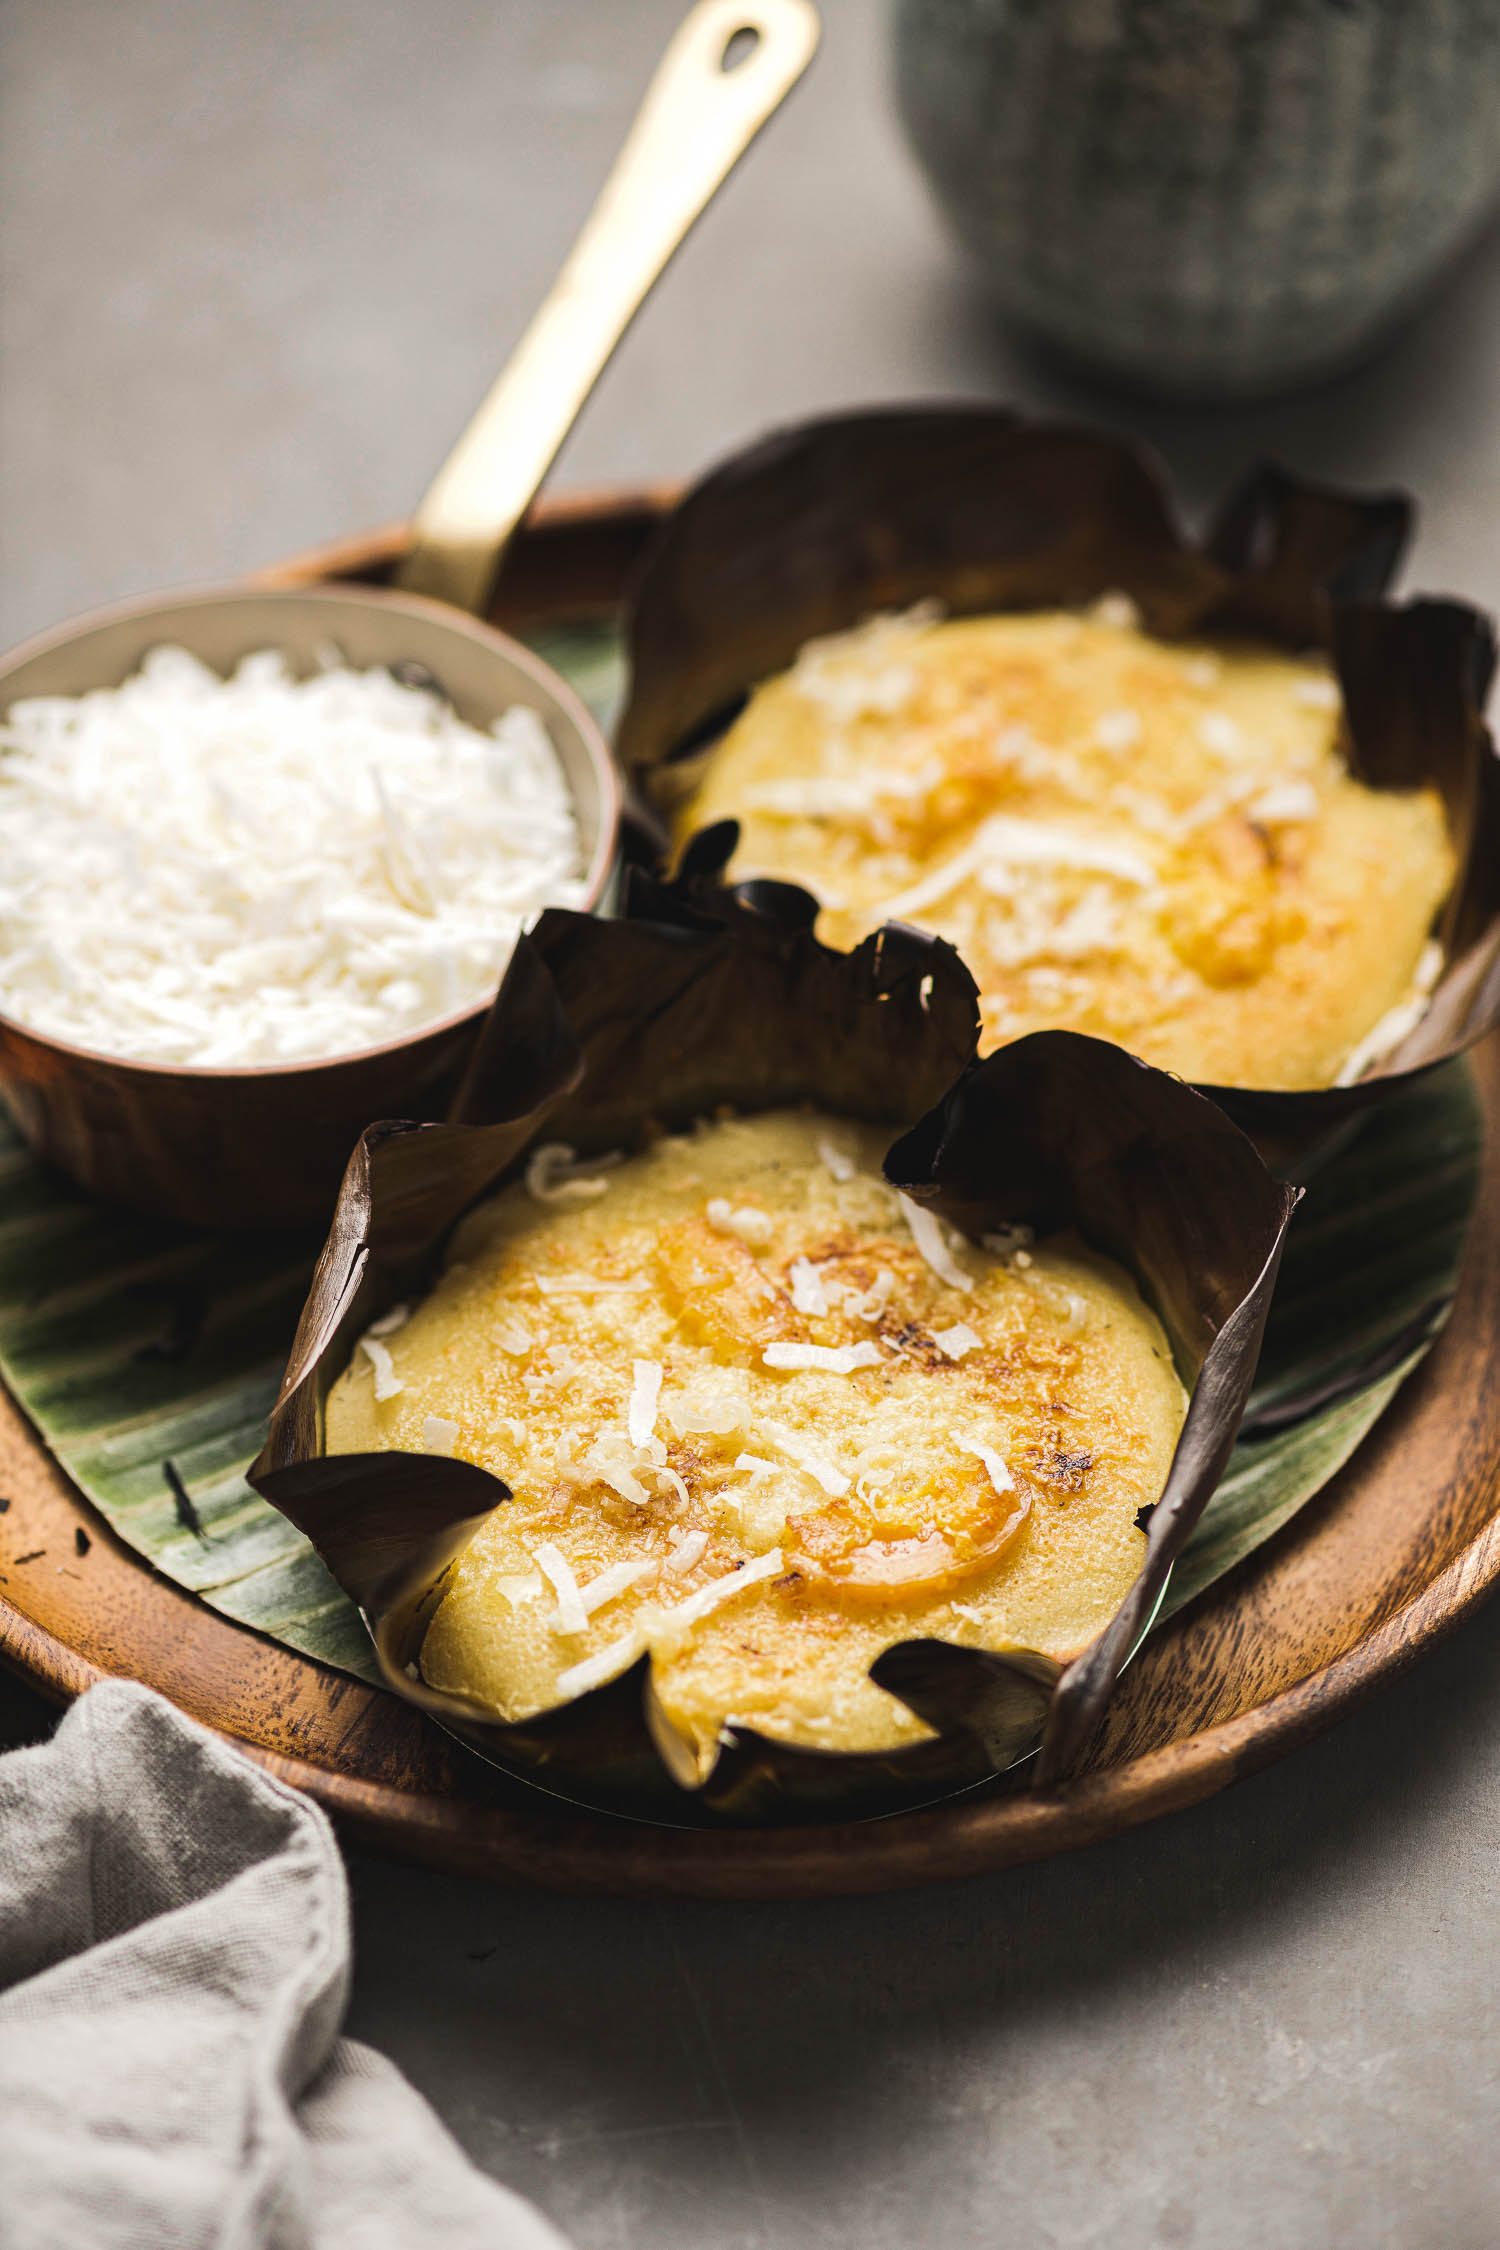
Bibingka (bee-bing-ka) is a simple Filipino cake made with rice, butter, eggs, sugar and coconut milk and topped with cheese, salted duck egg and grated coconut. Glutinous rice flour is more commonly used today but traditionally, rice was soaked overnight and ground. Originally, individual cakes were baked in clay pots lined with banana leaves (to infuse flavor into the bibingka) but these days it’s perfectly acceptable to use an oven.
Bibingka falls under the category of kakanin, any Filipino delicacy made with glutinous rice.
The cakes are most popular around the holidays but these days they can be found in Filipino bakeries throughout the year.
Not all bibingka are topped with slices of salted duck egg or kesong puti (a mild, slightly salty white cheese) but if you want to go all out it’s the one to choose. For someone like me who likes salty and savory together, biting into a warm bibingka, sweet and coconut-y with bits of savory, salty egg and cheese, it’s the best of both worlds. If you’re doubtful, as a testament, my non-Asian husband who is normally not a fan of coconut or salted eggs, raved about this little cake.
How to Make Bibingka
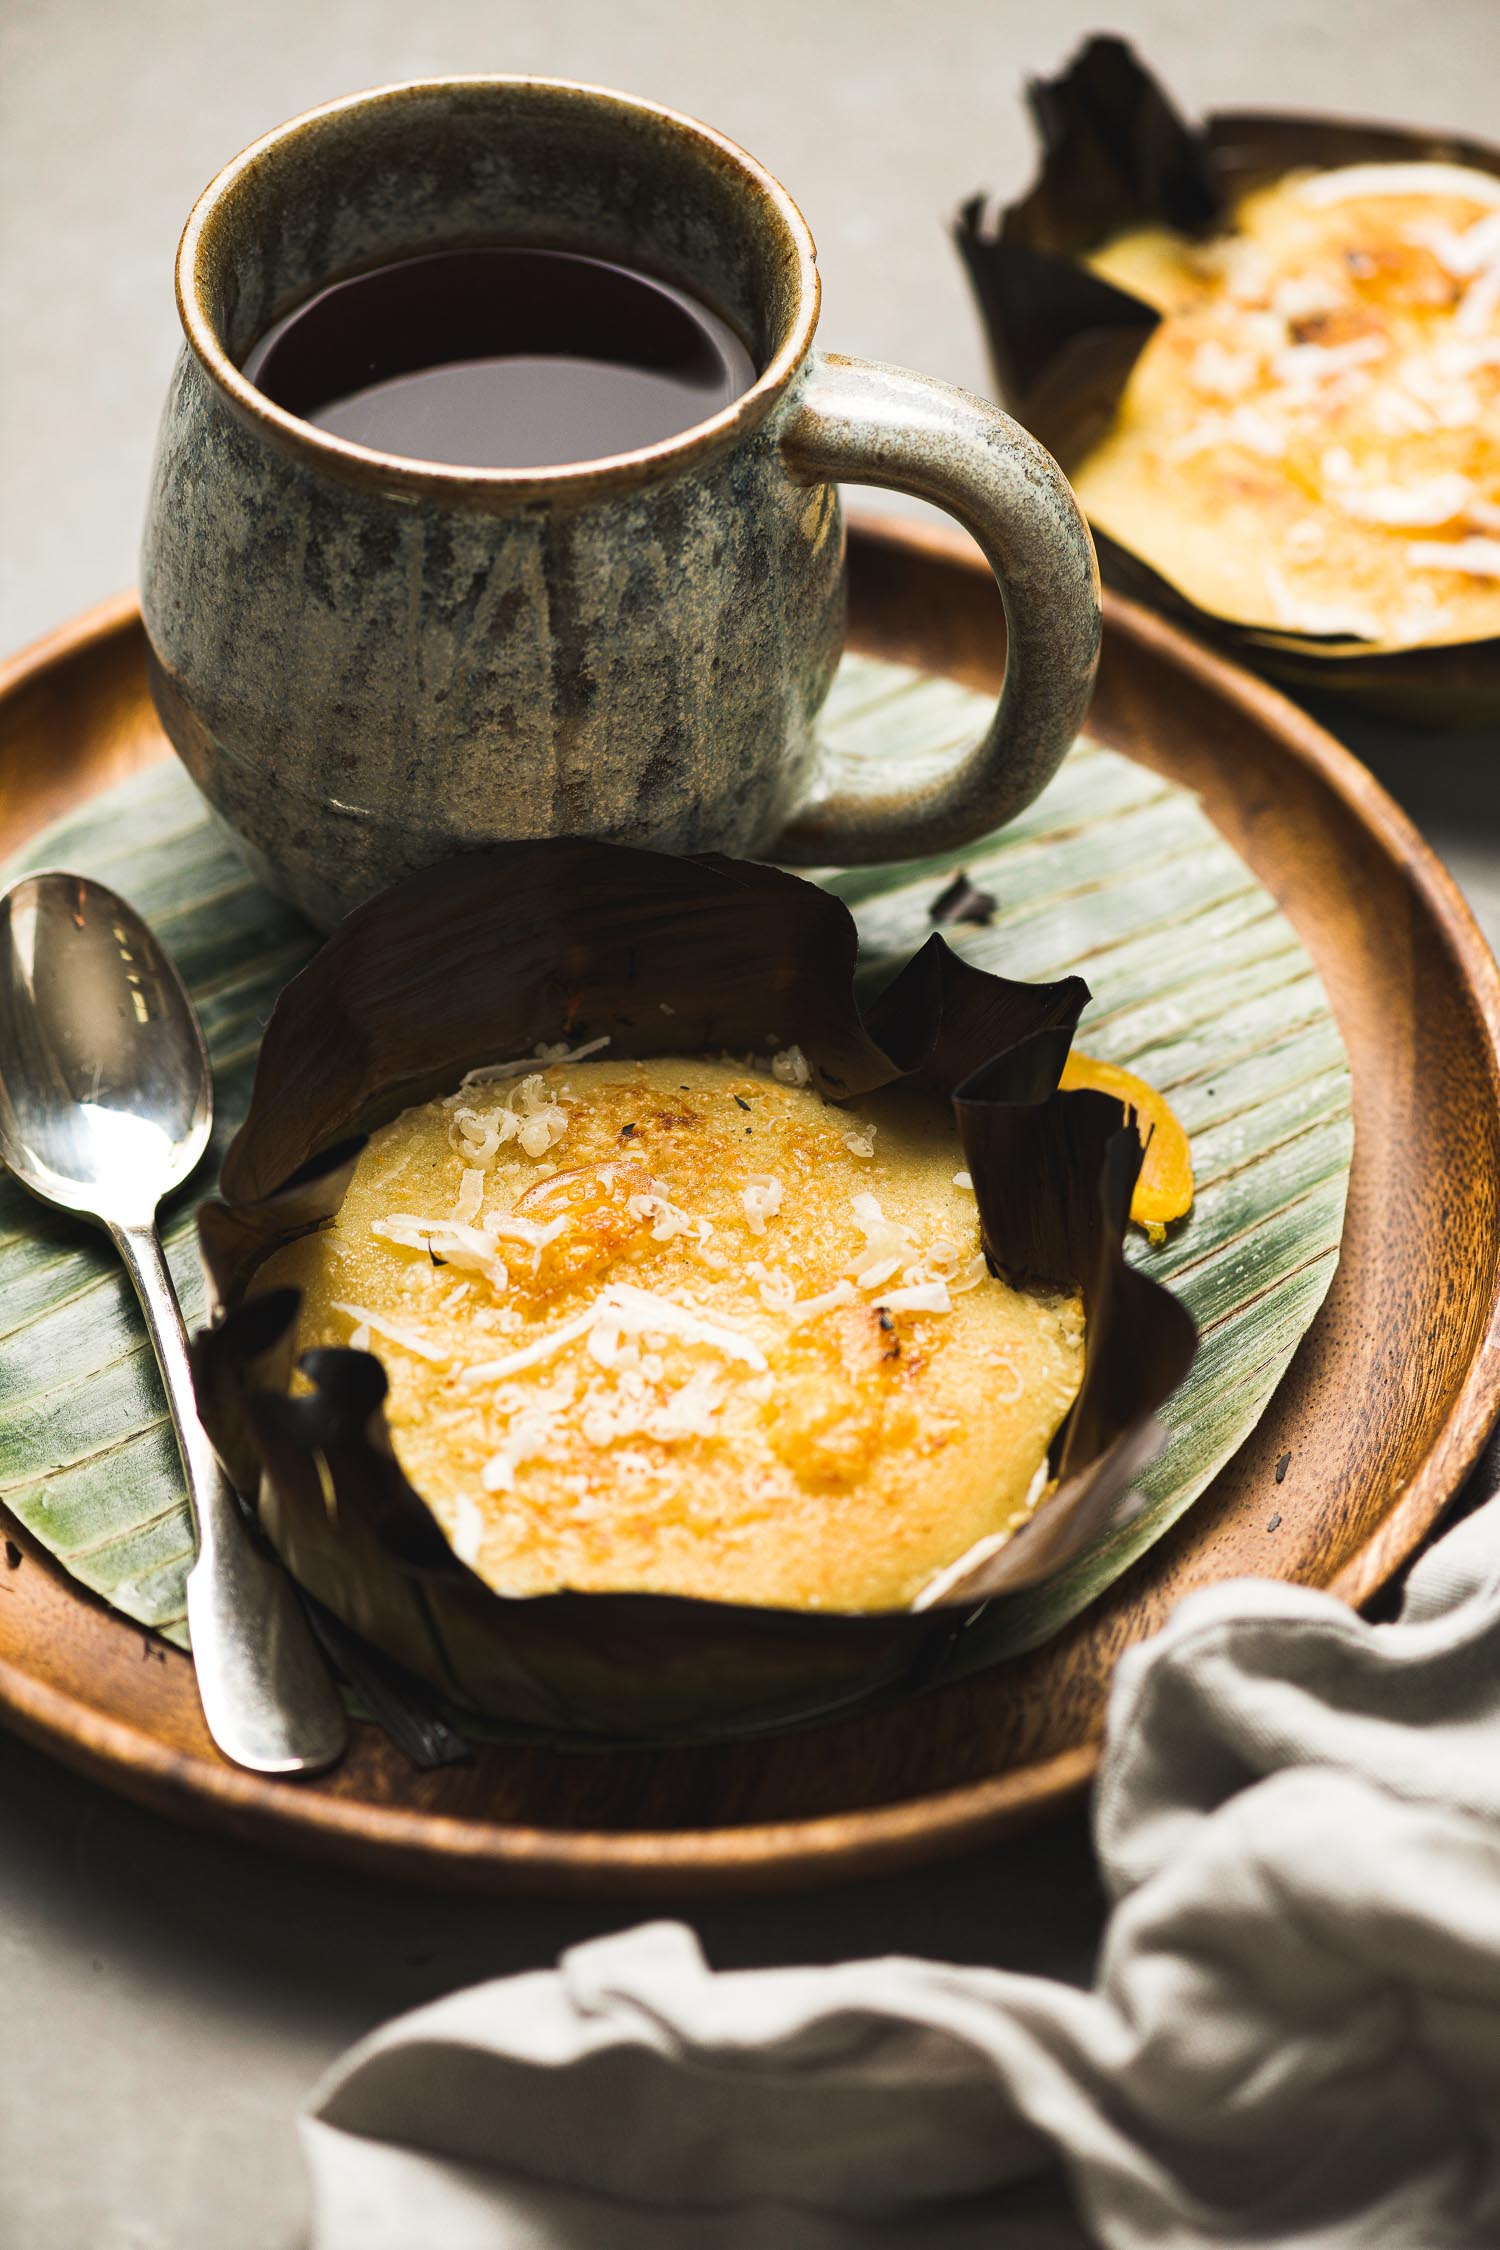
Bibingka are easy to make at home; you don’t need a mixer or other special equipment. I just stir together all the ingredients in a bowl and bake. The most complicated part might be sourcing banana leaves or salted duck eggs if you don’t have access to a well-stocked Asian market but they are not absolutely necessary. In fact, you’ll see in these pictures and the recipe below that I used my salt-cured egg yolks to top my bibingka.
My Bibingka Trials
For me, a good bibingka is not overly sweet; it should be buttery with just the right amount of coconut flavor and for its texture to still retain some of the coarseness of rice flour without being too heavy.
My first batch had good flavor even with the use of reduced-fat coconut milk but the greater proportion of rice flour produced a dense bibingka which I couldn’t enjoy or recommend. Eventually I found that a 50-50 mix of glutinous rice flour and all-purpose flour yielded a lighter, airier cake. And I did away with the low-fat ingredients. With eggs and butter already in the recipe it didn’t make much difference to save calories on the milk so I went with the full-fat version.
I reminded myself that this is a celebration cake, after all.
(For my baking tips and notes, please scroll down.)
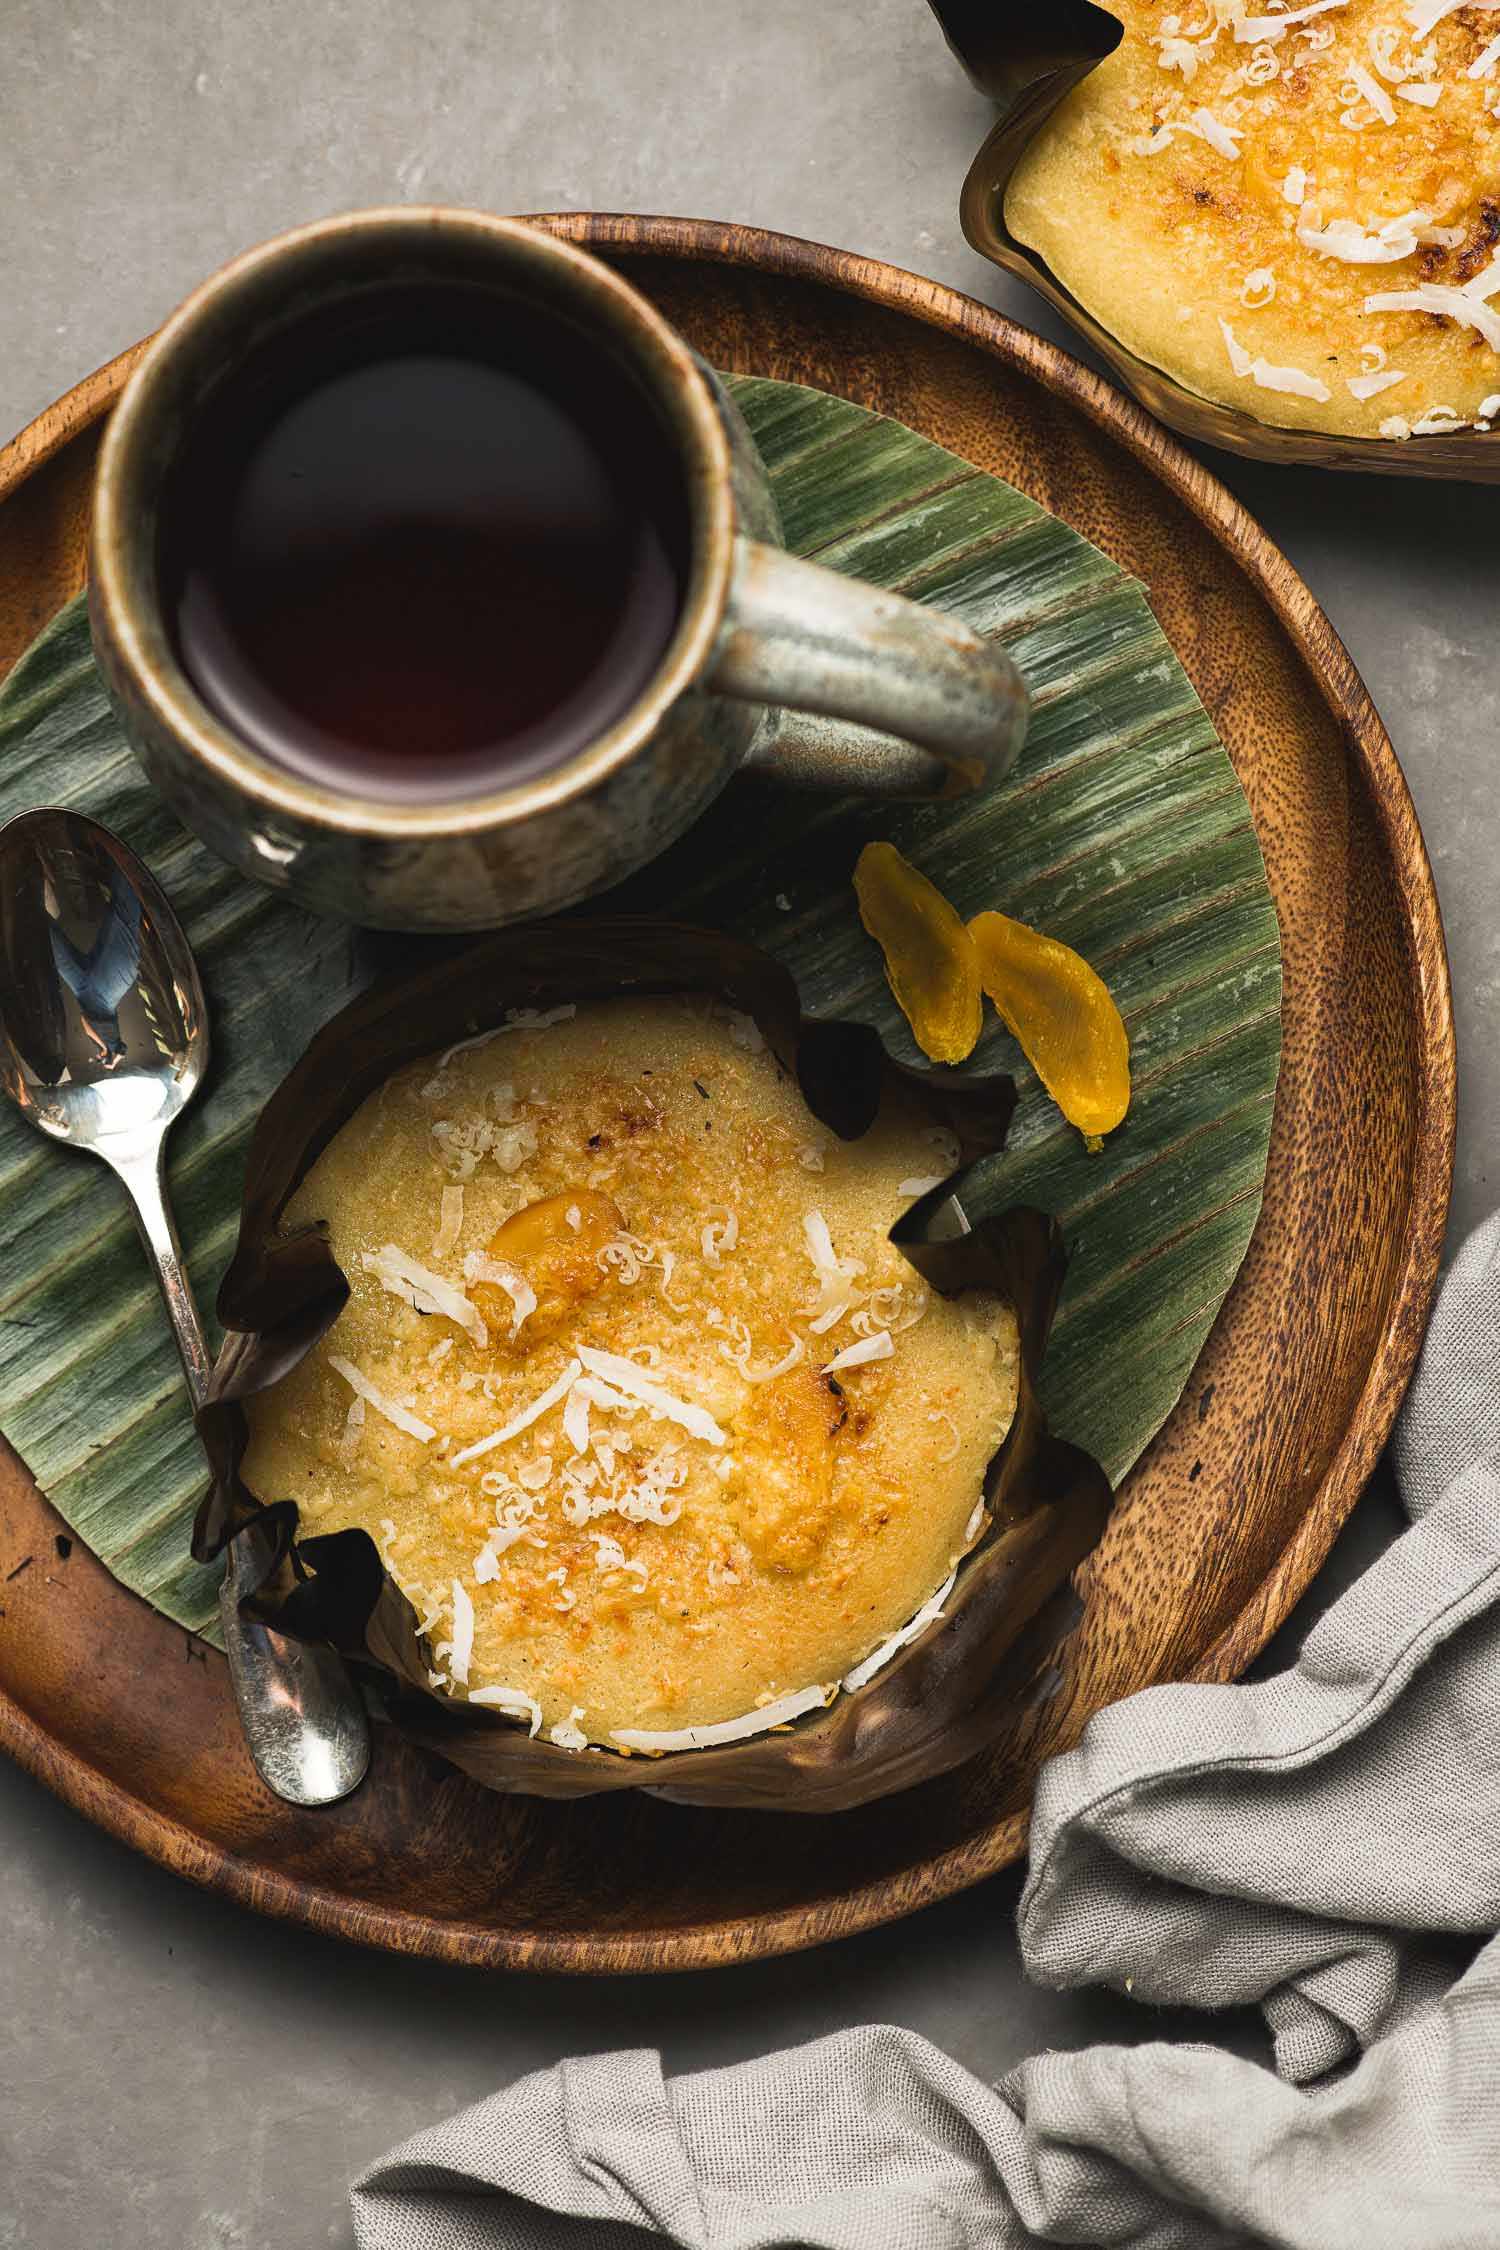
Bibingka Tips
So here are my tips for making bibingka easier in your own kitchen.
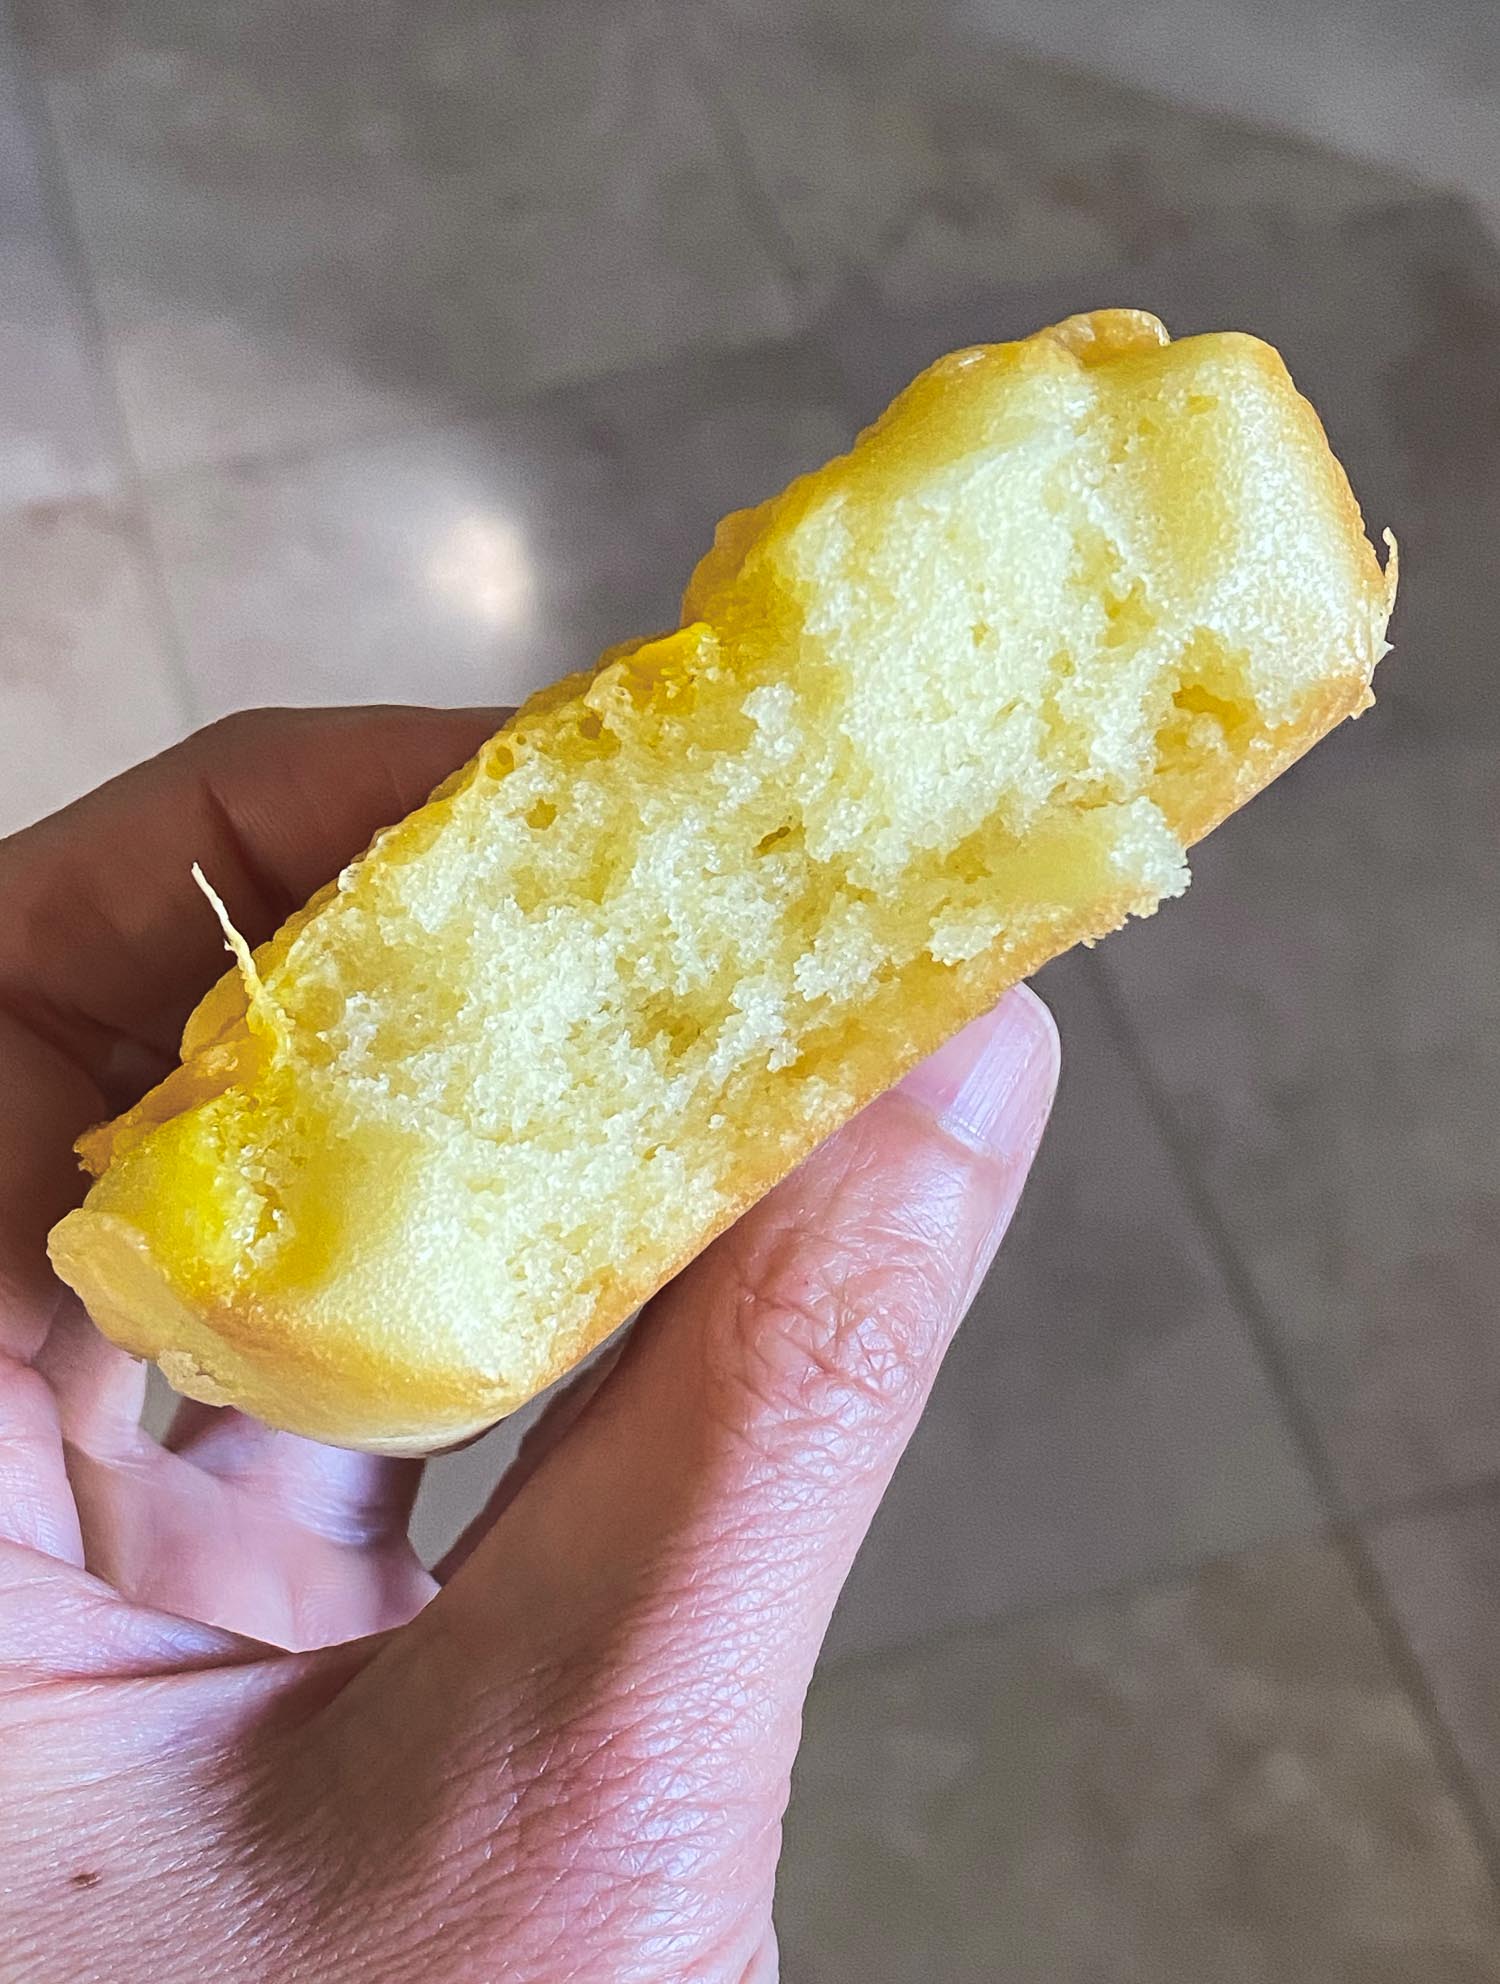
- Rice Flour: There are two types of rice flour–those simply labeled rice flour that are made with medium or long grain rice and those labeled glutinous (or sweet) rice flour made with short grain rice. Both are gluten free and the latter is not sweet but this is what is recommenced for bibingka. My addition of all-purpose flour yields a softer, lighter cake (see last picture below).
- Banana Leaves: Banana leaves are sold in packages in the freezer aisle of your local Asian market. Once defrosted they are cut to size and held briefly over a fire (my gas stove) until they’re bright green and glossy to make them more pliable and easier to set inside a mini tart or brioche pan for baking. Banana leaves add visual appeal but you can omit them since most of us will use an oven rather than a clay vessel.
- Salted Eggs: You don’t absolutely have to have salted eggs in bibingka but if you would like to use them and your local market doesn’t have them (their shells are dyed a dark red so they’re easy to spot in the egg section) you can opt to use my recipe for Salt-Cured Egg Yolks.
- Cheese: I use a mild to sharp cheddar in place of traditional white cheese from the Philippines. Gruyere or Parmigiano-Reggiano would work too.
- Grated Coconut: This is traditional but for me, not essential. You can use grated coconut from your regular market, in the baking aisle but I don’t think it’s absolutely necessary.
Note: My trial runs were for half batches of bibingka, yielding only four cakes. I scaled up the winning version here to yield eight little cakes. If you would prefer to bake a smaller batch just halve the amounts of the flours, baking powder, salt and butter listed below. I used .4 cup sugar (a little less than 1/2 cup), 1 1/2 eggs and a 5.6-ounce can of coconut milk. For the full batch in this recipe the sugar amount is entered as a range so you can decide on the level of sweetness you prefer.
Bibingka (Filipino Rice-Coconut Cake)
This bibingka recipe yields a lighter, airier cake but with all the buttery, coconuty goodness of the original.
Ingredients
- 1 cup glutinous (or sweet or Mochiko) rice flour
- 1 cup all-purpose flour
- 3/4 – 1 cup granulated sugar
- 3 large eggs
- 6 tablespoons unsalted butter, melted and cooled
- 12 ounces coconut milk (about 1 1/2 cups)
- 1 teaspoon vanilla extract
- 2 teaspoons baking powder
- 1/4 teaspoon kosher salt (or regular salt)
Toppings
- 2/3 – 3/4 cup grated cheddar cheese
- 2 salted duck eggs or salt-cured egg yolks (optional)
- grated coconut (optional)
Instructions
Prep Banana Leaves (if using)
-
Note: You can also use parchment paper in lieu of banana leaves but if you decide to omit the leaves or parchment make sure you use a baking pan without a removable bottom. This batter is loose.
-
Cut the defrosted banana leaves in squares or rounds larger than the mini tart pans or brioche tins you're planning to use. Hold them over fire (I use my gas stove) until they're bright green and glossy on both sides. This makes them more pliable. Use the leaves to line the inside the pans you are using.
Prepare the Batter
-
Preheat your oven to 375ºF and slide a large baking tray inside the oven as it preheats.
-
In a large bowl, whisk together the eggs and sugar the mixture is smooth and some of the sugar granules have dissolved, about one minute.
-
In another bowl sift together the rice flour, all-purpose flour, kosher salt and baking powder.
-
To the egg/sugar mixture whisk in the coconut milk, melted butter and vanilla extract until combined. Then add the bowl of dry ingredients and stir with a whisk until all the lumps have disappeared. Pour the batter in your baking pans lined with banana leaves, making sure to fill only 2/3 or 3/4 up to the rim. If you are not using banana leaves or parchment paper you can spray your baking pan or brioche tins with baking spray.
Bake the Bibingka
-
Using oven-safe gloves, take the large baking tray that has been preheating in the oven. Arrange your smaller baking pans containing the batter and return to the oven. Bake for about eight minutes. After eight minutes take the baking tray out of the oven and sprinkle the grated cheese on top of the partially-cooked cakes and arrange slices of salted eggs if using. Return to the oven and bake for another eight – ten minutes or until the cakes have set and the tops have started to turn a golden color.
-
These cakes are best served warm. (Although I've found that this lighter, airier version is equally good at room temperature and will keep for two days.)
Recipe Notes
My base recipe is for a half batch, yielding four little cakes and I used half the amounts listed above. For the sugar I used .4 cup (a little less than 1/2 cup) and 1 1/2 eggs. For the full batch in this recipe the sugar amount is entered as a range so you can decide on the level of sweetness you prefer.



Hi!
I’m from San Antonio Nueva Ecija and your bibingka looks like our locally famous bibingka.
I have 3 bags of glutinous riceflour (500g each) in my cupboard. Can I use “all glutinous rice flour” instead of adding APF?
I want to use all of The riceflour before I forget that I have one hehe.
Hi, Justine. Thanks for the geography lesson this morning–I had to look up San Antonio NE to see where it was. 🙂 It’s my understanding that traditionally, bibingka calls for using all glutinous rice flour. However, my first couple of attempts using only glutinous rice flour yielded bibingka that was a bit too dense for my taste to I opted to incorporate some all-purpose flour in my recipe (but this could be due to my lack of experience with bibingka). I think it would be completely fine for you to use all rice flour for this recipe–just a caveat that the bibingka might be a little heavier than the results I posted here. I’m really curious about your local bibingka, though. I bet it’s so good! Please let me know how it goes if you should try this recipe. 🙂
My fave Bibingka recipe! I adjusted some of the ingredients but definitely this one is for keeps! Thank you for sharing!
Wow, I’m so glad you like this recipe, Marissa. Thanks for giving it a chance and I’m so glad you’re enjoying it. 🙂
It’s Christmas morning and I just finished baking (and eating) with my daughter and truly happy with the results. Modifications: Used krusteaz pancake mix 50/50 with all purpose flour, sliced cream cheese toppings, parchment paper, sprinkled sugar on top after baking. Thank you for this recipe, you are awesome!!
Hi, Joann. Happy New Year! What a treat to have had bibingka on Christmas morning and how fun to have made them with your daughter. Love your cream cheese modification and so good to know that pancake mix can be used as a substitute! Thanks for your feedback!
About the flour used for rice bibingka, glutinous rice flour will surely yield a dense cake. Glutinous rice produces a very sticky cake and will not rise properly. Biko, sapin-sapin, bilo-bilo, palitaw and suman (yakap and ibus) use glutinous rice. Traditionally, galapong (ground rice) is used for bibingka and puto. At present, rice flour is available so there is no need to make galapong.