Earlier this year I attended a macaron class at Sur La Table. Next only to tackling homemade fresh pasta and yeast bread, the French sandwich cookies rounded out the “big three” of my to-conquer list in the kitchen. The more I read about them–how challenging they can be and how many variables could affect the finished product–the more intimidated I became about attempting French macarons at home. Naively, I was most concerned about getting the piping technique right but I walked out of that class with new concerns: properly beating the egg whites and successful macaronnage (properly folding the meringue with the dry ingredients). Even so, the class was a huge leap forward, making me feel like the challenge would not be impossible to accomplish. Several months and three attempts later, I finally had a batch that was worthy of sharing.
The main challenge for me? Hollow shells. After reading countless online resources I learned that this was a common problem for new macaron bakers and that I was probably under-baking my macaron shells. So I increased the baking time and, suspecting I was also using too low a temperature, I raised the latter by 25 degrees (Fahrenheit). The third time was a charm, it seemed. Even though I’ve been pleased to see the much sought after “feet” (pied) on my shells they’ve been hollow until this third attempt. This time the shells were crisp on the outside and had a nice chewy center.
One other thing I wanted to improve from my first two batches was the sweetness of the shells. The Sur La Table recipe I had been using was a tad sweet for my taste but I didn’t know how to adjust the ingredient proportions without harming the balance of the final product. Then I found this post and this problem was quickly eliminated. The following formula highlights the almond flavor of the macarons with just the right amount of sweetness:
* Using egg whites as the base, adjust the amounts of the dry ingredients accordingly.
- Egg Whites = 1
- Almond Meal = 1.3 x 1
- Powdered Sugar = 1.6 x 1
- Granulated Sugar = .8 x 1
So if you have 95 grams of egg whites you will need:
- Almond Meal: 1.3 x 95 = 123.5 grams
- Powdered Sugar: 1.6 x 95 = 152 grams
- Granulated Sugar: .8 x 95 = 75 grams
Using this formula will ensure that your proportions will always work no matter what size eggs you use or how large a batch of macarons you make.
I will be the first to admit that these macarons are not perfect…yet. Being so excited about conquering the hollow shell issue for now (I’ve read other bloggers who thought they had permanently solved this problem only to see it again in subsequent batches) it wasn’t until after I had finished photographing them that I discovered that my shells had picked up a little color in the oven. They weren’t hard and didn’t taste over-baked at all but I might try using a silicone baking mat instead of parchment paper next time just to see if that will make a difference.
You might have also noticed that the ganache isn’t perfectly smooth and silky. Not really intending to share this recipe on the blog yet, the filling was just an afterthought. I put together a simple ganache out of dark chocolate, half and half, butter and Chambord. Since half and half has a lower fat content than heavy cream my ganache was still a little too loose to use as a filling after it had cooled. I whipped it to thicken it a little but I got carried away and the ganache turned into mousse. Still not ready to give up I microwaved the mixture for a few seconds to liquify it a bit then whisked it by hand until it was firm again. It worked.
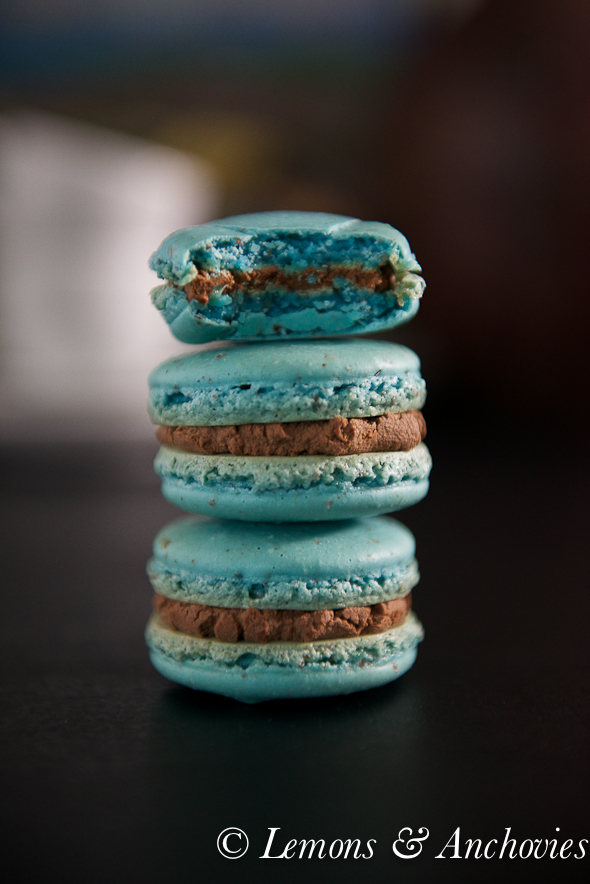
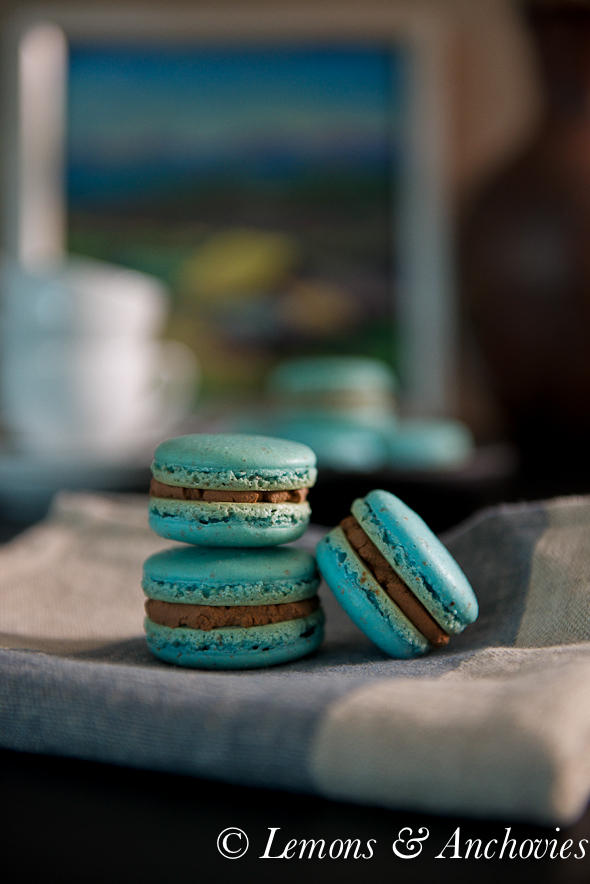
The finished macarons may not be sweet shop worthy in terms of looks but I was very happy with their taste and texture. Using the French meringue method of making macarons, the shells tend to be a bit more crisp right after they are baked. Filling them and storing the sandwich cookies at least overnight to “mature” gives the shells a chance to absorb some moisture from the filling, lending that chewier texture. In fact, the famous Pierre Hermé (though he uses the Italian meringue method of baking macarons) recommends aging the assembled sandwich cookies for at least 24 hours before serving them. I stored my assembled macarons in the refrigerator overnight and brought them to room temperature the next day to wonderful results. They really were better on the second and third day.
Don’t be surprised if you see more macaron posts over the next few months. I’m determined to master the French meringue technique and maybe after that I’ll give the Italian meringue method a try. For now I’ll savor this one successful batch.
Notes (I’m no expert yet but these are the observations I’ve made and tips I’ve picked up so far):
- I’ve provided very detailed instructions below but keep in mind that all ovens do not work the same. 325 degrees for my oven may be too high or tool low a temperature for yours. You might have to find your own sweet spot in your oven but I do recommend baking one sheet at at time.
- Be prepared to make a few attempts before getting macarons right. I know I still have things I want to improve.
- Aging egg whites for Macarons: for this third batch I aged the egg whites by letting them sit in a bowl on the counter for 48 hours. French pastry chefs recommend this but many home bakers say this is not necessary. Since this is the batch that went well for me I’m inclined to agree that this method has merit. Aging allows some of the moisture from the egg whites to evaporate and is supposed to make them easier to work with. I didn’t notice a big difference in the way my egg whites performed while whisking them but they did form a skin a lot faster than when I used un-aged egg whites, the humidity in my kitchen being constant.
- Macaronnage (folding the dry ingredients into the meringue): If you don’t fold enough, the batter will be too stiff and if you fold too many times it will be runny and the meringues will spread too much on the sheet. Online resources will typically talk about a magic number of folds in order to get the lava-like flow of the batter (slow, steady flow from the spatula). I think this would depend on how big or small your batter is. For the amount I used below, I found that I needed to fold the batter about 55 times to get the right consistency. You know if you have folded the right amount of times if the ribbon of batter flowing from the spatula takes roughly 20 seconds to disappear back into the batter.
- The shells should develop their “feet” within the first 5 – 6 minutes of the baking period. Rotate the baking sheet halfway through to ensure even baking.
- One test to see if the macaron shells are done: if the shell lifts easily away from the parchment paper without sticking, it’s done. If it sticks to the parchment paper, chances are it’s undercooked.
Update 7/25/15: I reduced the powdered sugar to 1.3 x 1 and made sure to replace the equivalent amount of almond meal that I had to discard while sifting (in this recent batch I had to discard 30 grams of almond meal that was not fine enough so I added back the same amount while sifting).
Macarons with Chocolate-Chambord Ganache (French Meringue Method): What I've Learned So Far
Ingredients
- **for 20-25 filled small macaron sandwiches***
- 95 grams egg whites room temperature (3-4 large eggs, aged 48 hours)
- 123.5 grams almond meal
- 152 grams powdered sugar
- 76 grams granulated sugar
- Pinch cream of tartar
- Gel food color optional
- **For the Ganache you will have extra***
- 2/3 cup half and half or cream
- 6 ounces dark chocolate in small pieces
- 1 tablespoon butter
- 1 - 2 teaspoons Chambord
Instructions
-
Preheat your oven to 325℉.
-
Prepare two baking pans lined with parchment paper. If you have macaroni templates, lay the sheets below the parchment paper. Set aside.
-
Pulse (a few times) 1/3 of the powdered sugar and all of the almond meal in a food processor. The goal is the make finer the texture of the almond meal and remove any powdered sugar clumps. Combine this mixture with the remaining 2/3 of the powdered sugar and sift twice, into a bowl, using a fine sieve. Discard any large clumps of sugar and almond meal left behind in the sieve. Set aside.
-
To make the meringue: In the bowl of a food processor fitted with the whisk attachment, beat the egg whites on medium speed until foamy, about 1 1/2 minutes (speed 4 on my Kitchenaid mixer).
-
Add the granulated sugar all at once and process for 2-3 minutes (speed 4 then 6) until the granulated sugar has been incorporated and the mixture is thick.
-
Scrape down the sides of the bowl, add the cream of tartar and the food coloring and whisk the egg whites on high (speed 8) until stiff, glossy peaks form.
-
Macaronnage: Detach the bowl from the mixer and add 1/3 of the almond meal mixture to the egg whites. Using a spatula, fold in the dry ingredients a few times following the curve of the bowl, lifting the spatula toward the center of the mixture and pressing down on it, rotating the bowl as you go. The goal is to fold out some of the air from the egg whites. Once the first 1/3 of the dry ingredients have been mostly incorporated repeat with the second 1/3 then the the remaining 1/3 of the almond meal mixture. Continue with the same folding motion. For this quantity, I had to repeat the folding motion 55-60 times. At this point, I had a thick, glossy batter that flowed thickly from the spatula. You should have a ribbon of batter that takes about 20 seconds to be incorporated back into the mixture. If it's thicker than this you've undermixed and if it's thinner you have overmixed the batter and the shells will spread too much when piped.
-
Piping: Transfer the batter to a pastry bag fitted with a 1/2-inch plain round tip. I like to place the pastry bag in a tall glass to make filing it more manageable. Pipe 1 - 1 1/3 inch rounds (following a template) onto the parchment paper. What works for me is to position the tip directly above the baking sheet and pipe using a slight swirling motion from the center of the round and pushing the batter onto the sheet. Others like to pipe the batter from an angle. Try both ways to see what works for you.
-
To remove any air bubbles, rap the baking sheets against the counter several times, rotating the sheet as you go. Let the rounds rest until the tops form a "skin" or a slight crust. You'll know they're ready to bake when you touch the tops of the rounds and the batter doesn't stick to your finger. Depending on humidity, this can take as little as 15 minutes or even as long as 30 minutes.
-
To bake: I baked my macaroni shells in two batches. The sweet spot in my oven is the second shelf from the top. Bake for 11 - 12 minutes, rotating the sheet halfway through the baking period. The feet should develop in the first 5-6 minutes. Be careful not to let the macarons get brown. Mine have a little color here but their taste and texture were fine. Remove the first batch from the oven and repeat the same steps with the second.
-
Let the baked macaron shells sit in the baking sheet for about 5 minutes before transferring them to a cooling rack. You will know they are done when they lift easily off the parchment paper. If the shells stick, they're undercooked. Using the French meringue method here, the shells should be slightly crisp on the outside and chewy inside. The shells can be prepared 1-2 days in advance, before filling, if kept in an airtight container.
-
Make the ganache: Heat the half and half over medium heat in a small pan until just before it boils. You should see bubbles along the rim of the heated milk. Turn off the heat and add the chocolate, Chambord and butter. Wait about one minute to allow the chocolate to warm up then whisk the mixture until it is glossy and smooth. Cool to room temperature before using. Note: because I used half and half instead of cream, my ganache was a bit too runny to use as a filling. Half and half has less fat content than whipping cream so I had to whip the mixture to thicken it. If you use whipping cream you may not need to do this step. If you do whip the mixture (I used a hand mixer) watch the ganache closely so you don't over whip it. You want it thick but not stiff.
-
Fill the macaron shells: Using another piping bag and tip, transfer the ganache to the pastry bag and fill half the macaron shells (match them up according to size once they're cool) and cover with the other half to form sandwiches.
-
Tip: The gain the additional chewiness that is sought after in macarons, fill the shells at least 24 hours before you plan to serve them, store them in an airtight container in the refrigerator and bring them to room temperature before you serve them. This process is called "aging" the macarons and allows the filling to soften the inside of the macaron shells a bit, lending more chewiness. The outer shells will remain crisp.
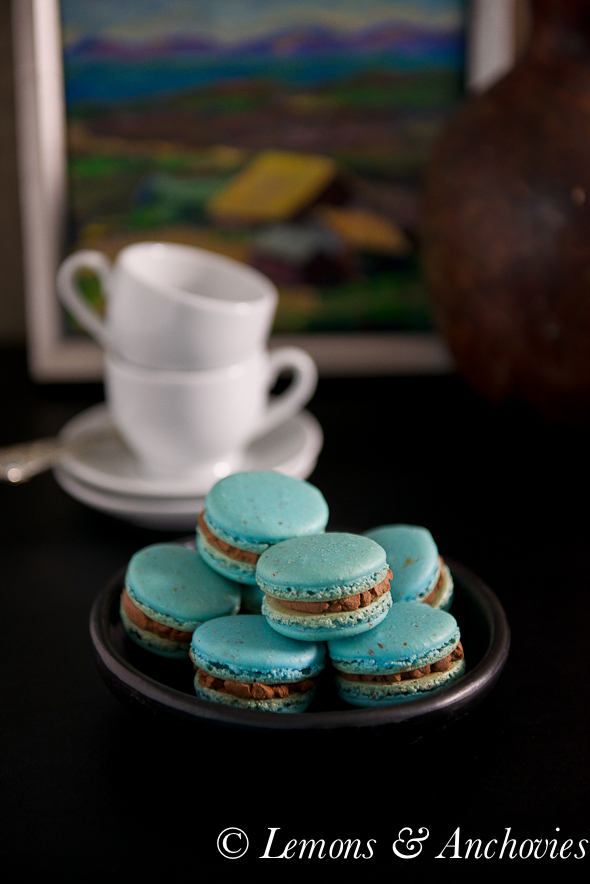
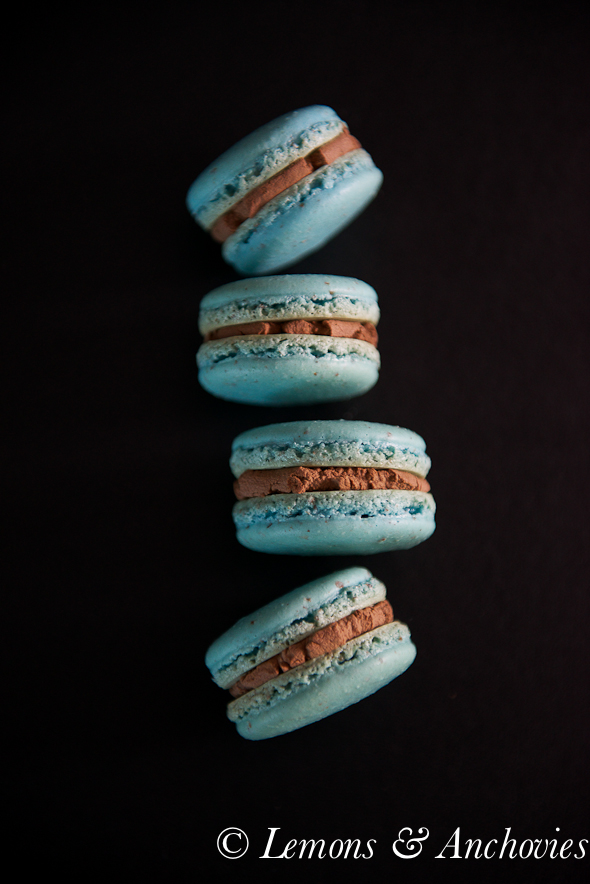
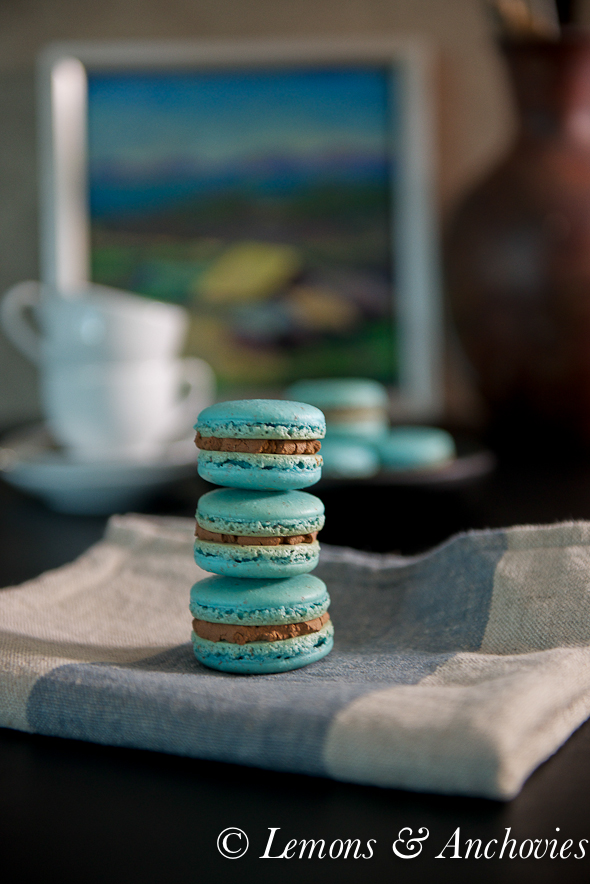



These cookies are so much different from other cookies,,,but they are so much delicious and colorful.
Perfect and jewel-like!
Cheers,
Rosa
Jean, these are the prettiest cookies I’ve ever seen. You did happen to pick my favorite color!
Jean, I think your macarons are spot-on! They look absolutely perfect. (But I know we can be our own worse critics.) 🙂
A few years ago the baking group, The Daring Kitchen, made macarons. Since I was unfamiliar with the complexities of macaron making, I went into it with complete confidence. Beginners luck or confidence…the first time was a charm! As soon as I discovered the numerous books and articles on the French cookies, the spell was broken. I have not been able to achieve the coveted “feet,” and my attempts have been in vain (and pricey!). 😀
With your helpful tips I’m tempted to try again!!
Beautiful macarons, Jean! They can be tricky but are so fun to master – your “feet” look spot on! Love the idea of chocolate-chambord ganache!
i love the colors and that ganache sounds amazing!
Your macarons look amazing as they are! The royal blue colour colour makes them look like precious jewels and they compliment very nicely with the chocolate ganache.
Wow! Those are perfection!
The color! The flavor! The stacks of sweet goodness! I don’t think I could eat these…they are so beautiful…and yet I know they probably taste even better! Job well done!
I came here the other day and read but didn’t have a chance to leave a comment. I’m back here and again impressed deeply with your beautiful macarons! Really so many techniques and thoughts into making macarons and although I love to eat homemade version, I’m not so sure if I can actually reach till the end. 😀 Very impressive work, and you must feel great about making these (and you’re too humble!!). Love the color too – so beautiful…
These macarons are so lovely, Jean! And I am still savoring the ones you made for our cookie exchange 🙂
Jean,
I think you have them down and knowing all the little tweaks you can make really does take the fear out of making them. I know the ones you brought to the exchange were delicious (and gone quickly here). Those blue ones do look awfully tempting though. I plan on getting back in the kitchen soon and doing more experimenting soon, just need to get through the holidays. Hope you and your family have a Very Merry Christmas.
-Gina-
Jean – These look absolutely PERFECT! Just like you brought them back from Paris – Smile! I loved the ones you made for our cookie exchange – they were divine!!!
Absolutely beautiful photography 🙂 lovely
Thank you for the base recipe. Your measurements on here were perfect! I made macarons last night using your measurements and for the first time I produced a full batch of uncracked, un-hollow, glossy cookies!
Zina, thank you so much for your wonderful feedback. I’m so glad that your macarons worked out–yay for no hollow shells! Thanks for taking the time to send a comment. 🙂